Prerequisites
- 2N IP Intercom with a display and the latest firmware
(IP Style / IP Vario / IP Verso with additional module / IP Verso 2.0 with additional module);
no additional license is required.
Display configuration
Please click the section you are interested in and the instructions will be shown.
2N IP Vario
Name Tags
-
In 2N IP Vario web interface, go to section Calling - Dialing - Quick Dial Buttons
and assign users to buttons 1, 2, 4, 5.

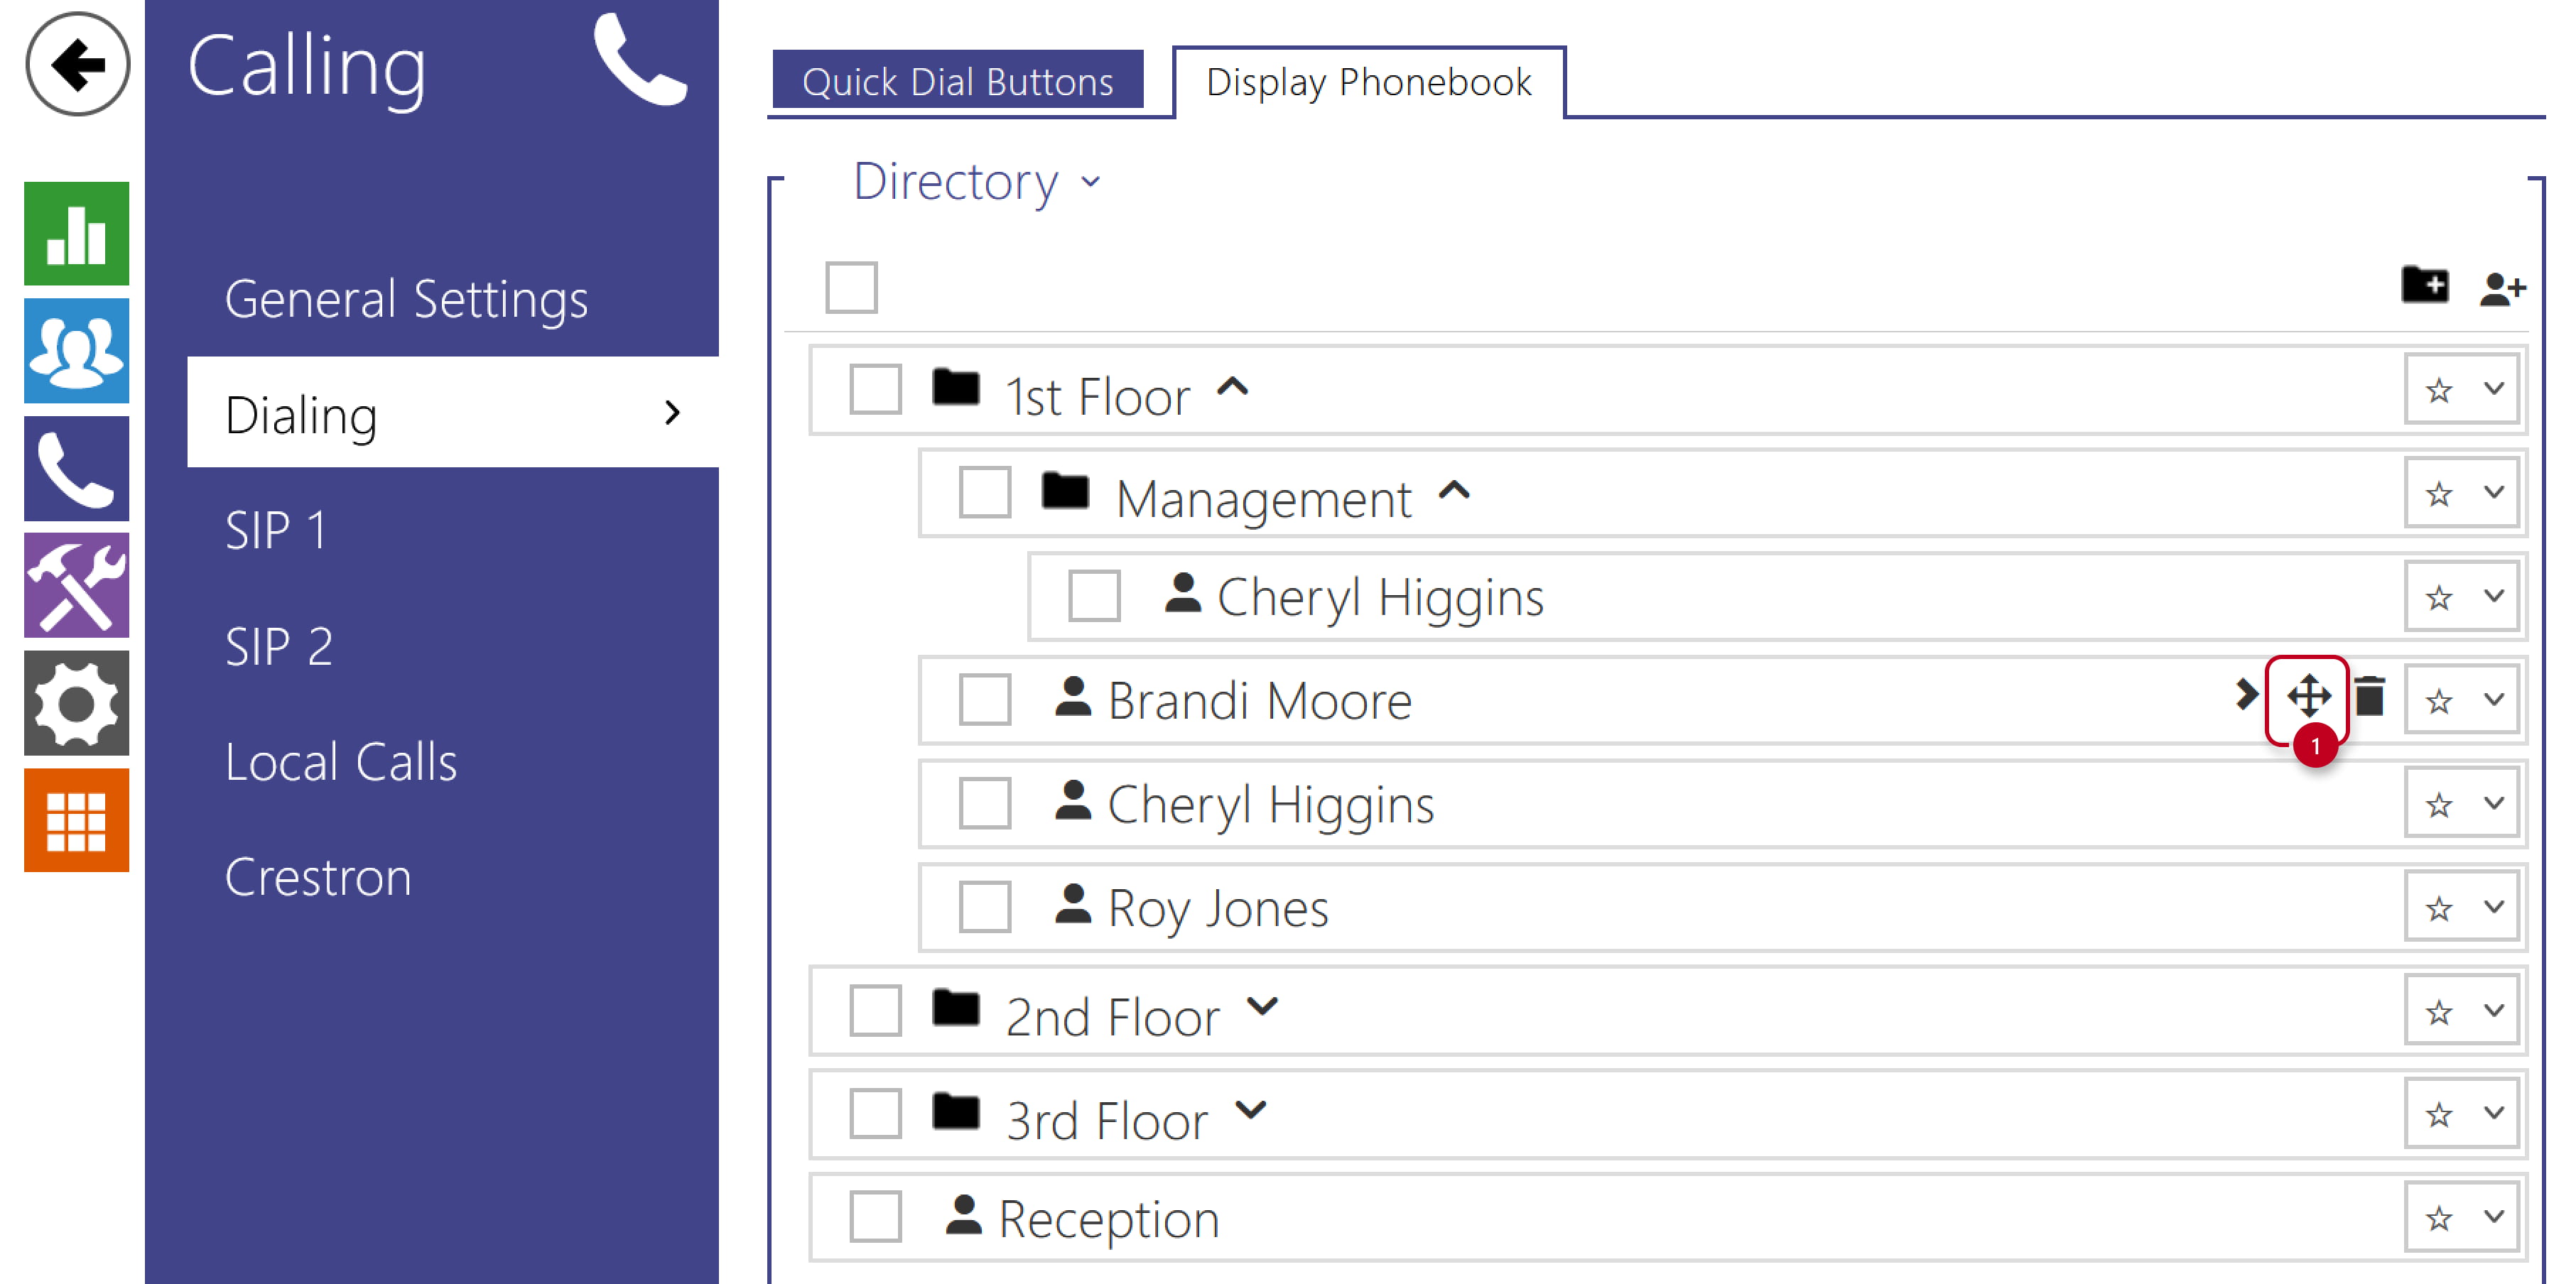
Display Phonebook
This tab helps you with creating a structured list of users.
You can create practically any count of groups and assign any count of users to each group.
One user cannot be assigned to one group more times,
but one user can be assigned to more groups at the same time.
- In 2N IP Vario web interface, go to section Calling - Dialing - Display Phonebook
and add users, eventually in folders, according to your preferences.
Group without any user is deleted after saving.

- Users can be moved to another folder.


-
The content can be sorted and grouped into 8 priorities.


Slideshow
This tab helps you with creating a list of up to 8 images to be displayed.
- Prepare pictures with resolution 320 x 240 px (another sizes will be adjusted automatically)
- In 2N IP Vario web interface, go to section Hardware - Display,
set "Showcase mode" to "Slideshow" and adjust the time after which the Slideshow starts.

- Go to Slideshow tab, adjust the time after which it advances to next image
and upload the images.


2N IP Verso and 2N IP Verso 2.0 with additional module
Display Phonebook
This tab helps you with creating a structured list of users.
You can create practically any count of groups and assign any count of users to each group.
One user cannot be assigned to one group more times,
but one user can be assigned to more groups at the same time.
- In 2N IP Verso web interface, go to section Calling - Dialing - Display Phonebook
and add users, eventually in folders, according to your preferences.
Group without any user is deleted after saving.
- Users can be moved to another folder.
-
The content can be sorted and grouped into 8 priorities.
Slideshow
This tab helps you with creating a list of up to 8 images or videos to be displayed.
- Prepare pictures with the right resolution (another sizes will be adjusted automatically)
- To see the "Touch to start" message, use resolution 214 x 214 px

- To hide the "Touch to start" message, use resolution 214 x 320 px
(this allows you to use the whole display size
for your own picture with your own welcome text)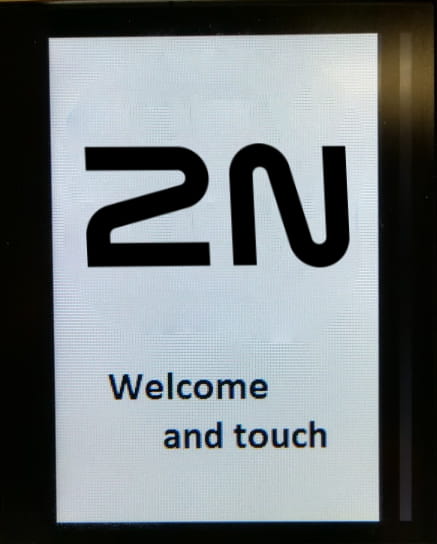
- To see the "Touch to start" message, use resolution 214 x 214 px
- In 2N IP Verso web interface, go to section Hardware - Display,
set "Showcase mode" to "Slideshow" and adjust the time after which the Slideshow starts.

- Go to Slideshow tab, adjust the time after which it advances to next image
and upload the images.

