New Site models - Differences and Examples

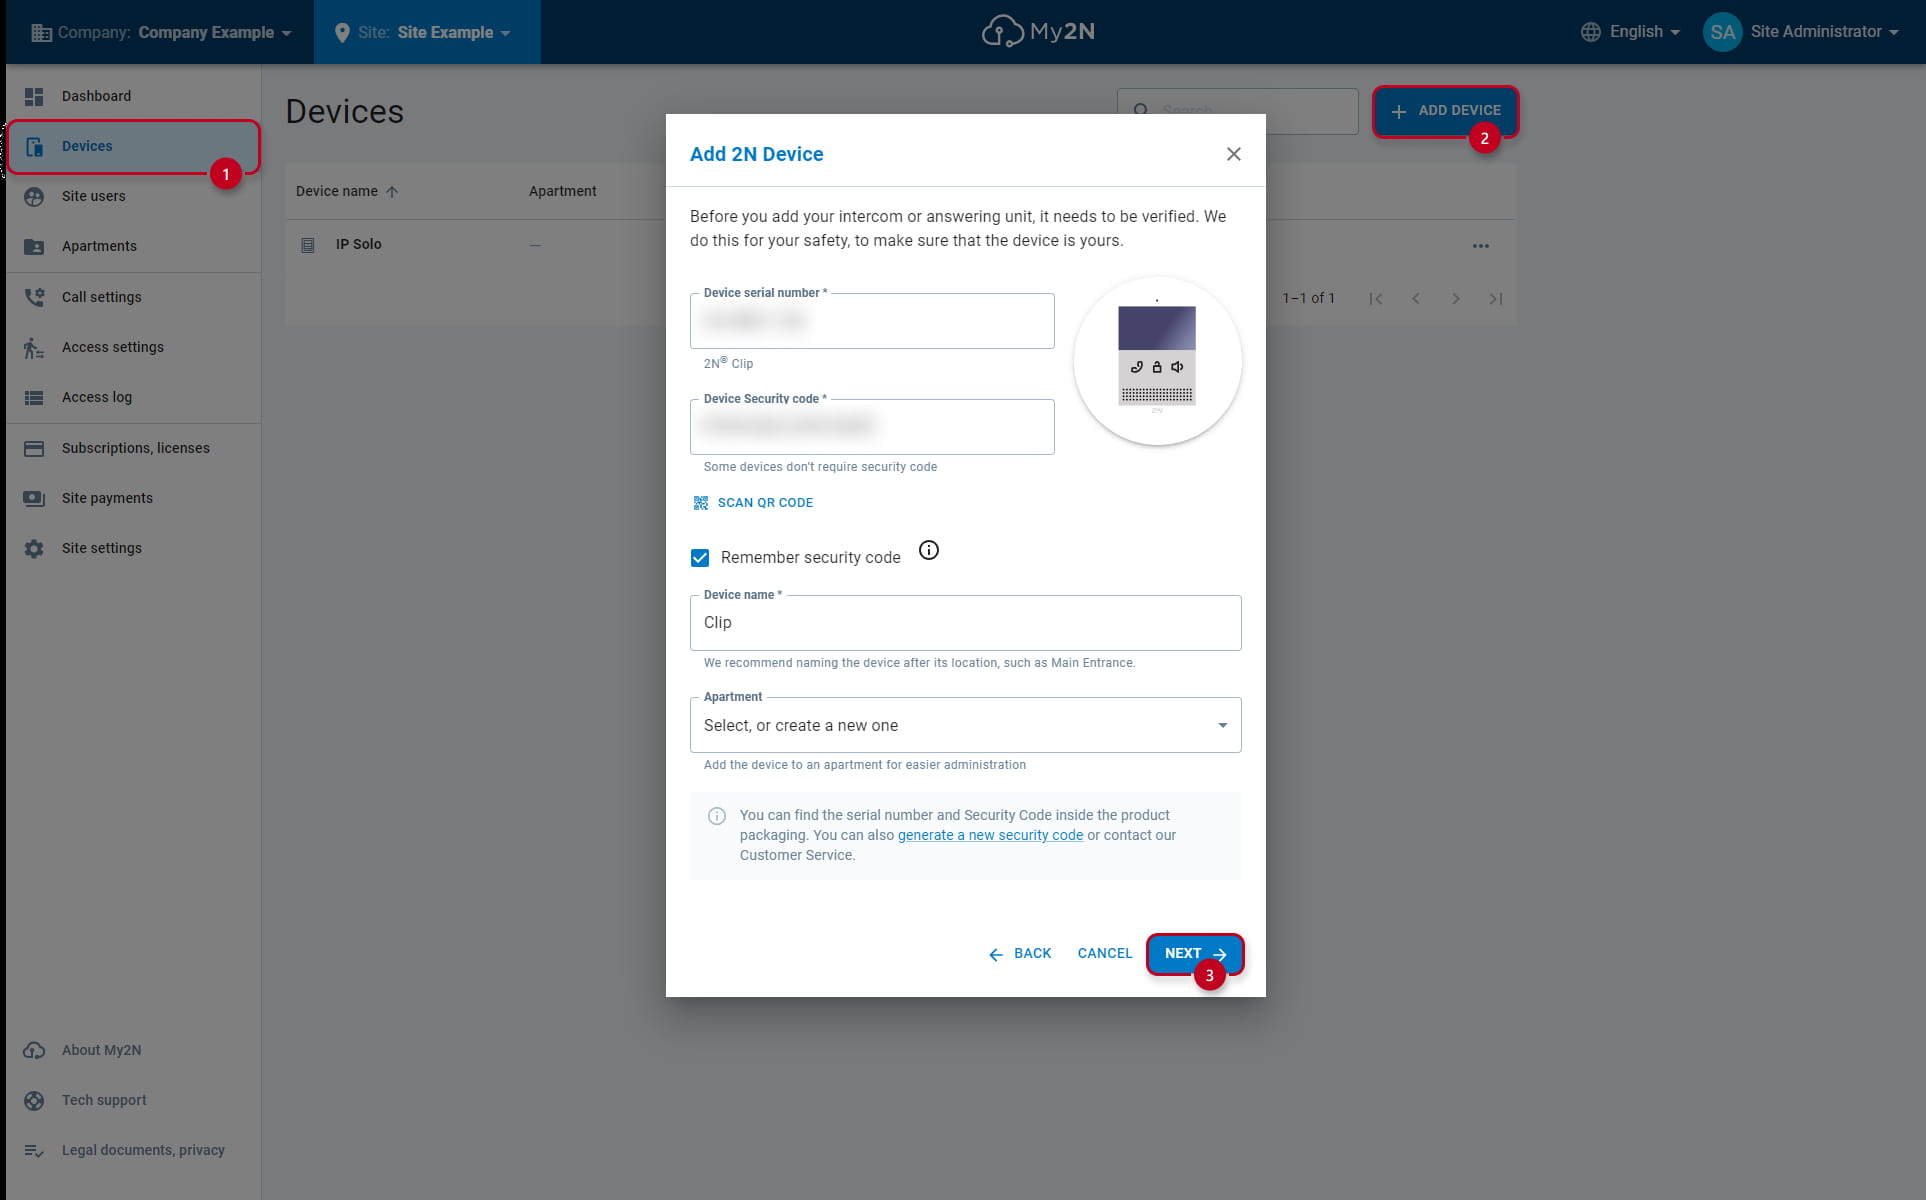
In this article, we will explain what are the new site models and which ones are suitable for what type of installation and how it works. The new sites models appeared on 2025, February the 19th.
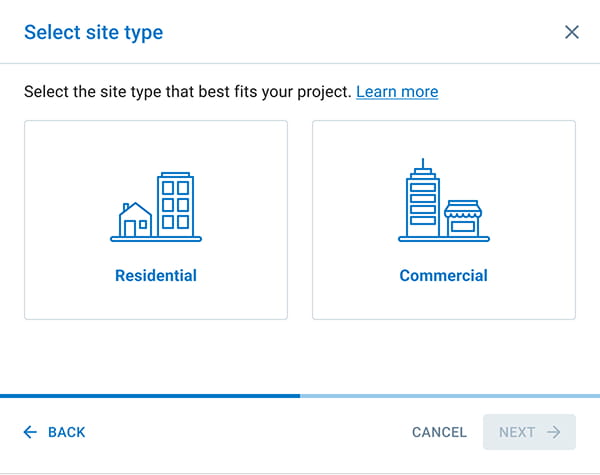
 

Site type overview

When creating a new site on your My2N account and choosing a name for your site:

  • There are 2 site models to choose from following types - "Residential" and "Commercial"

  • Note - If you want to change the site type from commercial to residential, all mobile devices and indoor units must be assigned to an apartment.

 image 2219.jpg


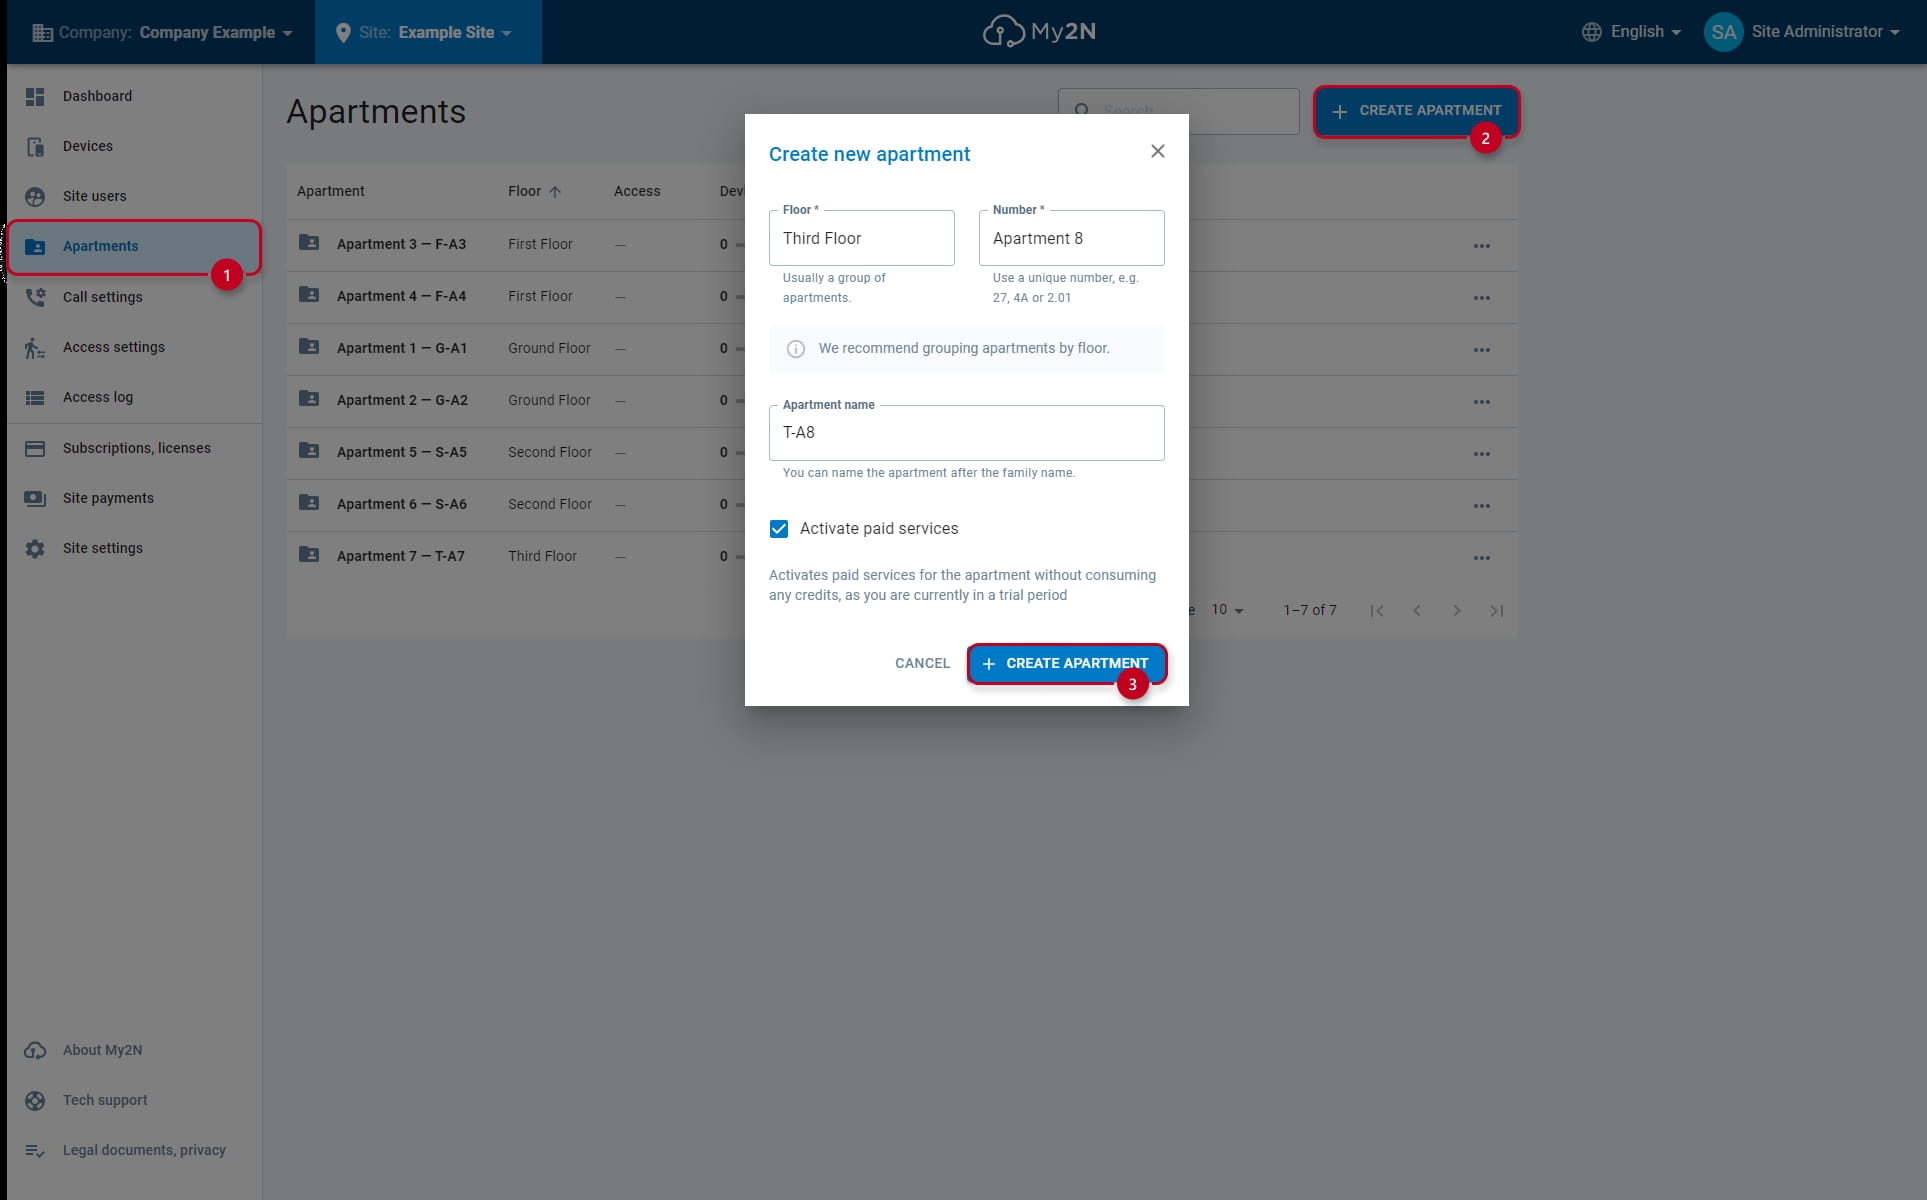
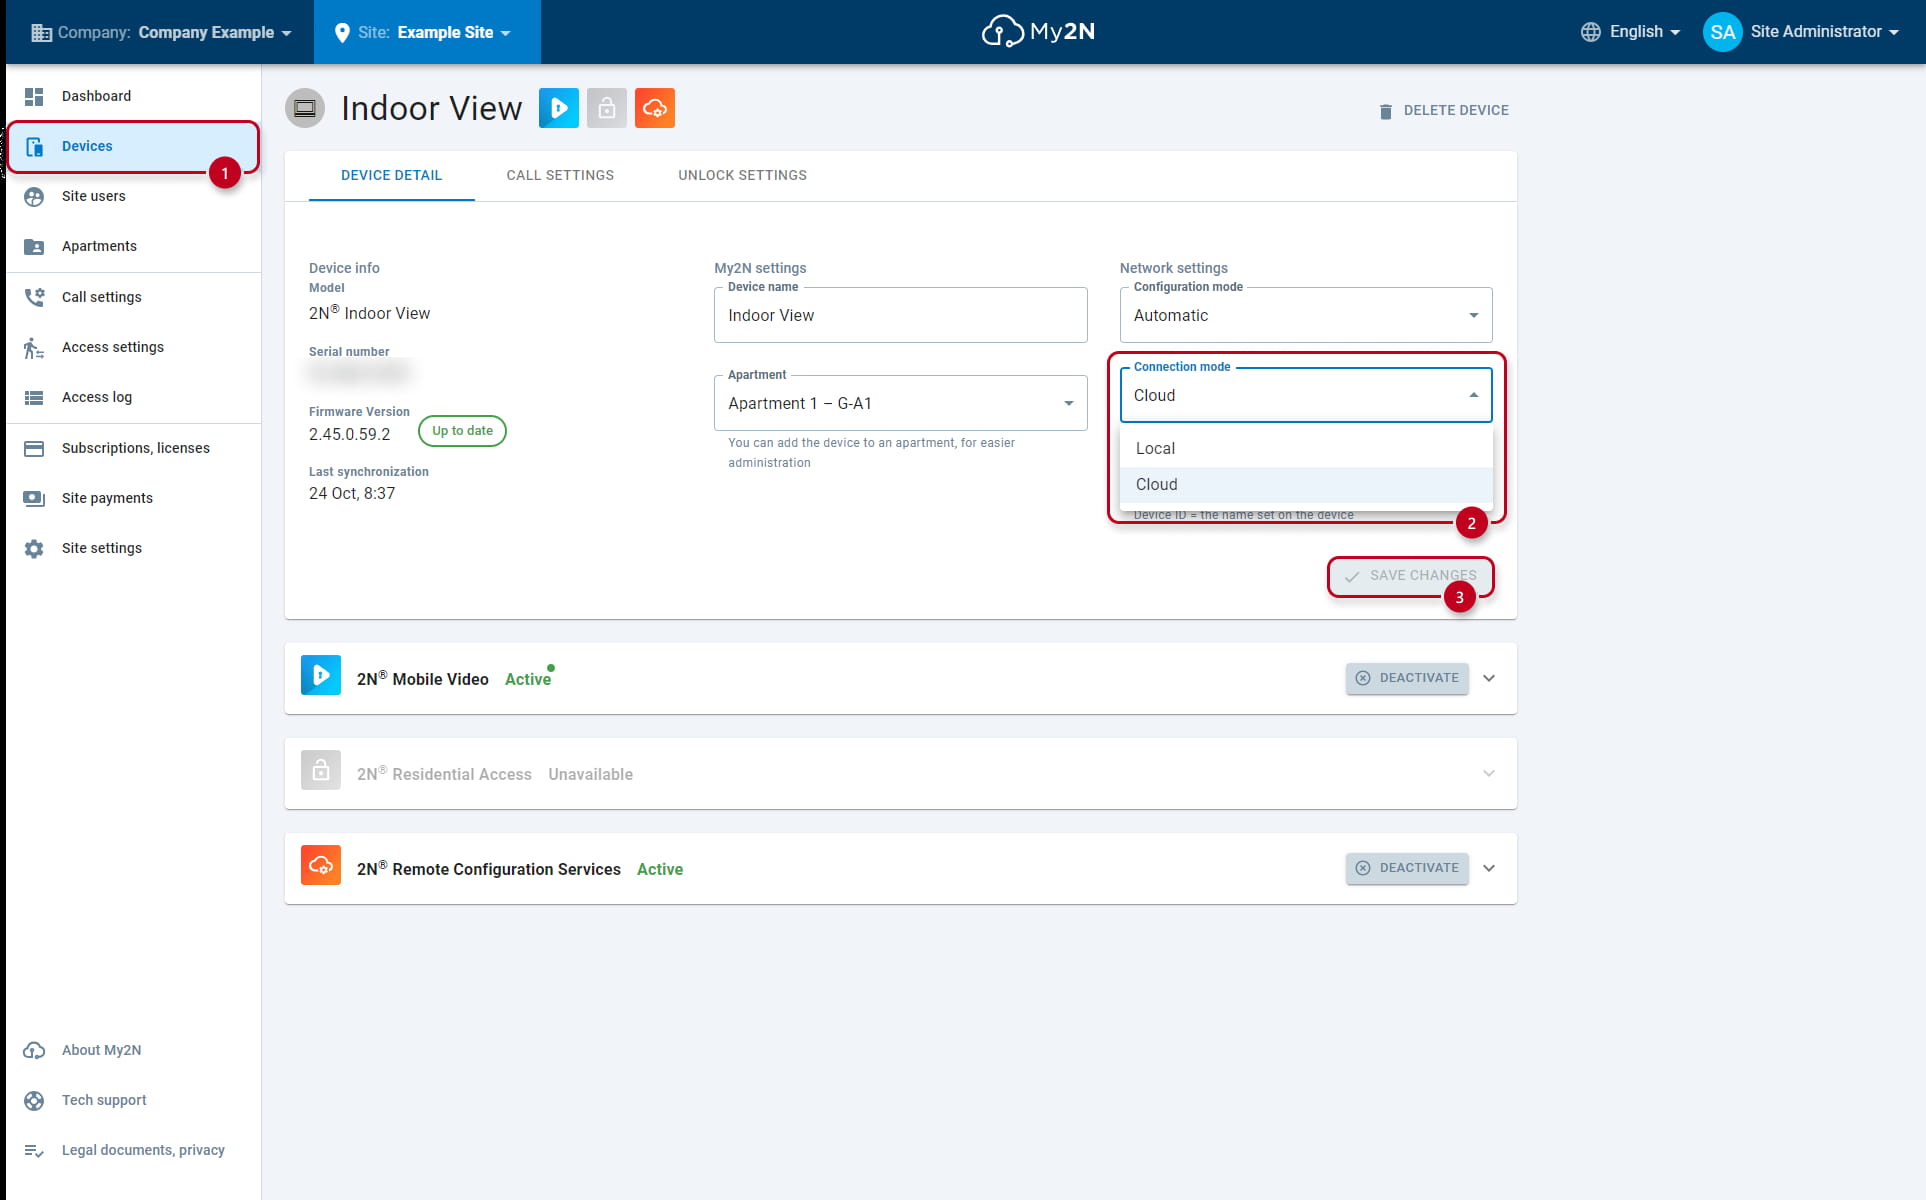
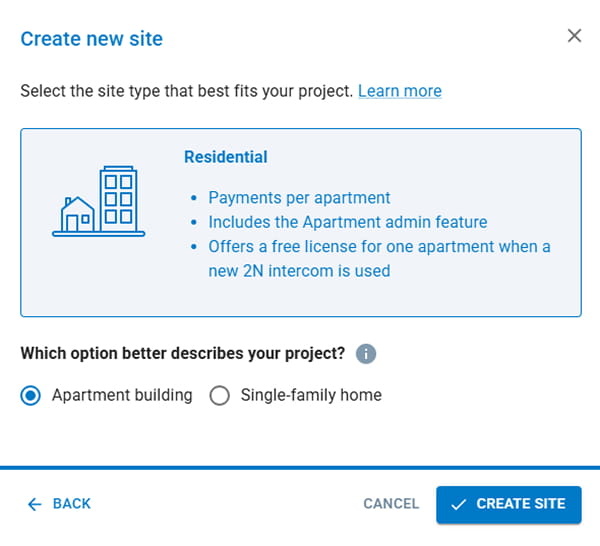
When you select the "Residential" site model, you basically decide to pay paid My2N services Per Apartment.

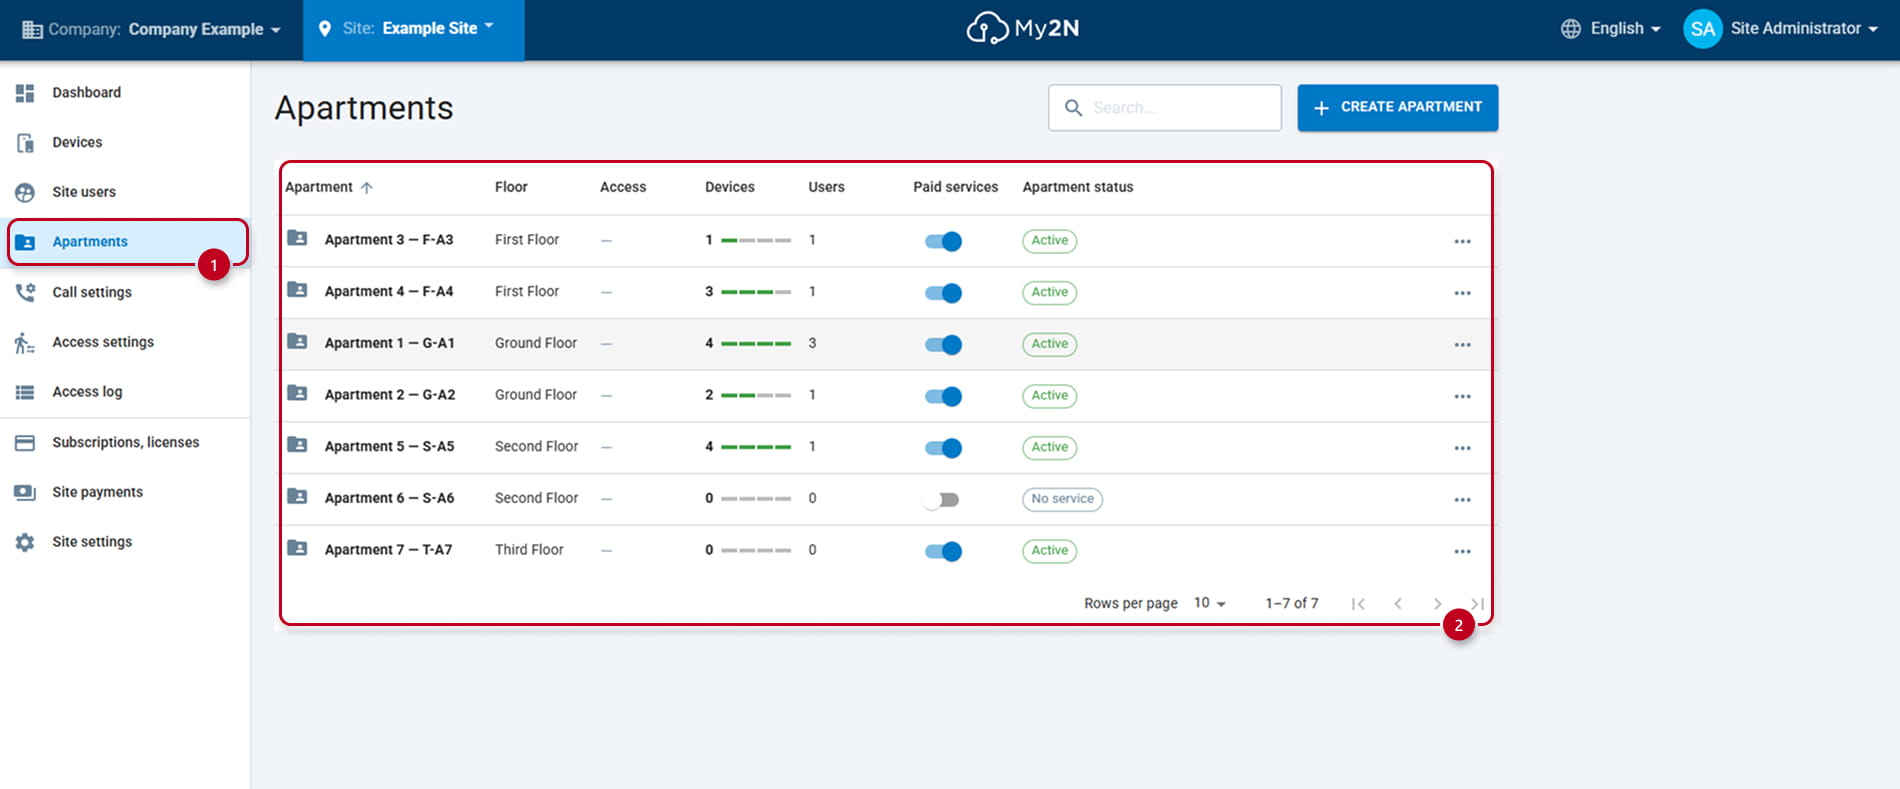
  • The device limit per apartment is 4 smartphones or 3rd party devices, to which the site admin needs to purchase the subscription

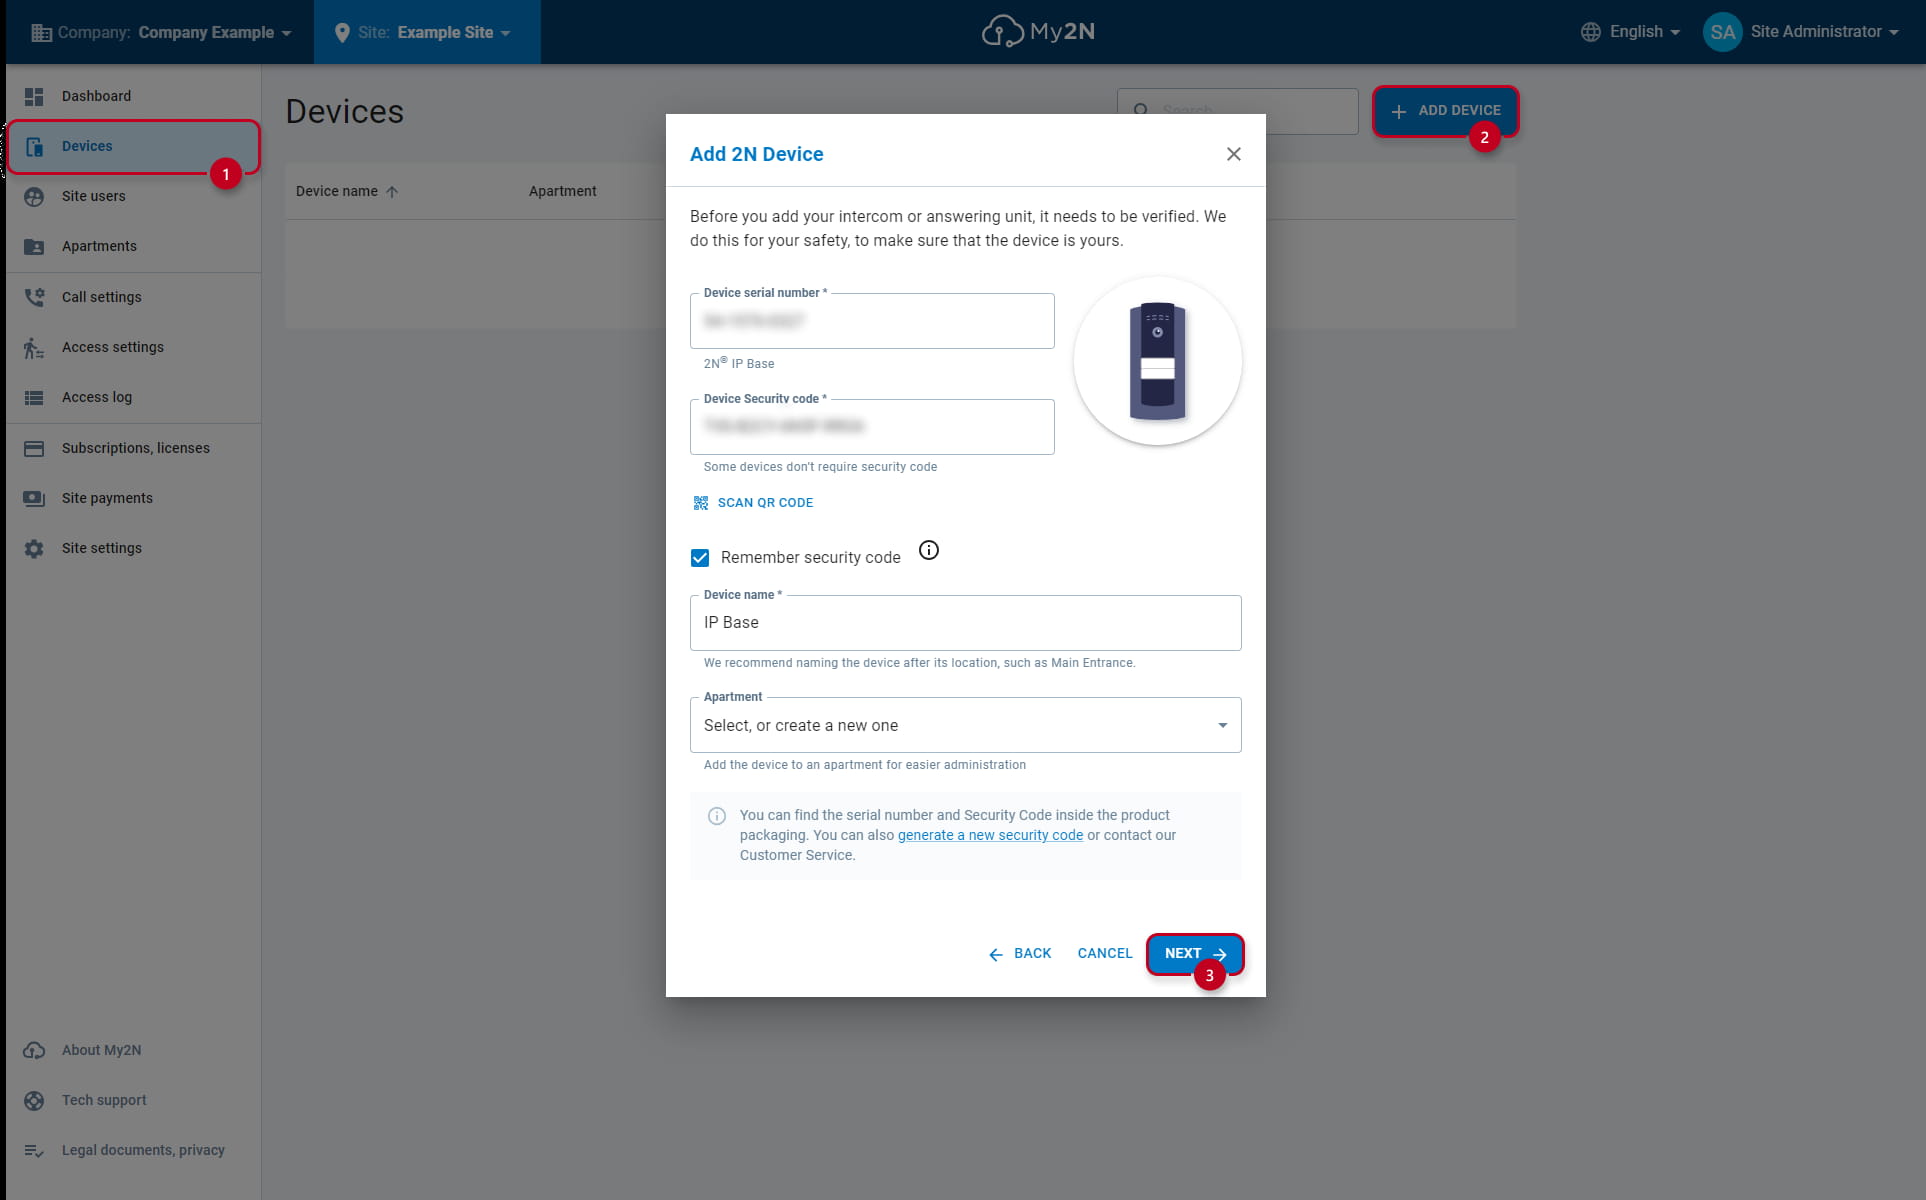
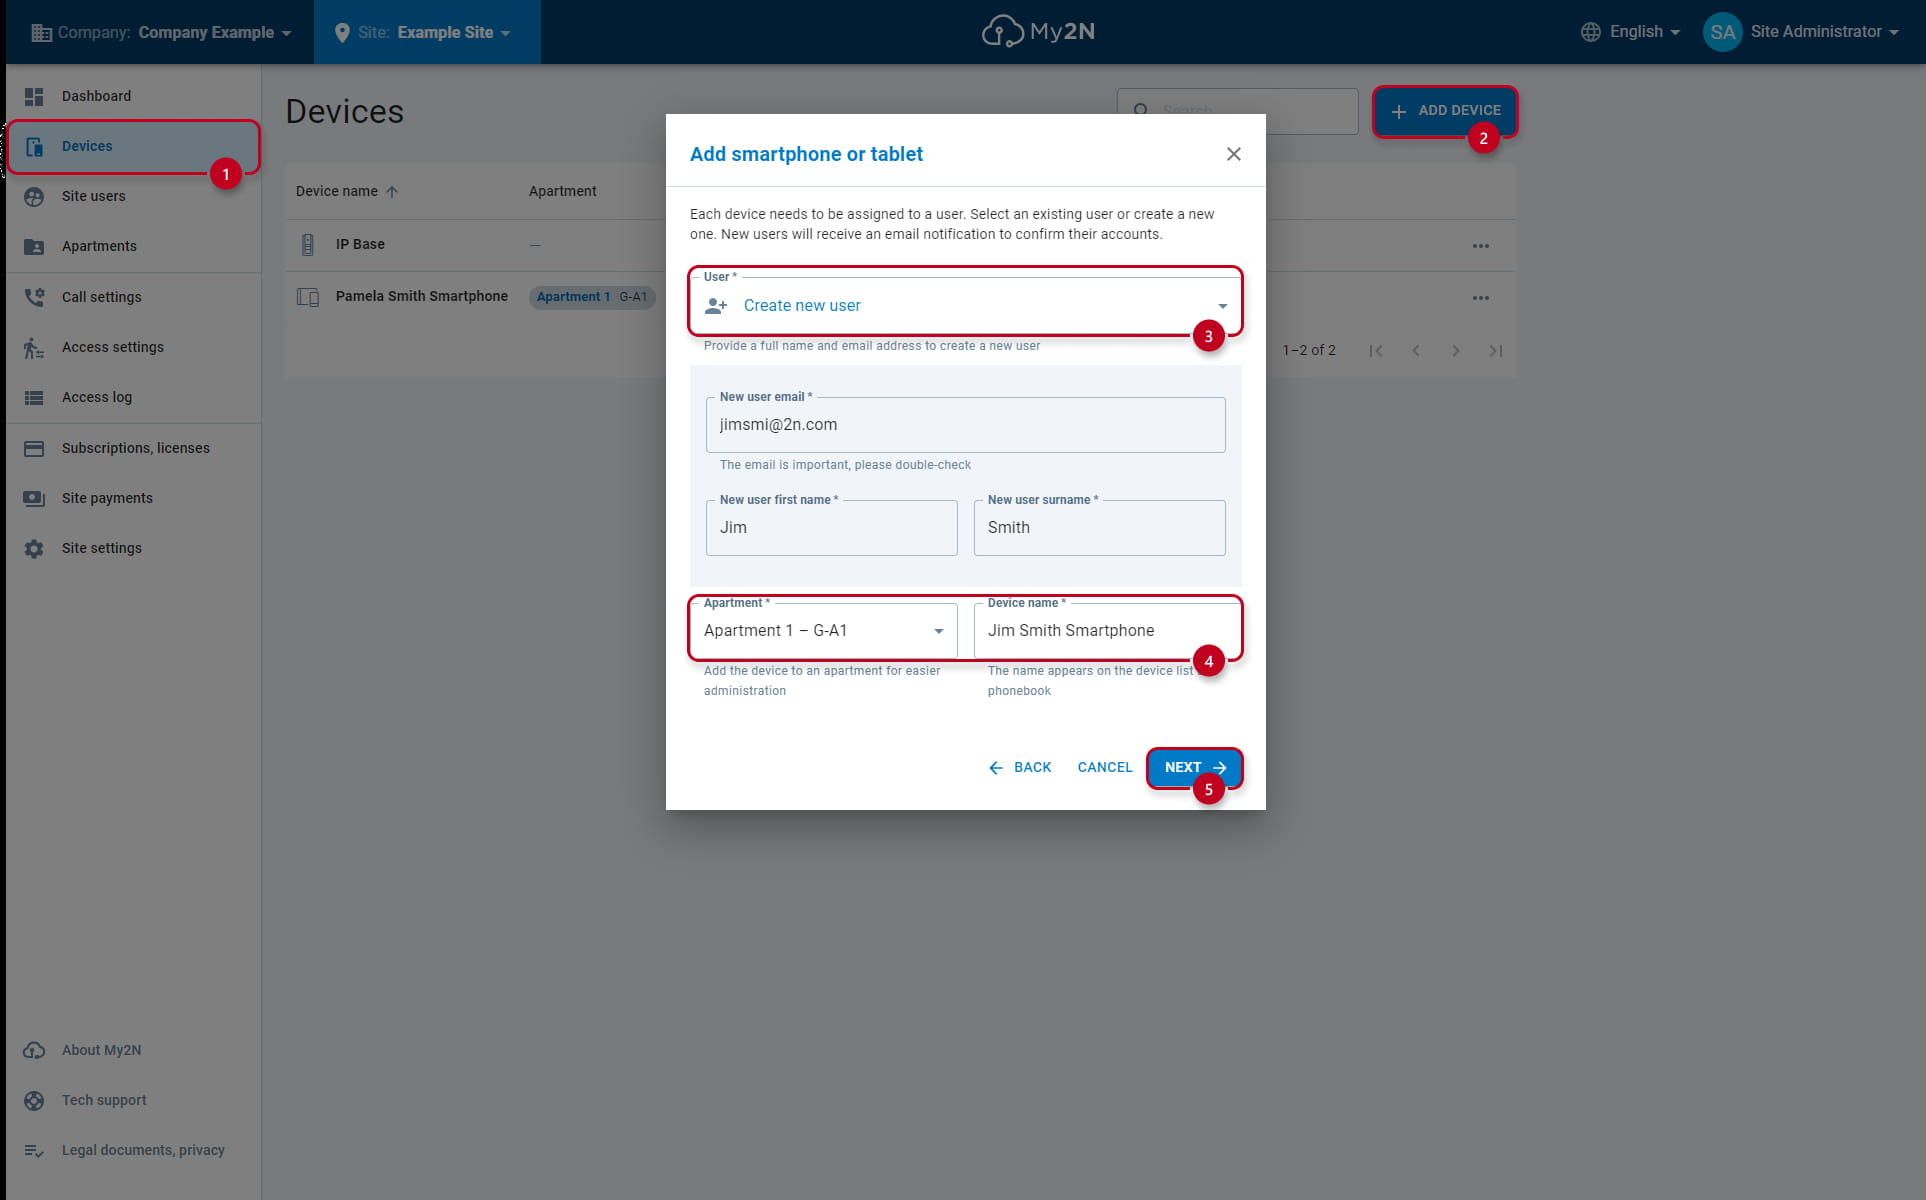
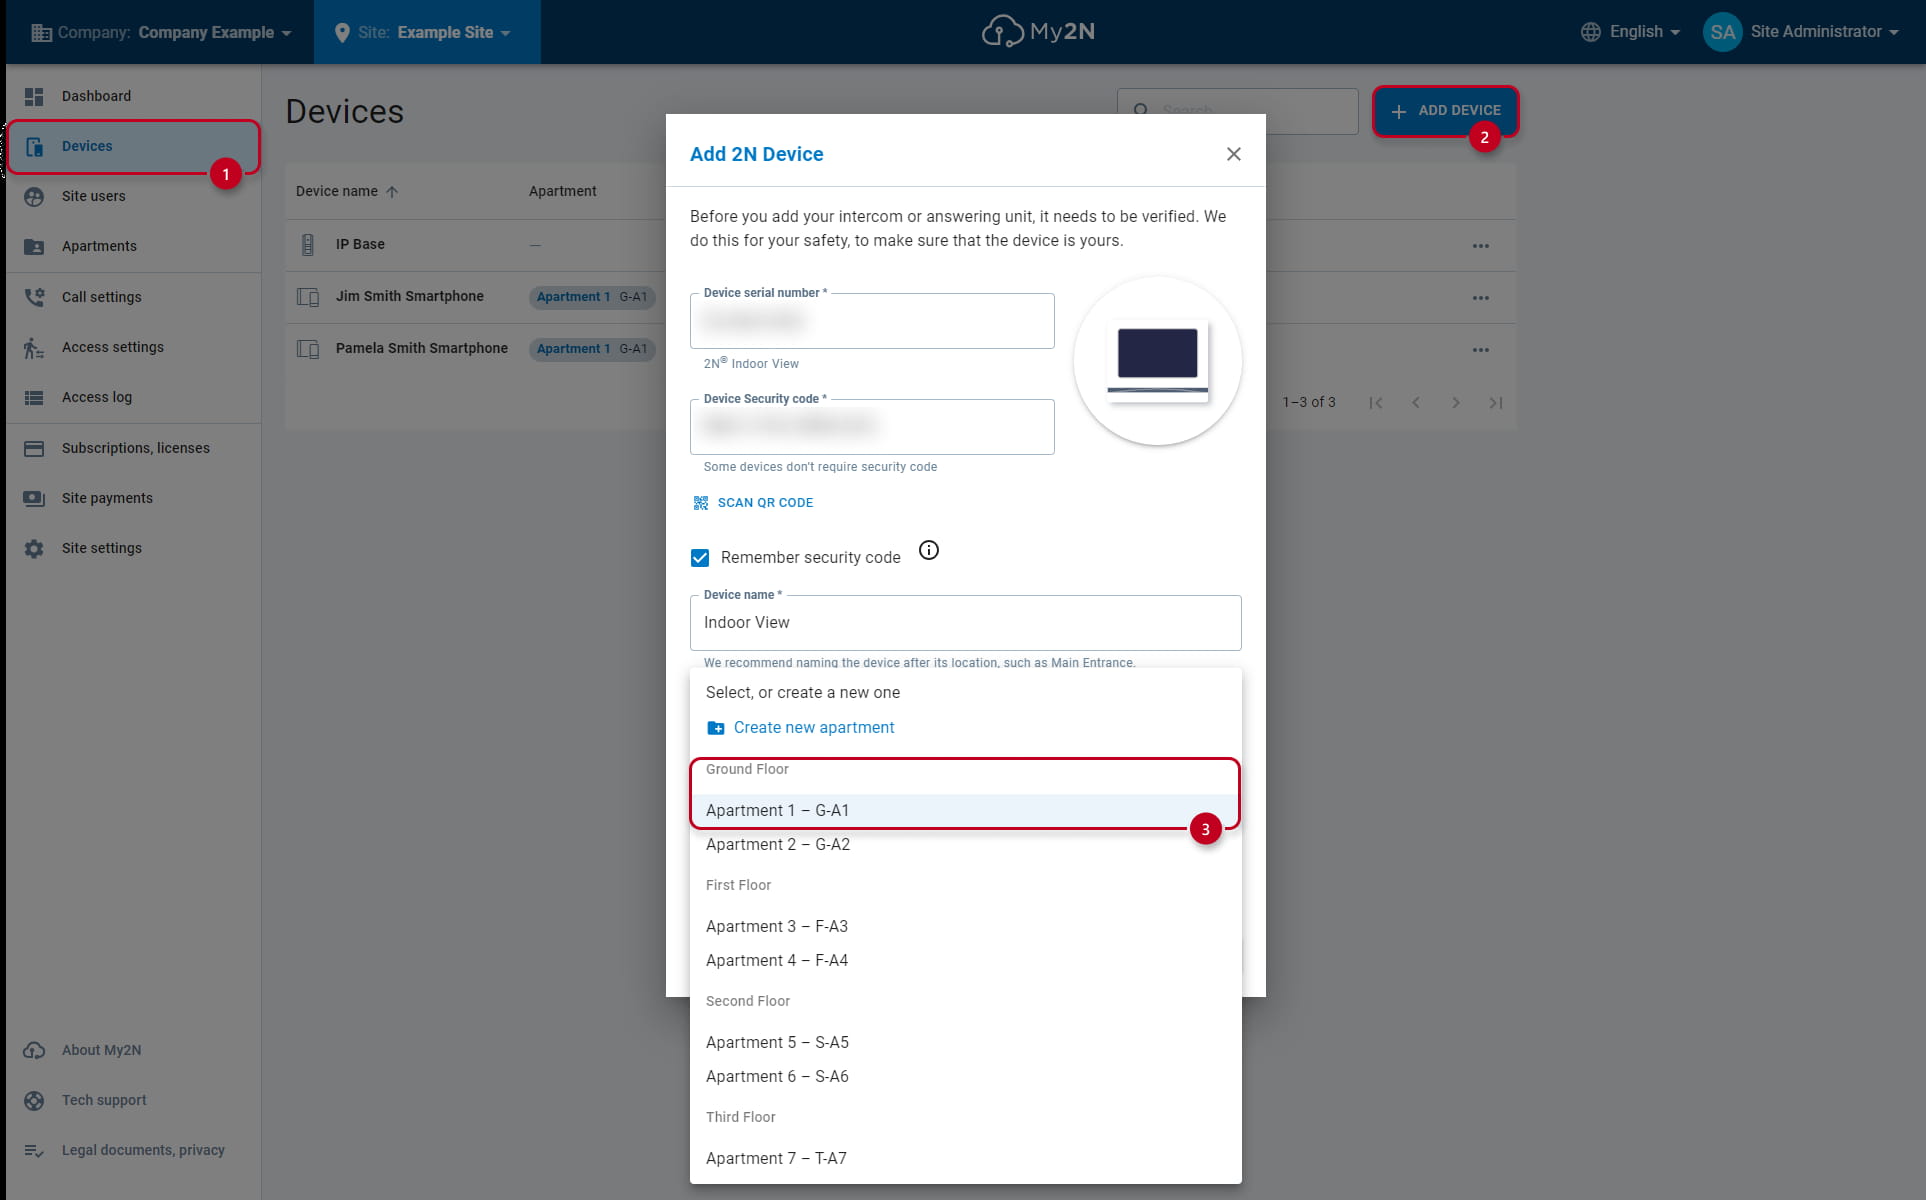
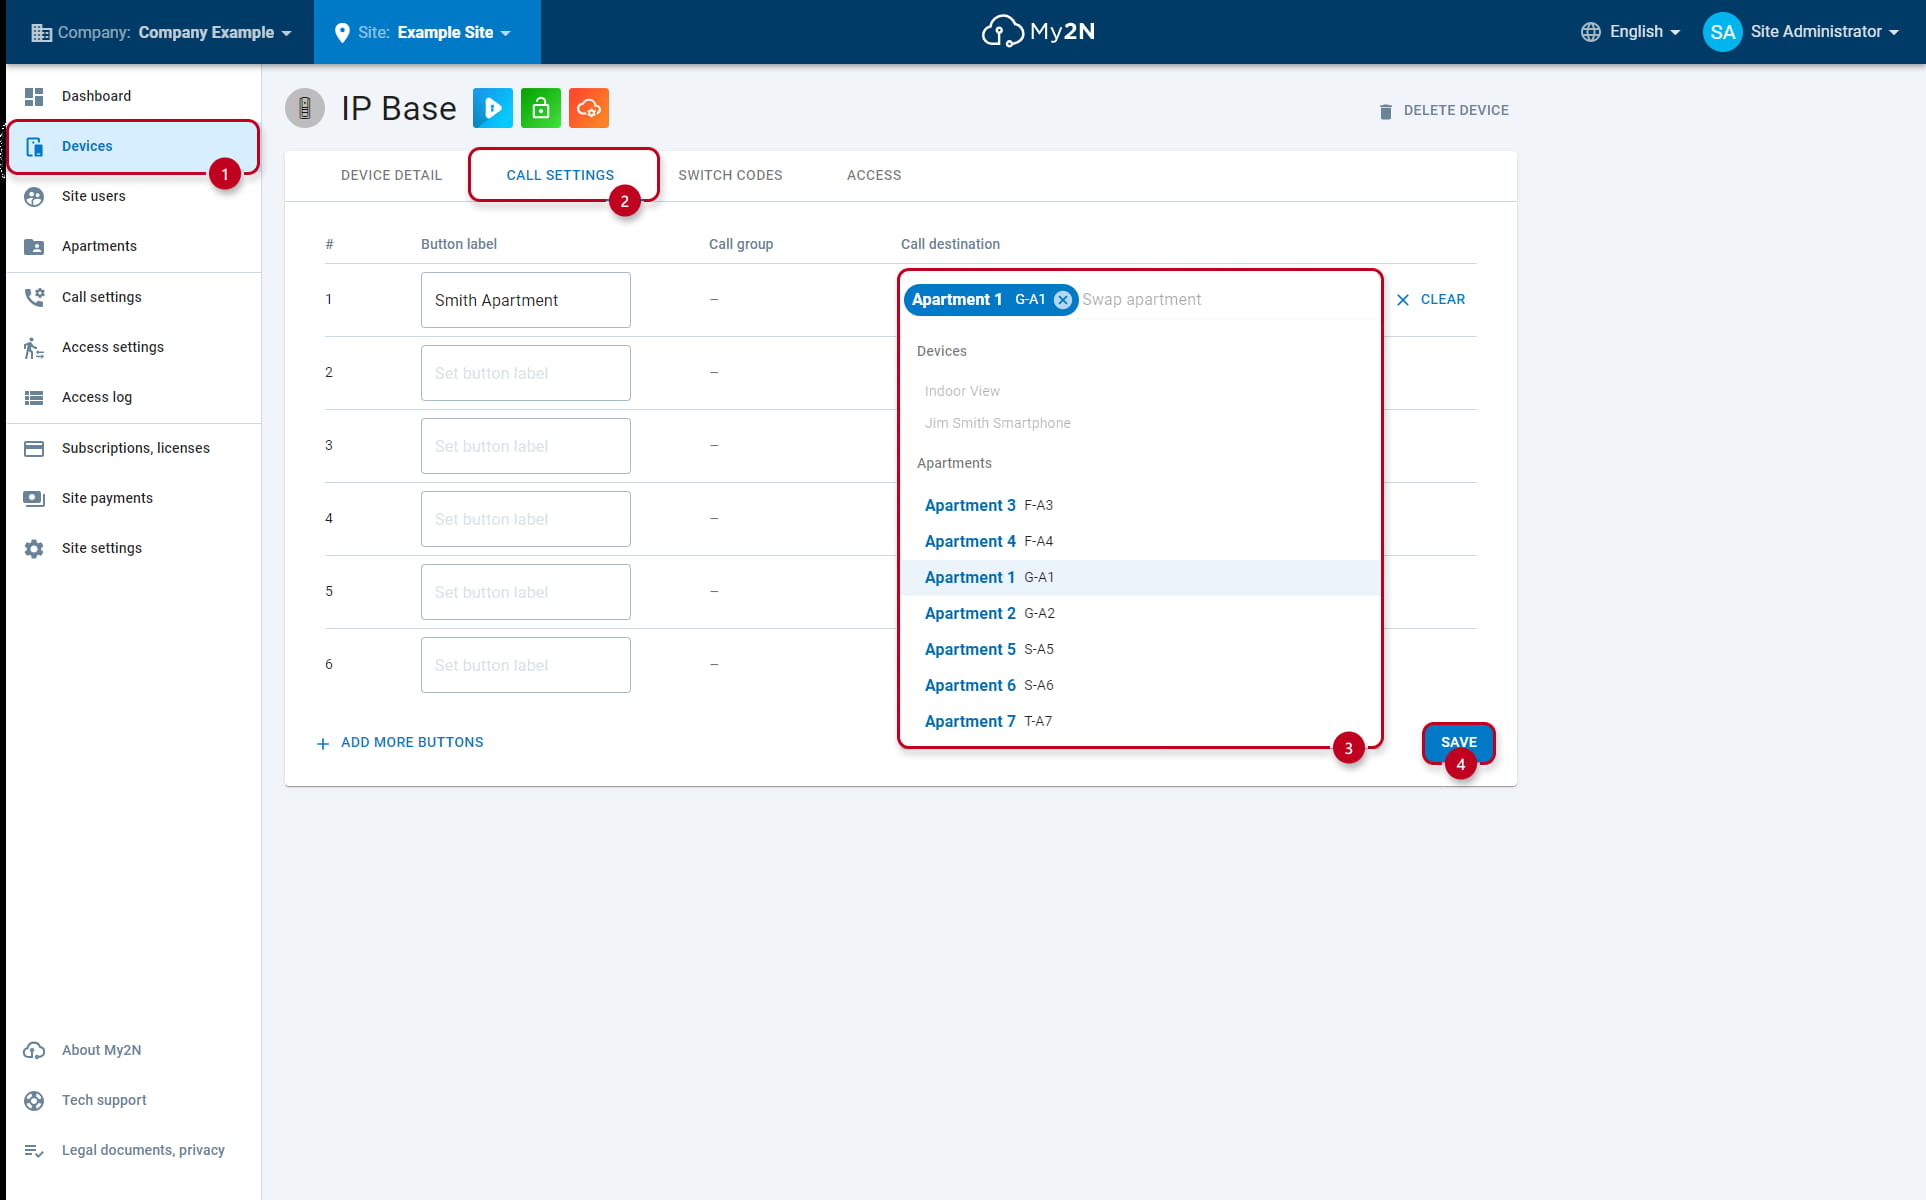
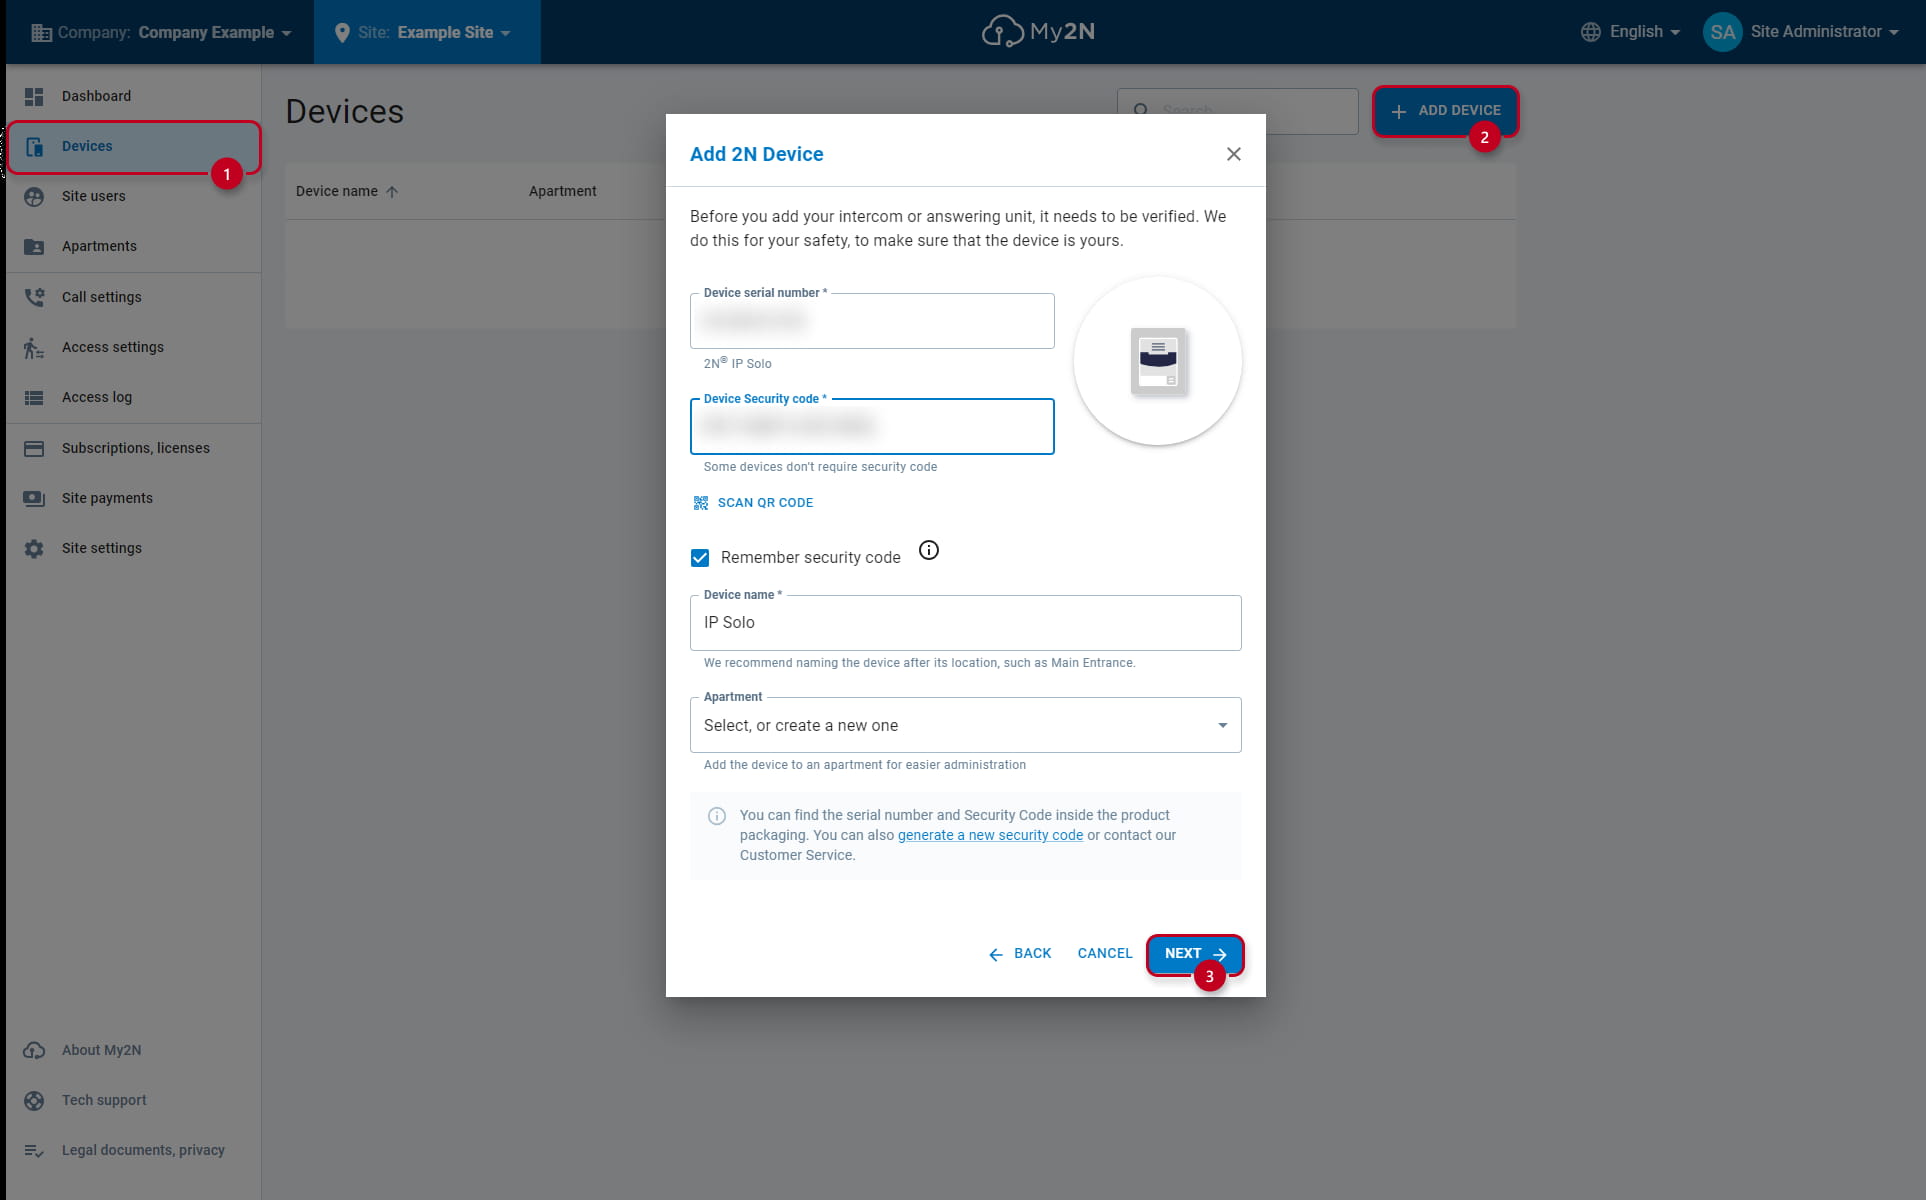
  • Every answering unit (2N answering unit, smartphone or 3rd party device) must be assigned to an apartment
  • The 2N answering units are free of charge


If you decide to choose this model, you will see a new window where you are required to say what better describes your project:


  • Apartment building

  • Single-family home

This is just informational and does not change anything for you.


Free calls from 2N units to mobile phones for residential sites

Those who meet the requirements can have free calls from and to intercoms within a single residential unit. However, several conditions must be met.

For the intercoms, these are:

  • Valid only for new sites (created after 24. February 2025)
  • Valid for intercoms that were added to My2N site after 24. February
  • Valid for residential sites only (single-family homes and apartment buildings)
  • only one apartment per site even with multiple intercoms

WARNING: This does not apply to any OEM units, its for 2N devices only.

For indoor units its:

  • Applies to new residential sites created in My2N after 15th October 2025
  • Valid for indoor stations added to My2N site after 15th October 2025
  • Each indoor station comes with a free apartment license (calling up to four mobile phones)
  • Applies to all 2N OS-based indoor stations (2N Indoor View, 2N Indoor Compact, 2N Clip, 2N Clip 2wire-IP, 2N Indoor Talk), as well as 2N Indoor Touch 2.0. The 2N IP Handset and the 2N IP Phone D7A are excluded.


Commercial (ideal for office or mixed-use buildings)

When you select the "Commercial" site model  you basically decide to pay paid My2N services Per Device.

    • Those paid devices are smartphones, tablets, answering units of other manufacturers, IP phones of other manufacturers but, 2N® IP Handset, 2N® IP Phone D7A and the 2N® SIP Speaker Horn as well

          If you decide to choose this model, you will see a new window where you are required to say again what better describes your project:

image 2221.jpg


    • Office (self-explained by itself).
    • Mixed-use, in case the buiillding contains offices and residentials sections.
    • And Other, in case you don't find a category in which can your project belong.

And again, whatever is your choice within those 3 choices, it does change anything. This is just informational.


  • Note -If you want to change the site type from commercial to residential, all mobile devices and indoor units must be assigned to an apartment.


Examples


Residential

Apartment model allows for easy and cost effective management of Intercom units, Answering units and Smartphone units.

Intercom units are common for all Apartments and therefore it is not recommended to assign Intercom units directly to the Apartments.

Creating an Apartment

In this example, we will use an Intercom unit at the door (IP Base), an Answering Unit in the Apartment (Indoor View) and two Smartphone devices.

  • To create a new Apartment, select "Apartments" (1) tab and click on the "Create Apartment" (2)

  • Configure the FloorNumber and the Apartment name of the housing unit

  • Finish by clicking the confirmation "Create Apartment" (3) button

My2N Apartment Building - Creating an Apartment

Creating an Intercom

Once the Apartments are created, add the Intercom:

  • Click on the "Devices" (1) tab and then on the "Add Device" (2)

  • Fill out the Serial Number and Security Code 

  • Do not assign it to any Apartment

  • Finish by clicking "NEXT" (3)

My2N Apartment Building - Creating an Intercom

Creating a User/Smartphone Device

Next step is to create a User, a Smartphone Device and assign both of them into an Apartment:

  • You can assign up to 4 Smartphones/Tablets or 3rd Party devices into the standard My2N Apartment

  • Click on the "Devices" (1) tab, then on the "Add Device" (2)

  • Create a new user or select already existing one (3)

  • Fill out the credentials and then assign the device to the corresponding Apartment (4)

  • Complete the process by clicking "NEXT" (5)

My2N Apartment Building - Creating a User/Smartphone Device

Creating an Answering Unit

The 2N Answering units are free of charge. Every answering unit (2N answering unit, smartphone or 3rd party device) must be assigned to an Apartment:

  • You can assign multiple Answering Units to a one Apartment

  • Click on the "Devices" (1) tab, then on the "Add Device" (2)

  • Fill out the Serial Number and Security Code 

  • Assign the corresponding Apartment (3)

  • Finish by clicking "NEXT"

My2N Apartment Building - Creating an Answering unit

Setting Cloud mode for the 2N Answering Unit

Set the configuration mode of the 2N Answering units to "Cloud":

  • Click on the "Devices" (1) tab

  • Locate the Answering unit and click on it

  • Locate the "Connection mode" (2) and switch it to "Cloud" (2)

  • Lastly click on "SAVE CHANGES" (3)

My2N Apartment Building - Answering unit Cloud Mode

Intercom call settings

Last step of basic Apartment site configuration is to set the Call Settings in the Intercom:

  • Click on the "Devices" (1) tab and then select the corresponding Intercom (in our example IP Base)

  • In the Intercom device, click on the "Call Settings" (2) tab on the top

  • Under the "Call destination" select the corresponding Apartment (3) from the dropdown menu
    • Under "Button label" you can set the name of the QuickDial button for the Apartment

    • If no label is selected, the name of the Apartment will be used (in this example it would be "G-A1")

  • You can also create a different Phonebook to restrict Mobile Video access to certain Intercoms

My2N Apartment Building - Intercom Call Settings

Apartment Overview

Once all Smartphone devices and Answering units have been added, you can check the list of Apartments and the number of active devices inside:

  • Click on the "Apartments" (1) tab and the list of Apartments (2) will show up

  • Each Apartment has a Name, Floor, Access (if enabled), number of Devices, number of Users, Paid Services toggle and Apartment Status

  • The status bar under "Devices" shows the current number of licensed devices inside the particular apartment

    • Each green bar represents a one Smartphone/3rd party device

    • 2N Answering Units are not represented by the green bar, as they do not require a license 

  • The total number of devices of the Apartment is shown next to the status bar

    • This includes Smartphones/3rd party devices and 2N Answering units

Commercial

Commercial type of site can be applied to office buildings, Mixed-use buildings or to any other building which does not match with any listed purposes. In this example we will use one Intercom (2N IP Solo), 1 Answering unit (2N Clip) and 1 Smartphone device.


  • Note -If you want to change the site type from commercial to residential, all mobile devices and indoor units must be assigned to an apartment.

Creating an Intercom

  • Click on the "Devices" (1) tab and "Add Device" (2)

  • Fill out the Serial Number and Security Code of the device

  • Finish the device registration clicking on "NEXT" (3)

My2N Other Type - Creating an Intercom

Creating an Answering unit

  • Click on the "Devices" (1) tab and "Add Device" (2)

  • Fill out the Serial Number and Security Code of the device

  • Finish the device registration clicking on "NEXT" (3)

My2N Other Type - Creating an Answering Unit  

Setting the Cloud mode for the 2N Answering unit

Set the configuration mode of the 2N Answering units to "Cloud":

  • Click on the "Devices" (1) tab

  • Locate the Answering unit and click on it

  • Locate the "Connection mode" (2) and switch it to "Cloud" (2)

  • Lastly click on "SAVE CHANGES" (3)

My2N Other Type - Answering Unit Cloud Mode

Creating a Smartphone device

In this example, we will create a Smartphone Device with a name of "Receptionist":

  •  Click on the "Devices" (1) tab and "Add Device" (2)
  • Select "Smartphone or tablet" and "Create a new user"

  • Input the user credentials
  • Finish adding the device by clicking on "NEXT" (3)

My2N Other Type - Adding a Smartphone   

Intercom Call Setting

In order for the Intercom to reach the added devices, you will have to configure the Call settings in on the Intercoms device page:

  • Select the Intercom unit from "Devices" (1) tab

  • Click on "Call Settings" (2) on the top

  • Select the devices to be called under "Call Destination", from the dropdown menu (3)
  • Lastly save the changes made, by clicking on the "SAVE" (4)

My2N Other Type - Intercom Call Settings

Intercom Switch Codes

You can also set the switch codes which will appear in the My2N app:

  • Click on the "Devices" (1) tab and select the Intercom unit (in this example IP Solo)

  • On the top, select the "Switch codes" (2)

  • Next, enable the switch by turning on "Managed by My2N", enter DTMF code and name (3) of the unlock button

  • Lastly click on the "SAVE" (4) button


My2N Other Type - Switch Codes


However, in ALL TYPES OF SITES MODELS, you will have the possibility to create apartments and eventually, be able to call all devices belonging to the same apartment in call settings. Apartments are mandatory if you choose Residential model, but just optional in case you choose Commercial model.


Esta página foi útil?