You can set the 2N answering units to unlock up to multiple locks either during a call or without a call.
2N IP Intercom configuration
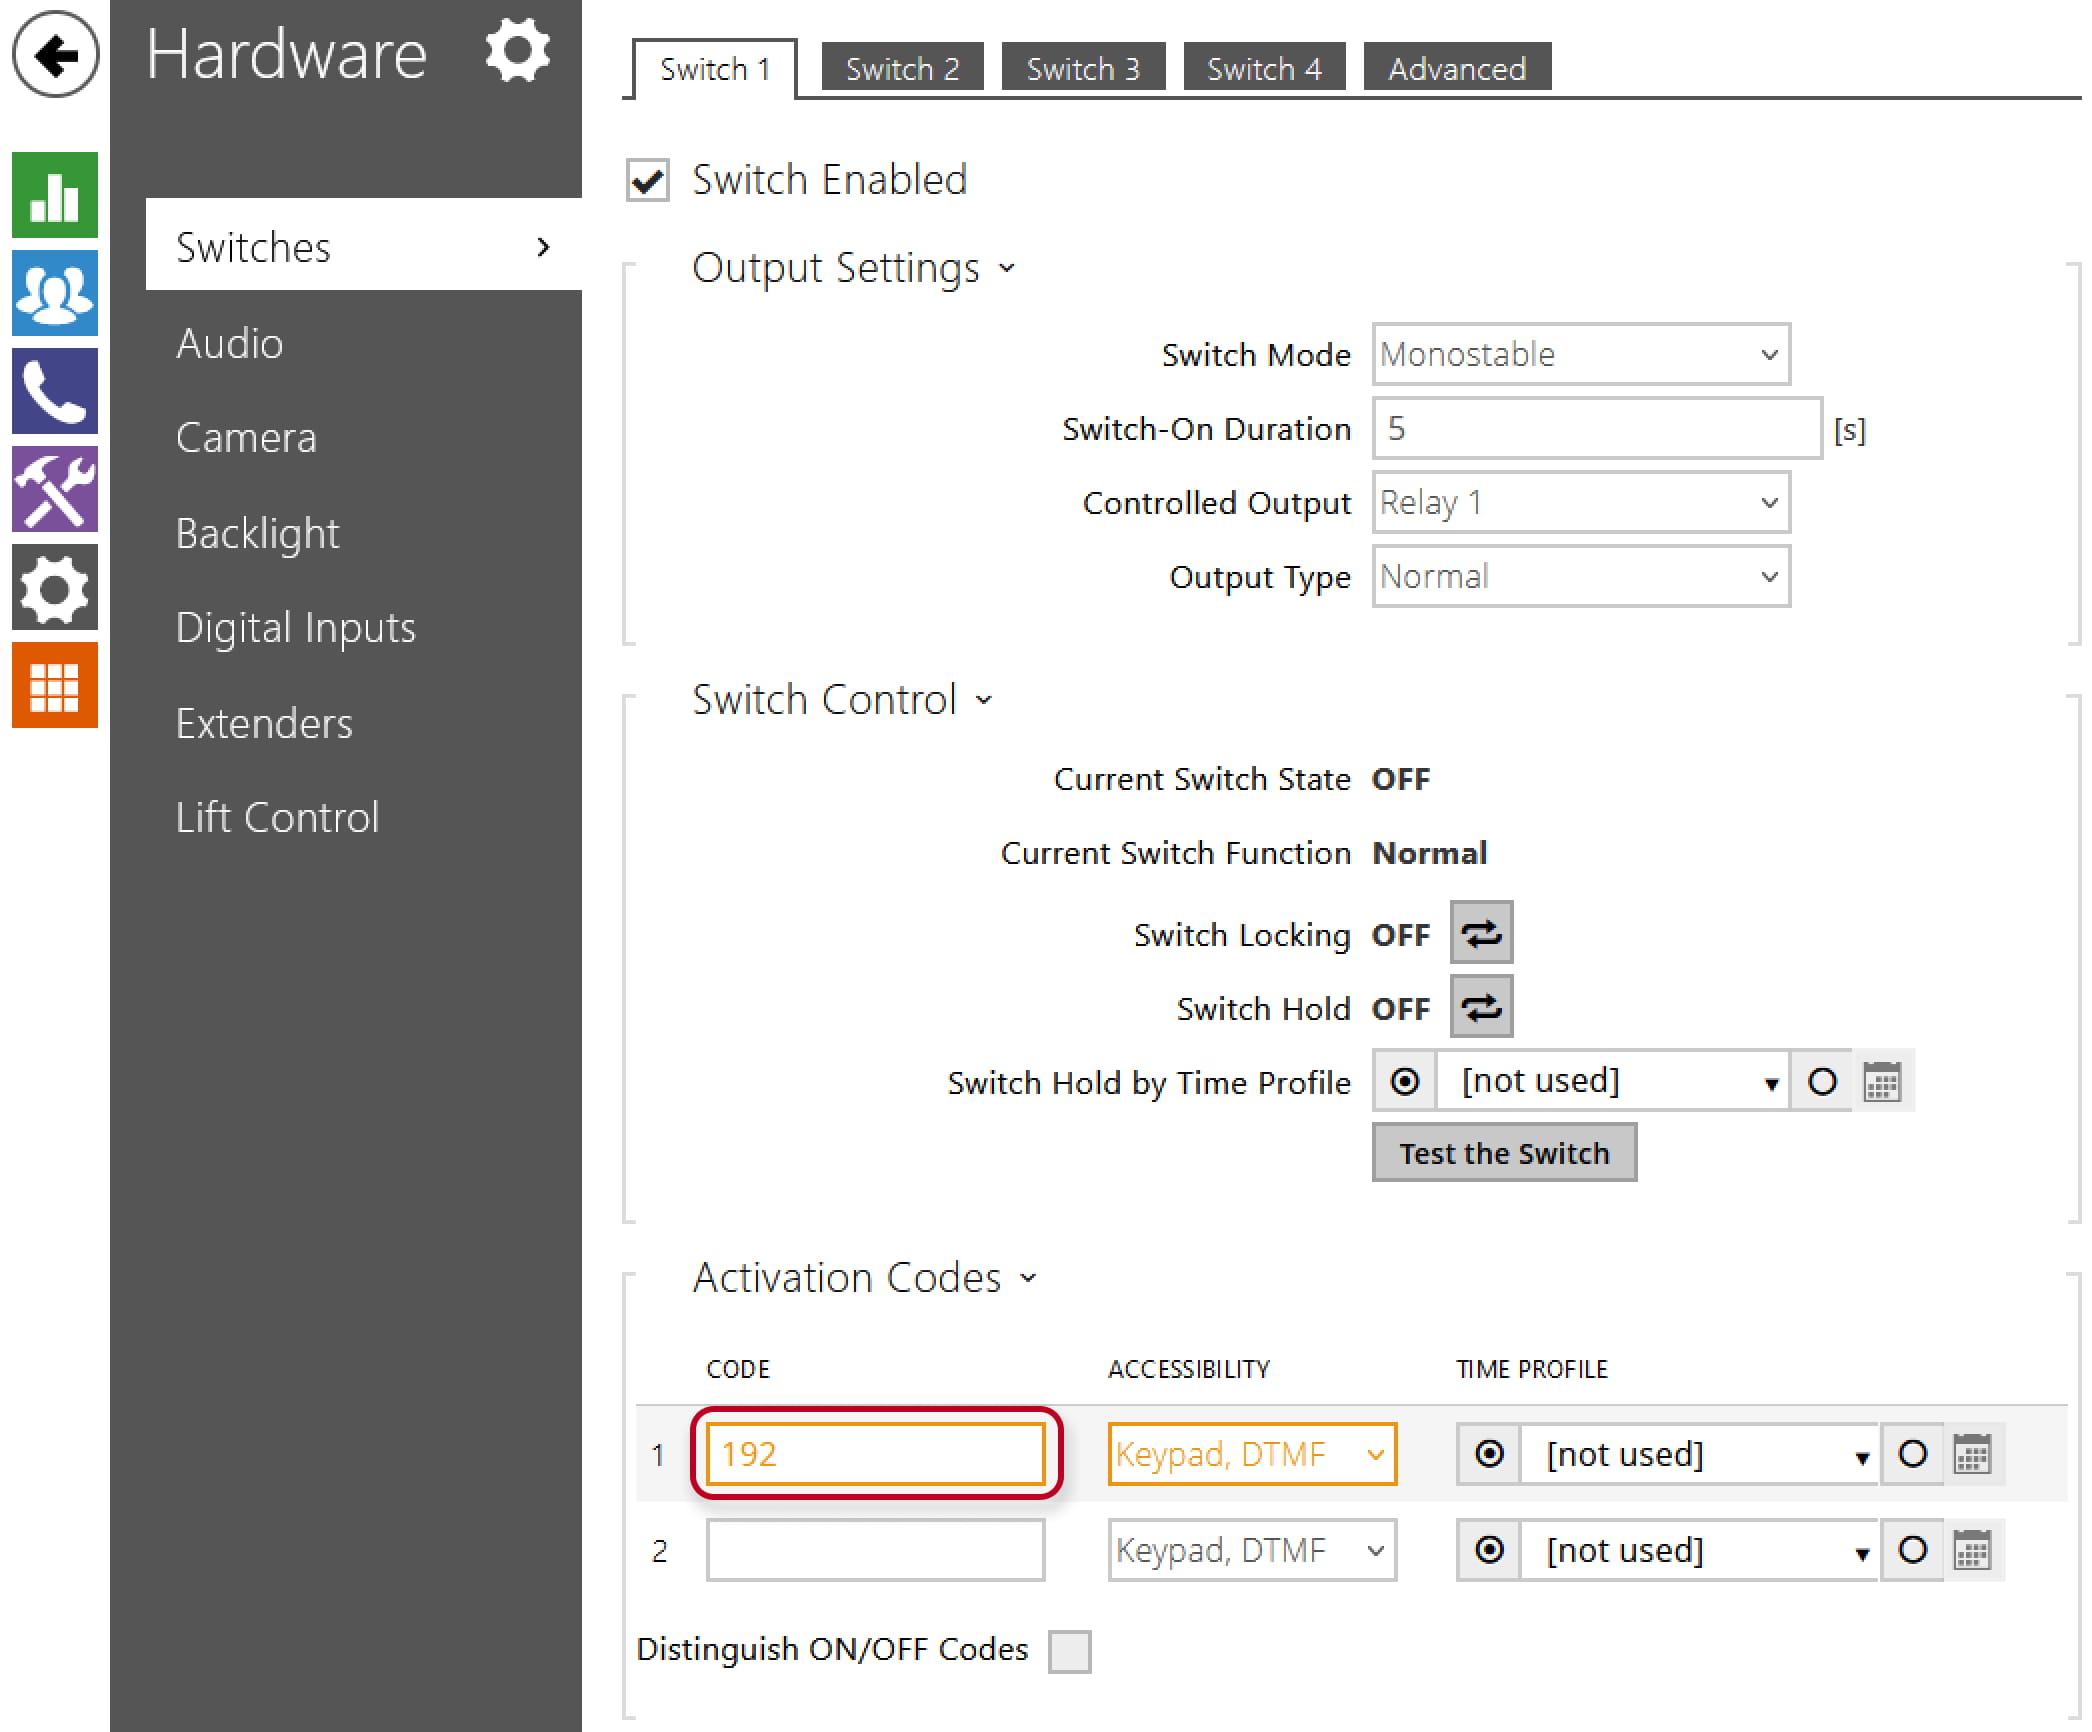
First, you need to set activation codes for switches in the intercom. Go to the “Hardware -> Switches” section in the web interface and set different codes for each switch. You can also choose desired controlled output or set the HTTP command for each switch.
2N Indoor Talk configuration
After setting the Activation codes in the IP intercom, go to the web interface of the 2N Indoor Talk. Then go to the “Directory -> Devices -> “Added intercom” -> Unlock Button Function” section and fill in the Switch activation codes there.

After that everything is set correctly, and you can open the first lock/switch on the 2N Indoor Talk by short-pressing the Lock symbol and by long-pressing the lock symbol you open the second lock.
2N Indoor Compact configuration
After setting the Activation codes in the IP intercom, go to the web interface of the 2N Indoor Compact. Then go to the “Directory -> Devices -> “Added intercom” -> Unlock Button Function” section and fill in the Switch activation codes there.
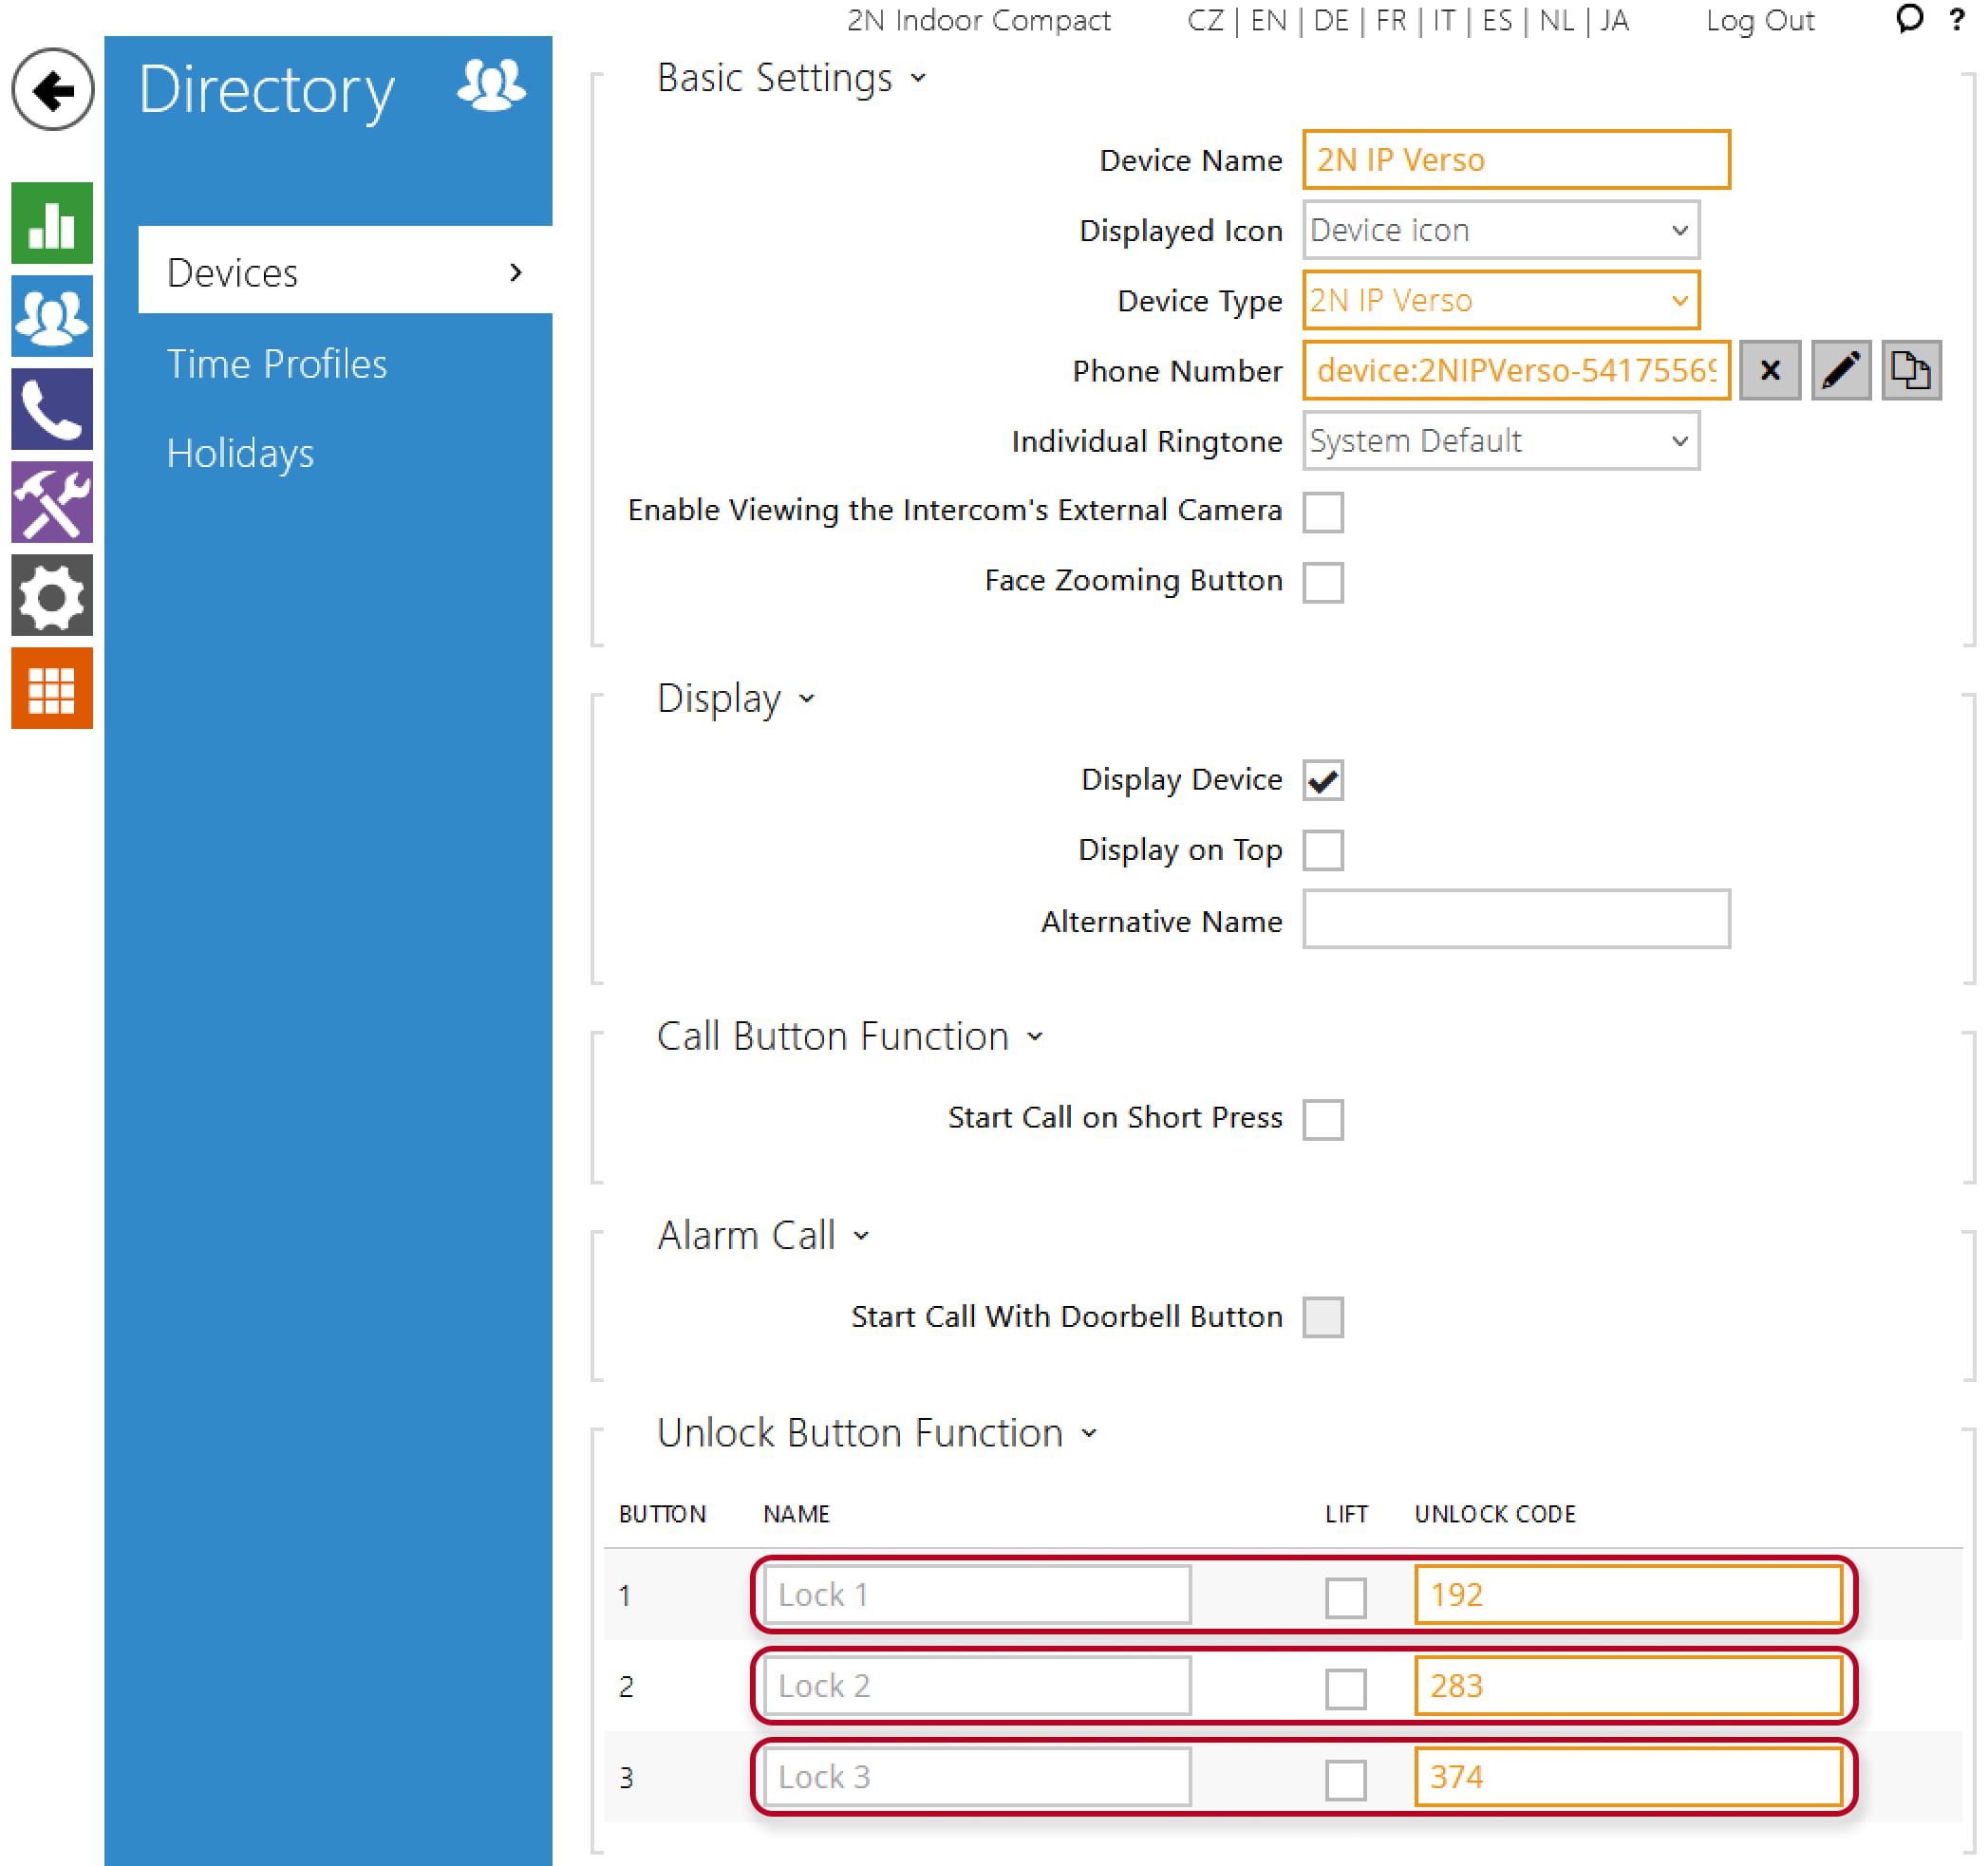
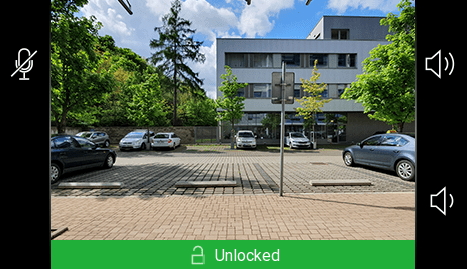
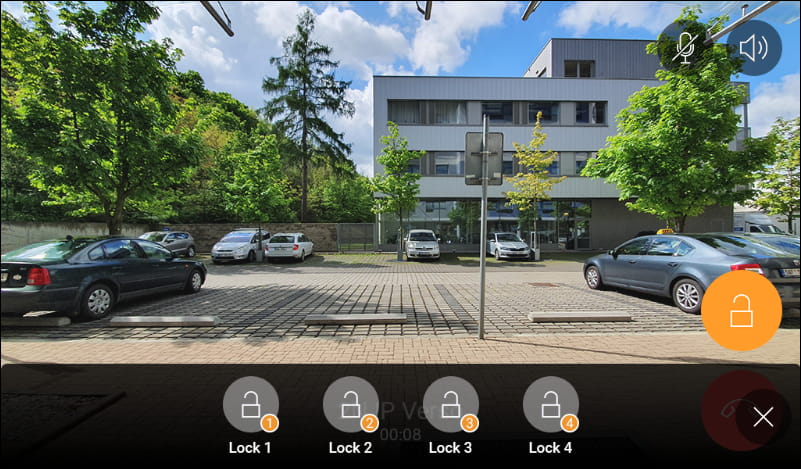
After that everything is set correctly, and you can open desired lock/switch on the 2N Indoor Compact by clicking on the Lock symbol and choosing the lock.

2N Indoor View configuration
After setting the Activation codes in the IP intercom, go to the web interface of the 2N Indoor View. Then go to the “Directory -> Devices -> “Added intercom” -> Unlock Button Function” section and fill in the Switch activation codes there.

After that everything is set correctly, and you can open desired lock/switch on the 2N Indoor View by clicking on the Lock symbol and choosing the lock.
Last update
-
2024-11-12
Devices Used
-
2N IP Verso (FW v2.45.0.59.2)
-
2N Indoor Talk (FW v2.44.0.57.3 )
-
2N Indoor Compact (FW v2.45.0.59.2 )
-
2N Indoor View (FW v2.45.0.59.2 )
Licences required
-
License is not needed – standard function