In default setting, 2N IP Intercom uses a dynamic mode, the IP address is obtained from DHCP server.
In case you need to use a static IP address, you set it in the device web interface or by quick dial button.
Prerequisites
- 2N IP Intercom connected to local network;
no additional license is required
Web interface method
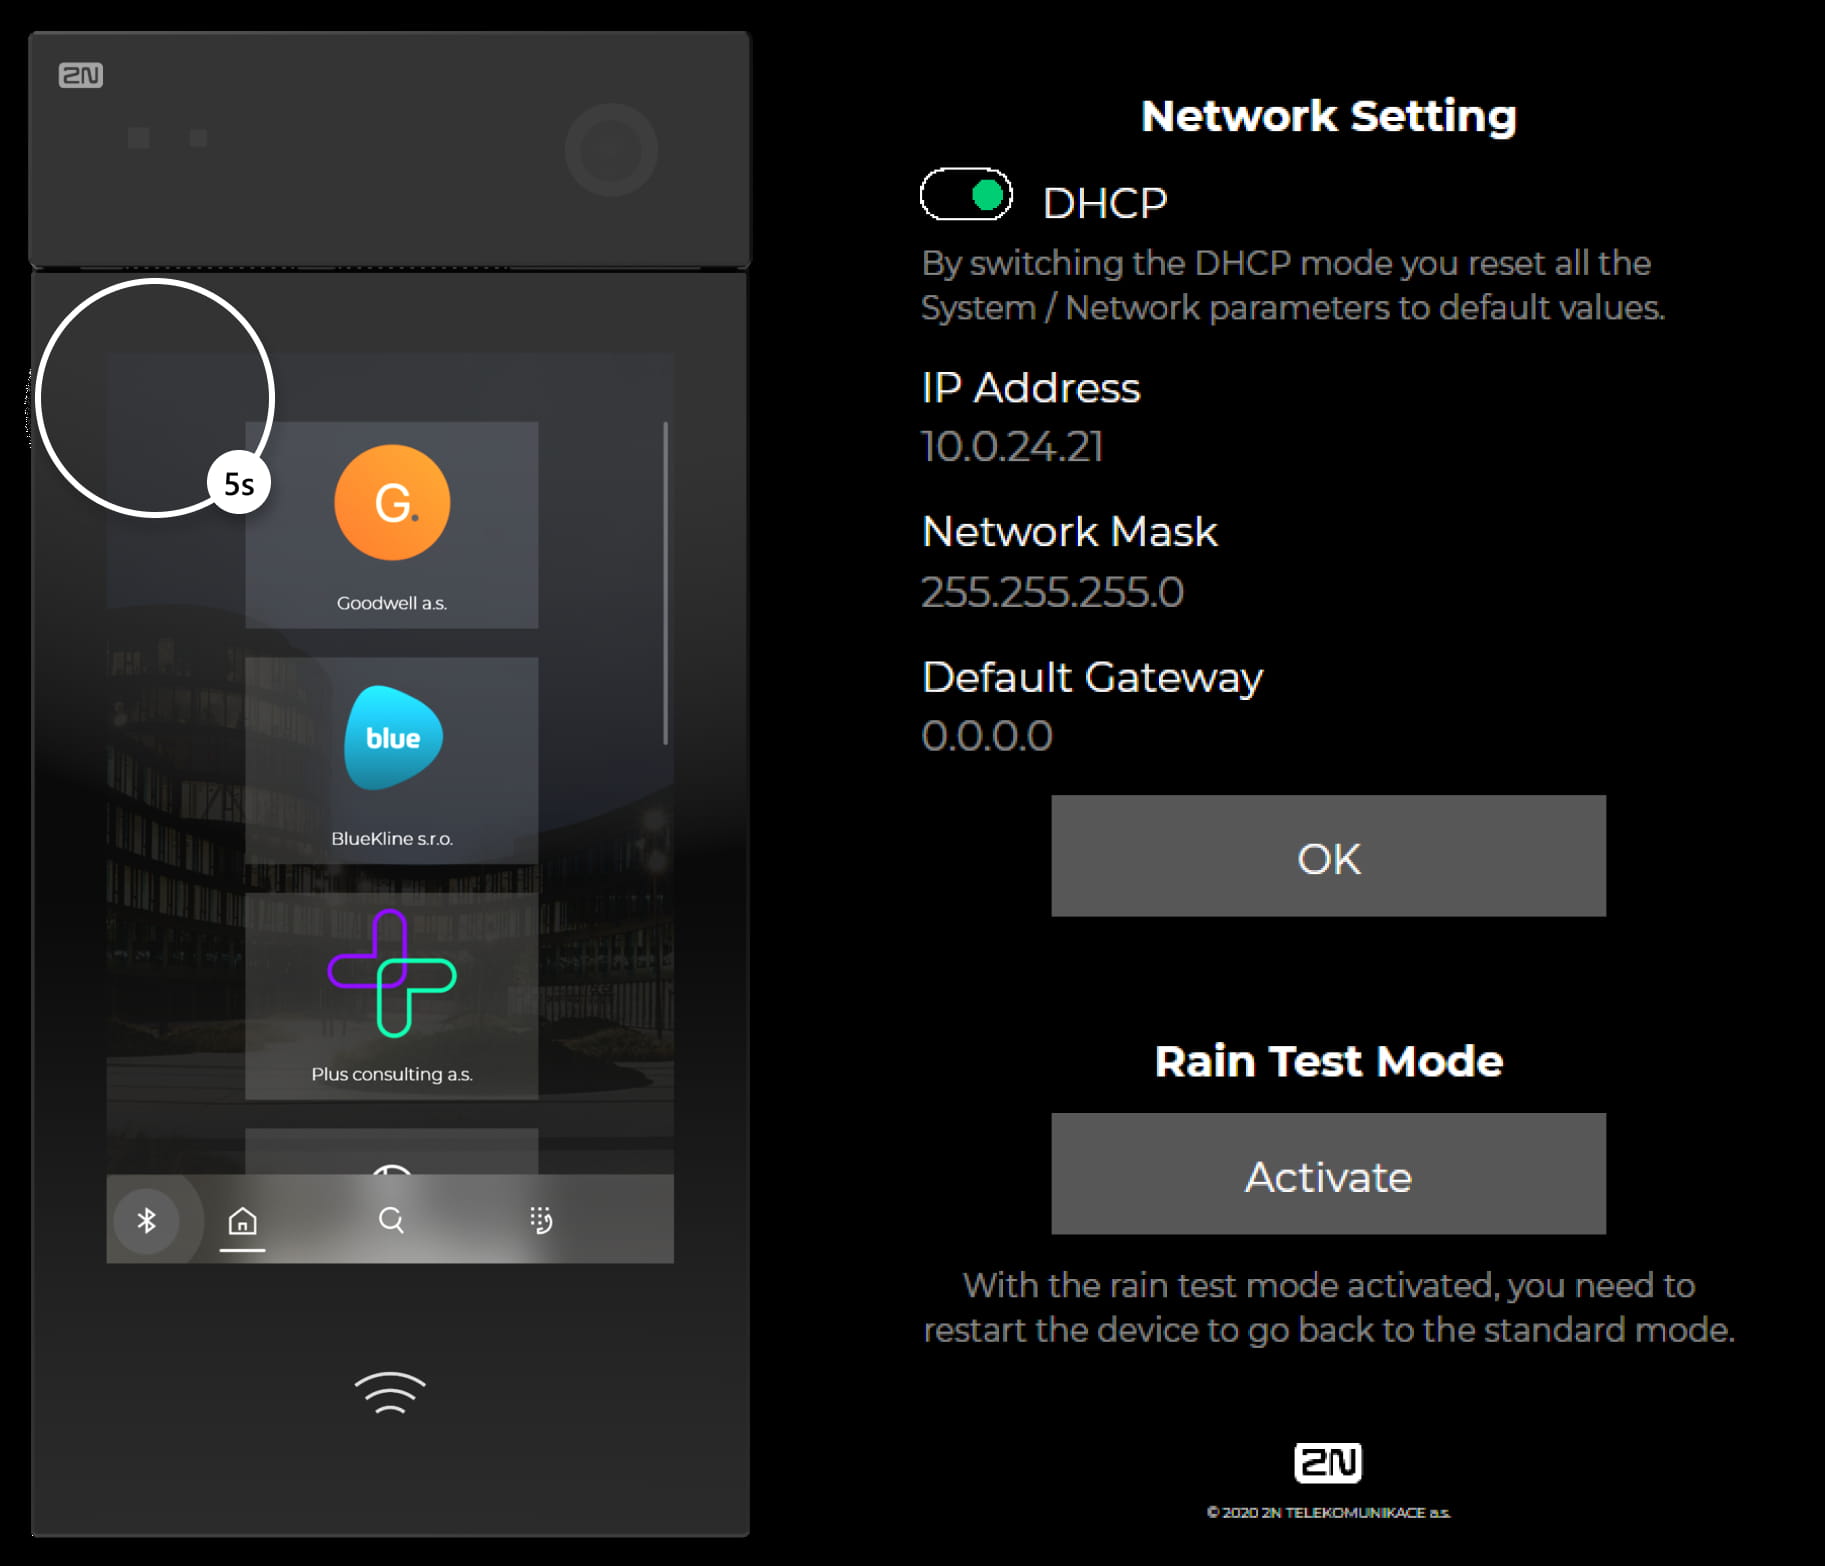
- Go to device web interface, section System - Network - Basic,
disable the option "Use DHCP Server" and enter the network parameters.

-
-
Static IP Address
Static IP address of the intercom, which is used together with the below mentioned parameters
if the Use DHCP Server parameter is disabled. -
Network Mask
Subnet identification. -
Default Gateway
Address of the default gateway, which provides communication with off-LAN equipment. -
Primary DNS
Primary DNS server address for translation of domain names to IP addresses. -
Secondary DNS
Secondary DNS server address, which is used in case the primary DNS is inaccessible.
-
Quick dial button method
In case that you do not have the possibility to change the settings via web interface, you can do it manually via quick dial buttons. The following network parameters will be set after the static IP address mode is switched on and the device is restarted:
IP address: 192.168.1.100
Network mask: 255.255.255.0
Default gateway: 192.168.1.1
- Connect (or, if connected, disconnect and reconnect) 2N IP Intercom to the power supply.
- Wait for the first sound signal.

- Now you have only 30 seconds (from security reasons) to apply the quick dial button procedure according to your 2N device model. After this time it won´t work and you must restart the device again.
Click below to see the instructions.2N IP Base
- Press 15 times the first quick dial button on the unit.
Up to 2s intervals are allowed between the presses.
-
Switching is signalled with the sound signal, the device will restart automatically.

-
The device has now static IP address.
You can repeat the procedure to return back to DHCP address.
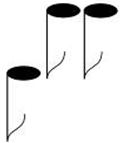
2N IP Force
The procedure is different according to number of buttons.
-
1 or 2 buttons
-
Press 15 times the first quick dial button on the unit.
Up to 2s intervals are allowed between the presses.
-
Switching is signalled with the sound signal, the device will restart automatically.
-
The device has now static IP address.
You can repeat the procedure to return back to DHCP address.
-
-
4 buttons
- Press buttons 1, 1, 1, 2, 2, 3 sequentially.
Up to 2s intervals are allowed between the presses.
- Press buttons 1, 1, 1, 2, 2, 3 sequentially.
-
-
-
Switching is signalled with the sound signal, the device will restart automatically.
-
The device has now static IP address.
You can repeat the procedure to return back to DHCP address.
-
-
2N IP One
- Press 15 times the quick dial button on the unit.
Up to 2s intervals are allowed between the presses.
-
Switching is signalled with the sound signal, the device will restart automatically.
-
The device has now static IP address.
You can repeat the procedure to return back to DHCP address.
2N IP Safety
- Press 15 times the first quick dial button on the unit.
Up to 2s intervals are allowed between the presses.
-
Switching is signalled with the sound signal, the device will restart automatically.
-
The device has now static IP address.
You can repeat the procedure to return back to DHCP address.
2N IP Solo
- Press 15 times the quick dial button on the unit.
Up to 2s intervals are allowed between the presses.
-
Switching is signalled with the sound signal, the device will restart automatically.
-
The device has now static IP address.
You can repeat the procedure to return back to DHCP address.
2N IP Style
This device has no physical quick dial button but you can use the touch display to enter the Network Setting.
-
Place your finger in the left-hand upper corner of the display for approx. 5 s.
2N IP Uni
- Press 15 times the first quick dial button on the unit.
Up to 2s intervals are allowed between the presses.
-
Switching is signalled with the sound signal, the device will restart automatically.
-
The device has now static IP address.
You can repeat the procedure to return back to DHCP address.
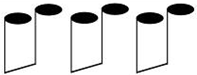
2N IP Vario
The procedure is different according to number of buttons on the main unit.
-
1 button
-
Press 15 times the quick dial button on main the unit.
Up to 2s intervals are allowed between the presses.
-
Switching is signalled with the sound signal, the device will restart automatically.
-
The device has now static IP address.
You can repeat the procedure to return back to DHCP address.
-
-
3 buttons
- Press buttons 1, 1, 1, 2, 2, 3 sequentially.
Up to 2s intervals are allowed between the presses.
- Press buttons 1, 1, 1, 2, 2, 3 sequentially.
-
-
Switching is signalled with the sound signal, the device will restart automatically.
-
The device has now static IP address.
You can repeat the procedure to return back to DHCP address.
-
-
6 buttons
- Press buttons 4, 4, 4, 5, 5, 6 sequentially.
Up to 2s intervals are allowed between the presses.
- Press buttons 4, 4, 4, 5, 5, 6 sequentially.
-
-
Switching is signalled with the sound signal, the device will restart automatically.
-
The device has now static IP address.
You can repeat the procedure to return back to DHCP address.
-
2N IP Verso and 2N IP Verso 2.0
- Press 15 times the first quick dial button on the main unit.
Up to 2s intervals are allowed between the presses.
-
Switching is signalled with the sound signal, the device will restart automatically.
-
The device has now static IP address.
You can repeat the procedure to return back to DHCP address.
- Press 15 times the first quick dial button on the unit.