CSV Synchronization - import / remove / update users and user's details
The steps in this article require using the web interface of a 2N device. Please follow this manual in case this is your first time using the web interface.
The nerve centre of our access control solution is 2N Access Commander. Use it for managing access to the building and monitoring the status of 2N access devices in real time.
It also enables synchronisation of users from a CSV file, including their contact and access data, so you can prepare / edit the list of users, their cards, codes, etc. in the file and then synchronise it within the 2N® Access Commander.
Prerequisities
-
2N® Access Commander the latest version
-
License Pro or Unlimited for 2N® Access Commander
- Optionaly your own FTP server for storing CSV file
Feature properties
-
Users can be imported into any Company within 2N Access Commander or deleted from it.
- Synchronisation is proceeded via a CSV file uploaded via the web interface or from the FTP network storage,
periodic synchronisation is supported.
- The following attributes can be imported:
- employee ID,
- user name,
- company,
- email,
- card number,
- code,
- 3 phone numbers,
- virtual number,
- groups.
CSV file preparing
- In the Access Commander's web interface, go to Settings - User synchronisation and download the sample CSV file.

- After opening the file you can see how to enter the parameters.

For a better orientation in the CSV file you can use a Visual Studio Code editor.
![]()
- Enter the parameters and save.
-
comma separated, no spaces;
-
in the case of an unused parameter, we simply do not write anything, so there will be more commas in a row depending on how many parameters we omit;
-
in the case of the "Group Call" and "Is Deleted" parameters, we give "TRUE" or "FALSE", depending on whether we want the next telephone number to be called in parallel with the previous one, or for the user to be or not to be deleted;
- in the case of two card numbers for the same user, do not write a comma between them, but a semicolon ";"
-
The file can get corrupted if you save it the wrong way.
It is necessary to to save it in UTF-8 coding and with EOL conversion to UNIX.
CSV file manual / automatic import from the FTP network storage
- Click on the pencil icon in the "User synchronisation" section to set up the synchronisation.

- Enter your FTP server details together with the name and suffix of the file.
If the file on the server is in a folder (e.g. "data"), the full path must be entered here, e.g. ftp://test.com/data/users.csv - Since the Access Commander 3.2 version it is possible to use the TLS secure connection with the TLS certificate verification option.


- Click on SAVE to proceed with the synchronisation.
It is possible to set a regular automatic synchronisation once per hour / day / week and its time.


- If all is right, the synchronisation is successful.

CSV file manual import via the web interface
- Click on the Import CSV file button and select your CSV file.


- After confirmation, if the file is fine, the synchronisation is successful.

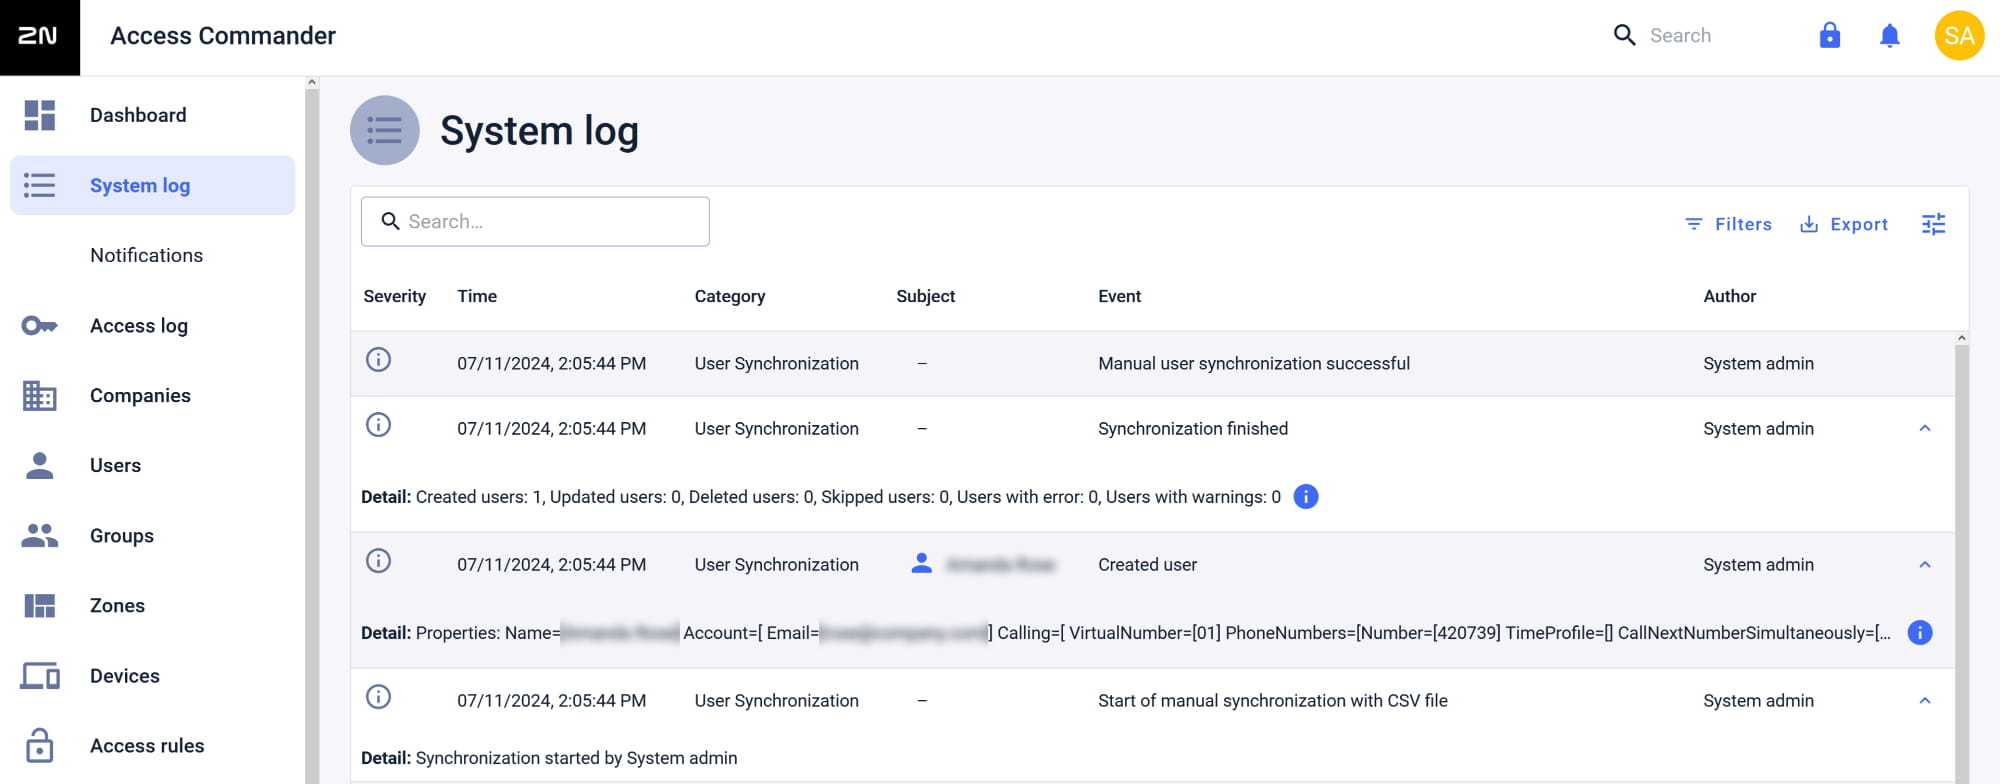
CSV file synchronisation check in System log
- You can check the state of the synchronisation in System log.