2N IP Intercoms – Integration with 3rd party NVR/VMS systems without ONVIF and RTSP
The steps in this article require using the web interface of a 2N device. Please follow this manual in case this is your first time using the web interface.
You've got a 2N IP intercom and would like to integrate it with your NVR or VMS systems. Your first choice would usually be to use ONVIF but this requires the GOLD license. Or maybe you'd just like to quickly take a look who's in front of your intercom from your web browser?
For cases like these, you can view the camera feed using HTTP API
Prerequisites
- 2N IP intercom with the latest firmware, equipped with a camera
No additional license is required.
HTTP API setup
- Access the camera feed securely, in section Services - HTTP API, keep the Secure (TLS) connection and Digest authentication.

- Then choose an Account, enable it, pick a Username and Password combination according to your preferences and in User Privileges enable Camera Access.

How to view the camera feed
- Enter the following string into any of the following programs and replace IP_address with your intercom's respective IP address.
https://IP_address/api/camera/snapshot?width=1280&height=960&fps=15
- You can adjust the following image parameters to save on bandwidth:
https://192.168.1.100/api/camera/snapshot?width=1280&height=960&fps=15- Width and Height define image resolution in pixels, 1280×960px is the maximum.
- FPS defines how many frames per second the stream will have, the maximum is 15.
- If you're getting poor framerate or would like to save on bandwidth while keeping high resolution and framerate, you can change the default JPEG compression quality down to 50.

Where to view the camera feed
- Web browser
The easiest way to view the camera feed would be from your web browser. Just enter the above string into your web browser's search field.
You'll be asked to enter the HTTP API Account credentials you filled in previously. Shortly after, the camera feed appears in your web browser.


- VLC media player
VLC media player can open various media formats, one of which are network streams.- Because VLC does not support digest authentication, at first we must go to the IP intercom web interface and change the Camera API authentication to Basic.

- Now in VLC, go to "Media - Open Network Stream".

- The following window opens, enter the above mentioned string.

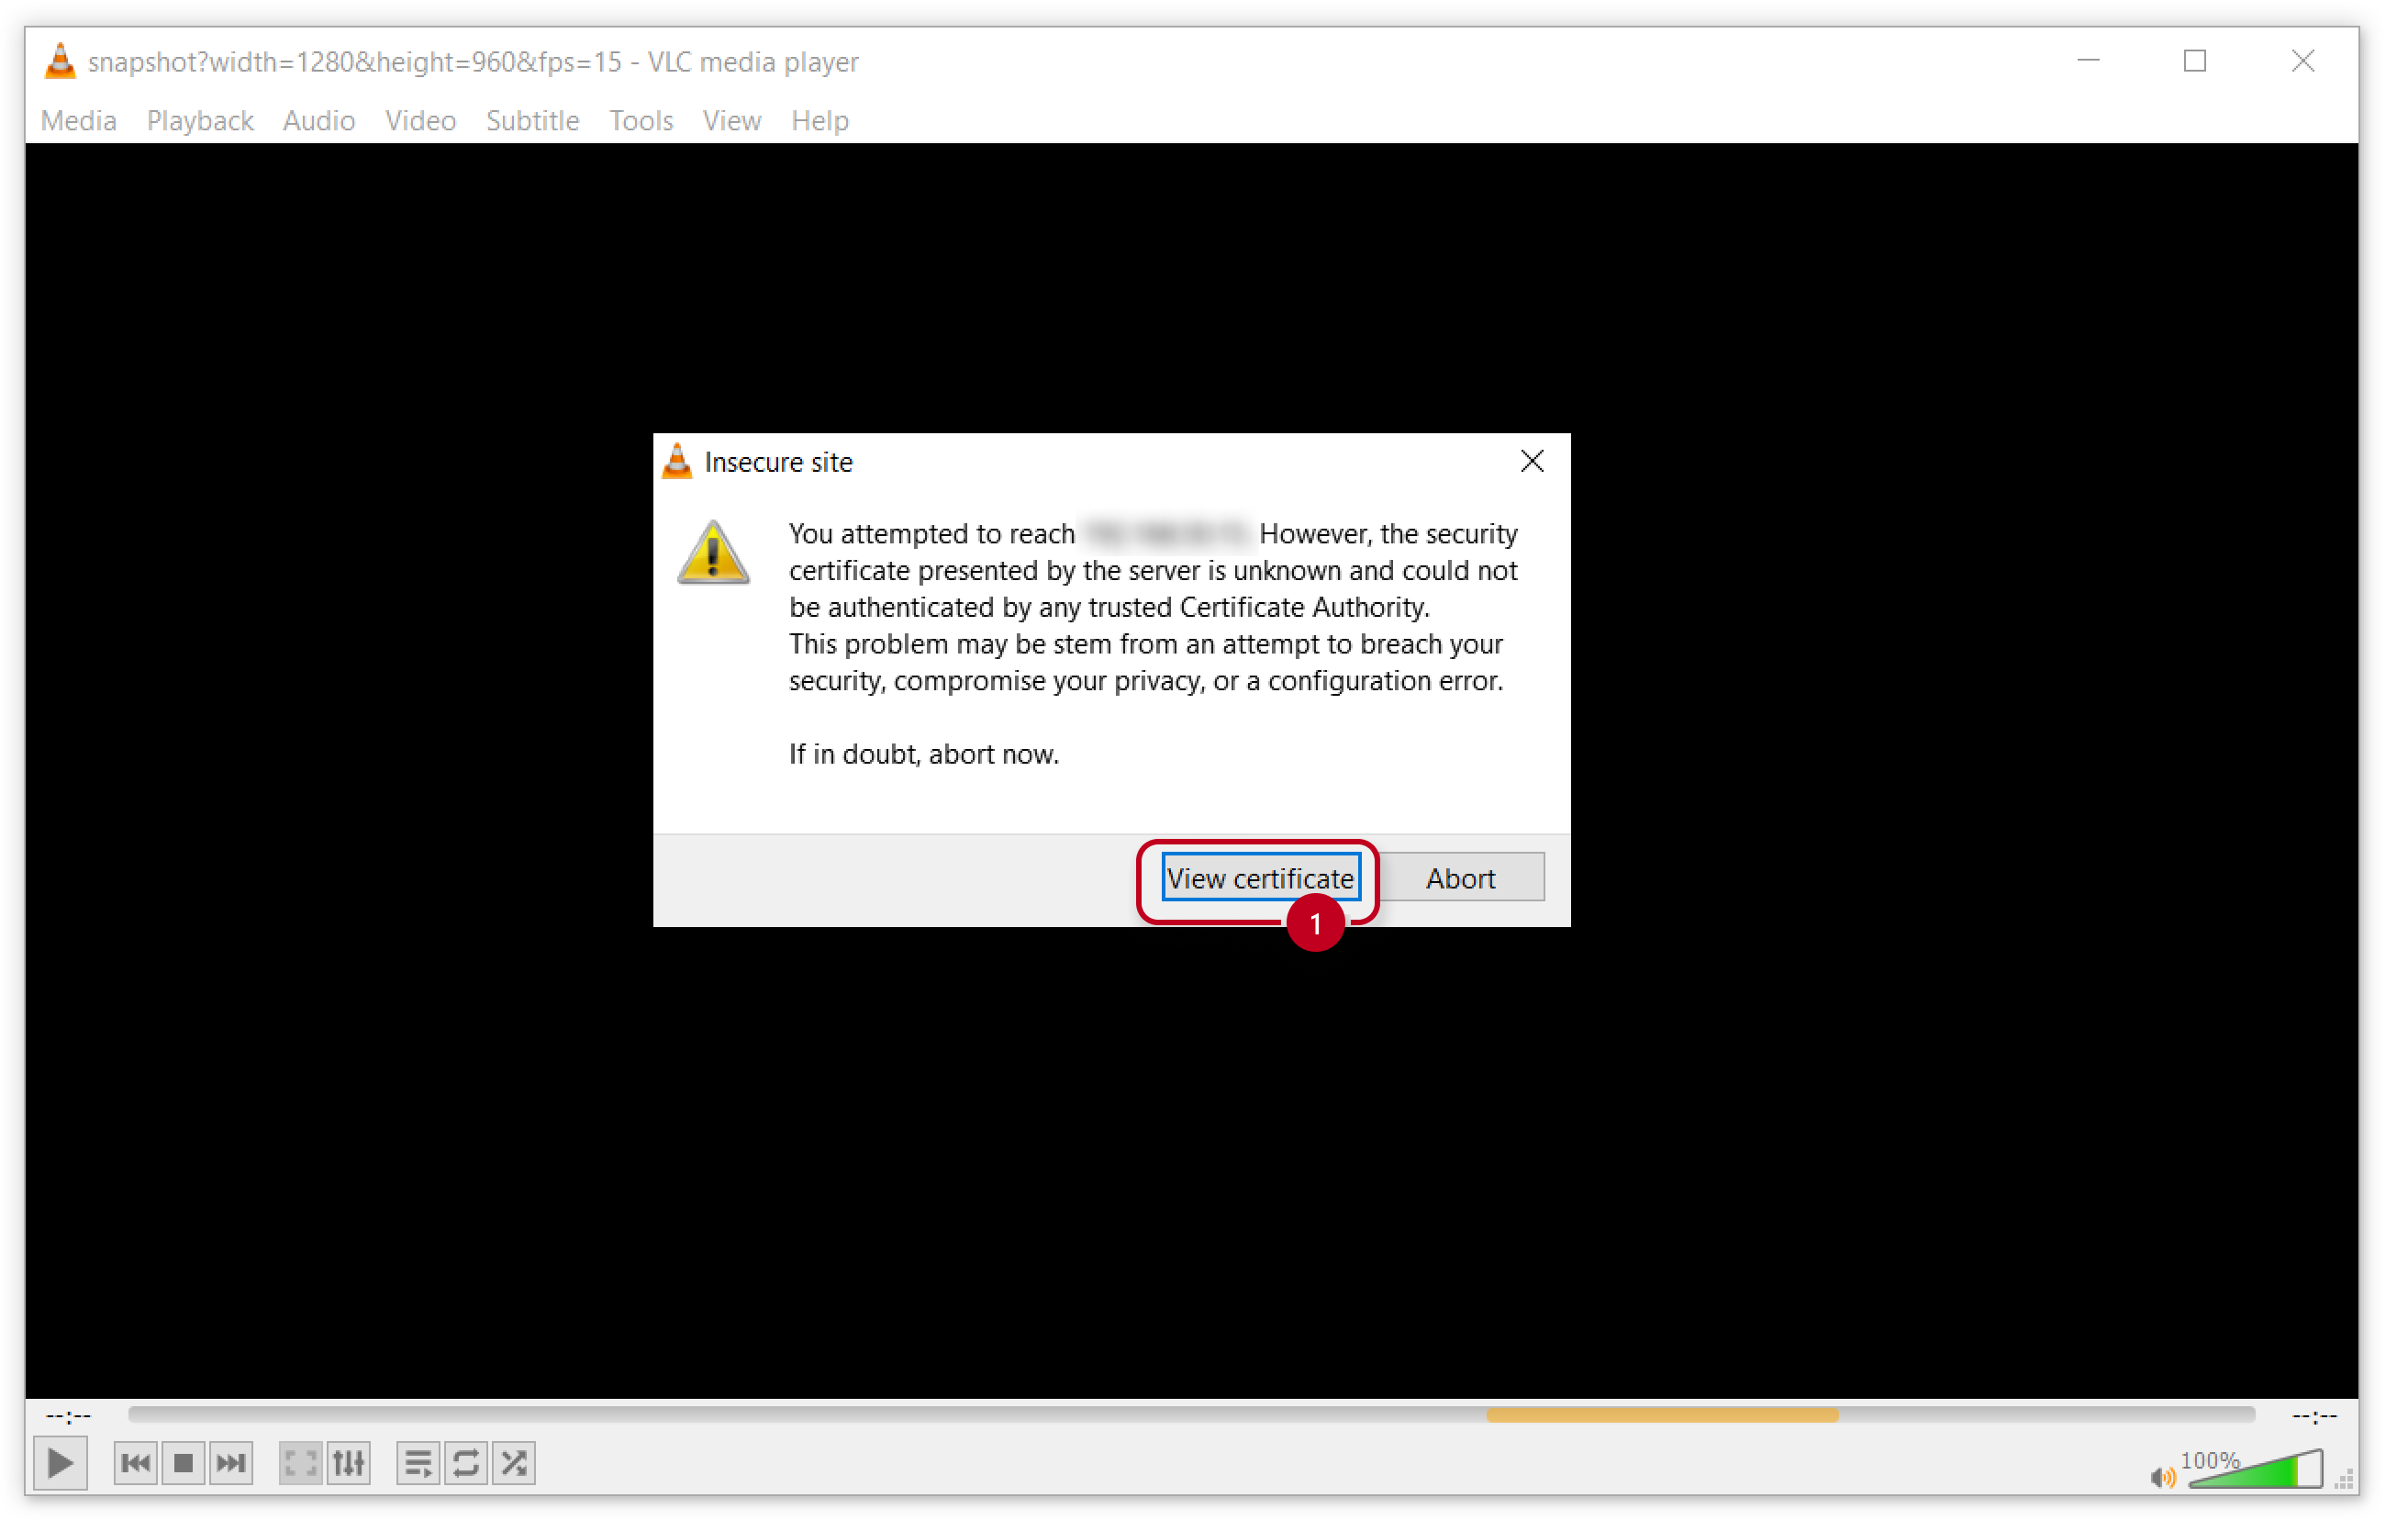
- If the IP intercom still has the self-signed HTTPS certificate, the following warning can be shown. To continue please view certificate and accept.

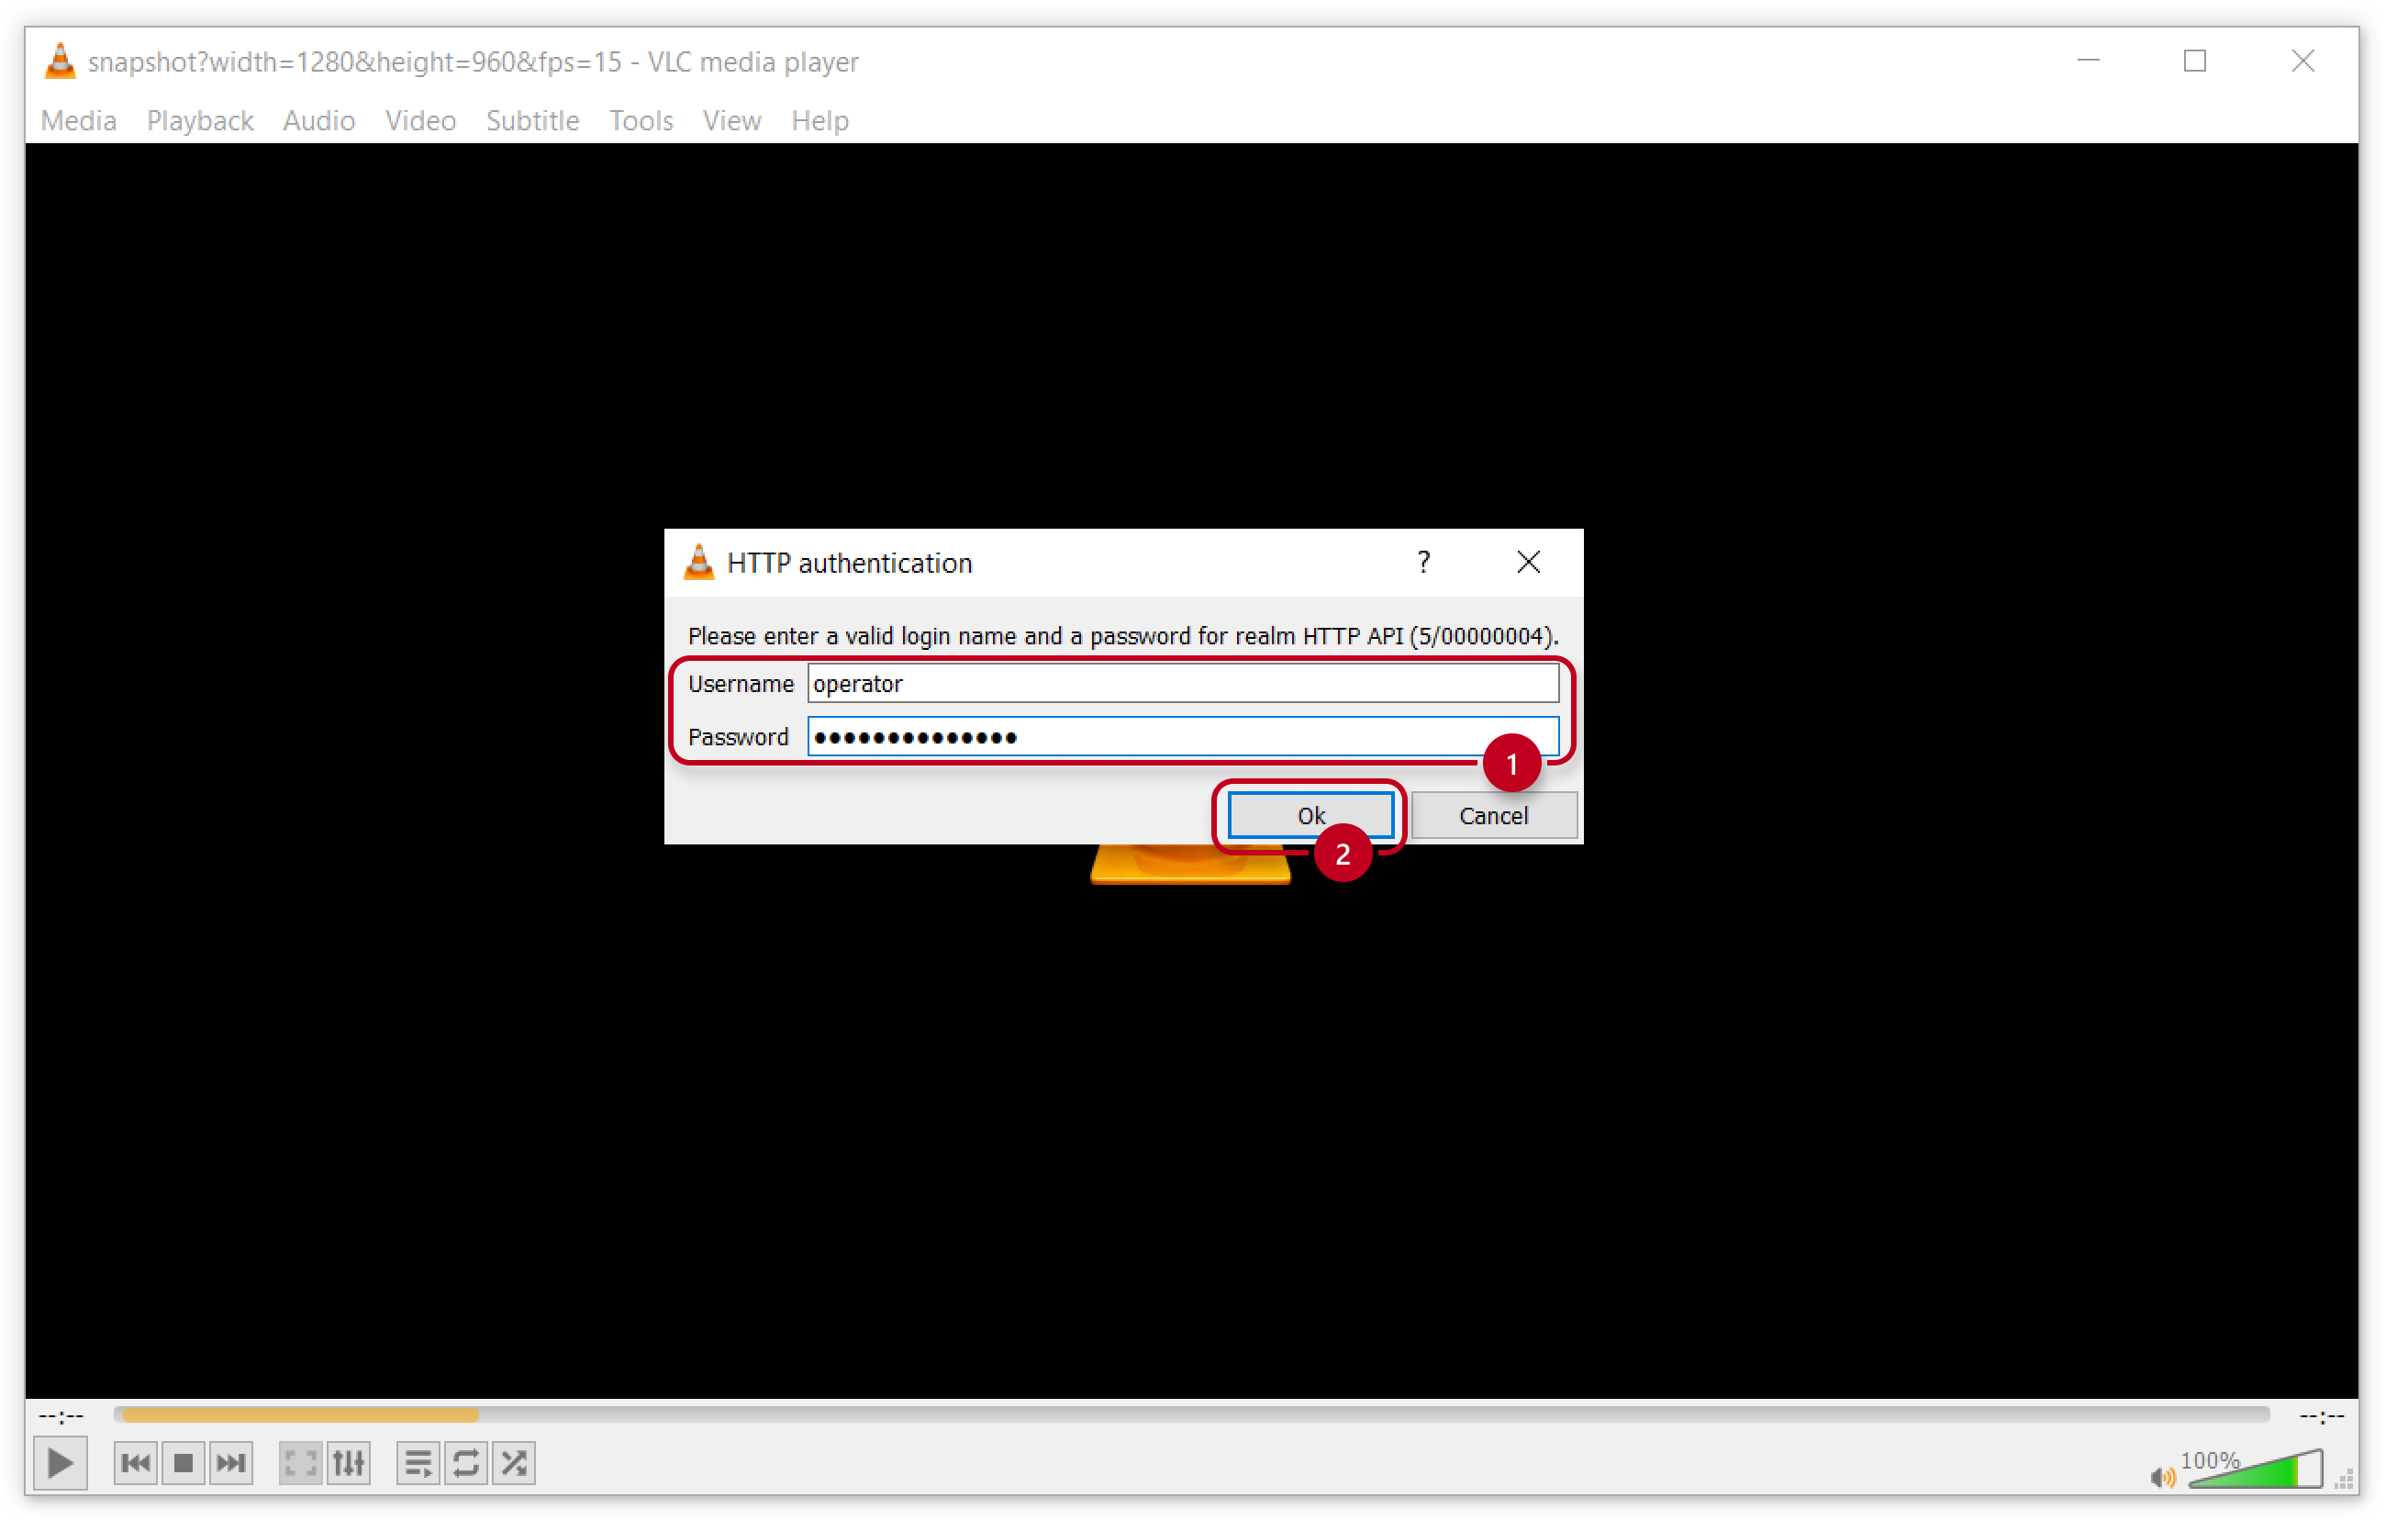
- Now you should be asked to enter the HTTP API Account credentials you filled in previously.
If you see some error message instead, close the message and repeat the previous steps.

- NVR and VMS systems
The same string would get you image in any NVR or VMS system that supports it.