The steps in this article require using the web interface of a 2N device. Please follow this manual in case this is your first time using the web interface.
2N IP Intercoms with a display allow you to upload your advertising video, which can be played after a predefined timeout. The video has to meet certain parameters; to meet them, you can use a 3rd party video converter described in this article.
Prerequisites
- 2N IP Intercom with a display and the latest firmware,
no additional license is required.
Supported devices:- 2N IP Verso with additional touch display module
- 2N IP Verso 2.0 with additional touch display module
- 2N IP Style
- A video file meeting the necessary parameters described in the table below, the "Video" column.
(in case of different parameters, use the 3rd party video converter)Image Video 2N IP Verso,
2N IP Verso 2.0
- file type: JPG / PNG / GIF
- resolution:
-
- 214 x 214 px
(to show the "Touch to start" text) - 214 x 320 px
(to hide the "Touch to start" text)
- 214 x 214 px
- file type: MP4
- resolution:
- 214 x 214 px
(to show the "Touch to start" text) - 214 x 320 px
(to hide the "Touch to start" text)
- 214 x 214 px
- maximum file size: 2 MB
- codec: H264
- Constrained Baseline Profile,
- Level up to 5.2
2N IP Style 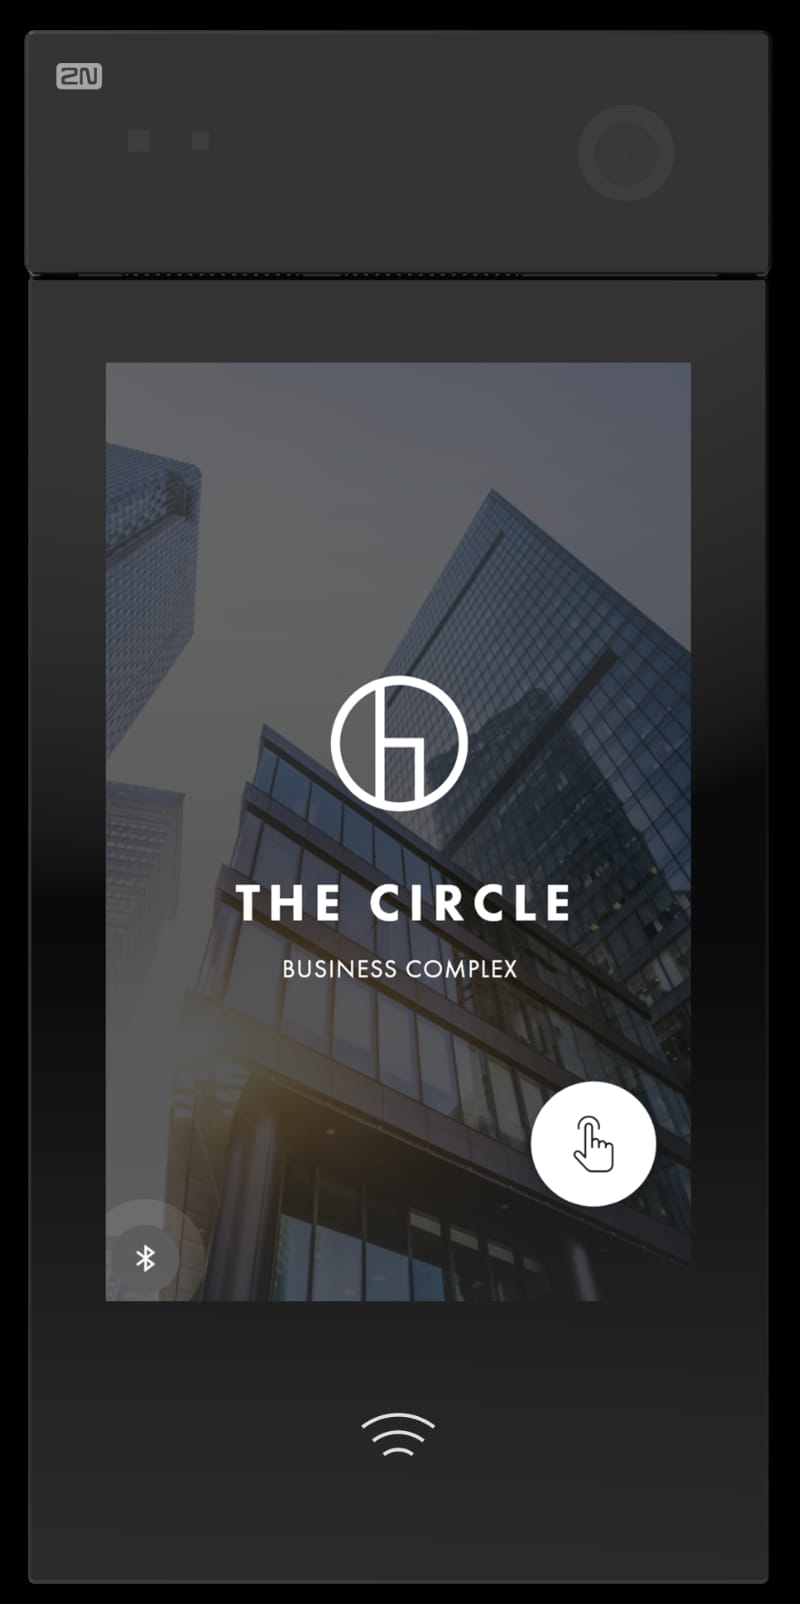
- file type: JPG / PNG / GIF
- resolution: 800 x 1280 px
- file type: MP4
- resolution: 400 x 640 px
- maximum framerate: 24 fps
- maximum file size: 7 MB
- codec: H264
- Constrained Baseline Profile,
- Level up to 3.0
Convert the video to meet the parameters
-
Download the open-source video converter HandBrake and install it.
-
After starting, choose a video you would like to encode.

-
In the Summary tab, select MP4 format.

- In the Dimensions tab,
- set "Anamorphic" to "None",
- disable "Optimal Size",
- set "Scaled Size" to required resolution.

- In the Video tab,
- set "Video Encoder" to "H.264 (x264)",
- set "Framerate (FPS)" to "15",
- enable '"Fast Decode",
- set "Encoder Profile" to "Baseline",
- set "Encoder level" not higher than the required value.

- In the Audio tab, you can delete any audio track to reduce the file size,
since audio will not be played by the intercom.

- In the Subtitles tab, you can delete any subtitles,
since they will not be showed by the intercom.

-
In the Chapters tab, disable "Create chapter markers"
and set the new encoded video's name in the "Save As" field.

- Now you can click on "Start Encode".
Once the encoding is finished, you will find the encoded video in the predefined folder.

Upload the video to the 2N IP Intercom
- Go to section "Hardware - Display".
To show the video on the display, set "Showcase Mode" to "Slideshow".
Adjust "Showcase Mode Delay", after that the video is displayed.

- Go to Slideshow tab, upload your video there and save.


- Wait until the video appears on the display.