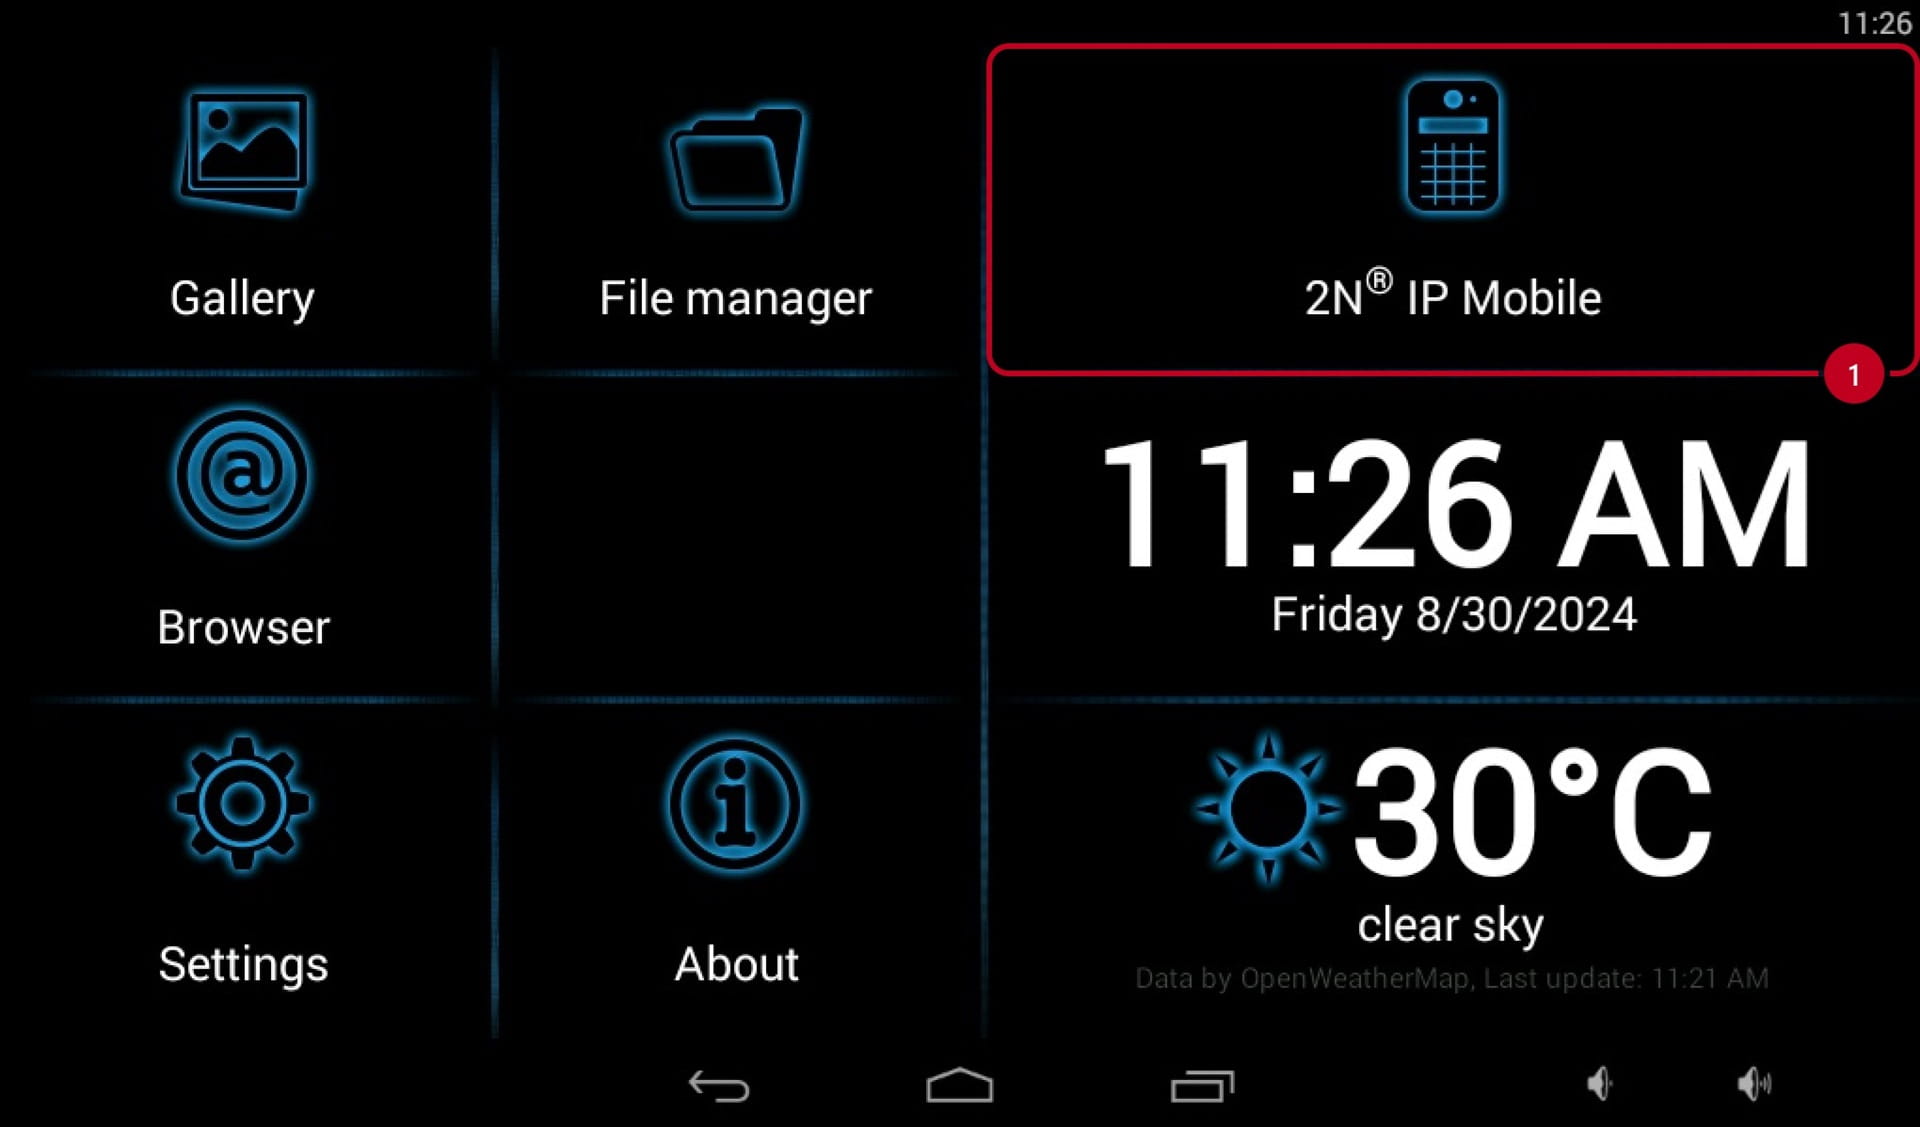
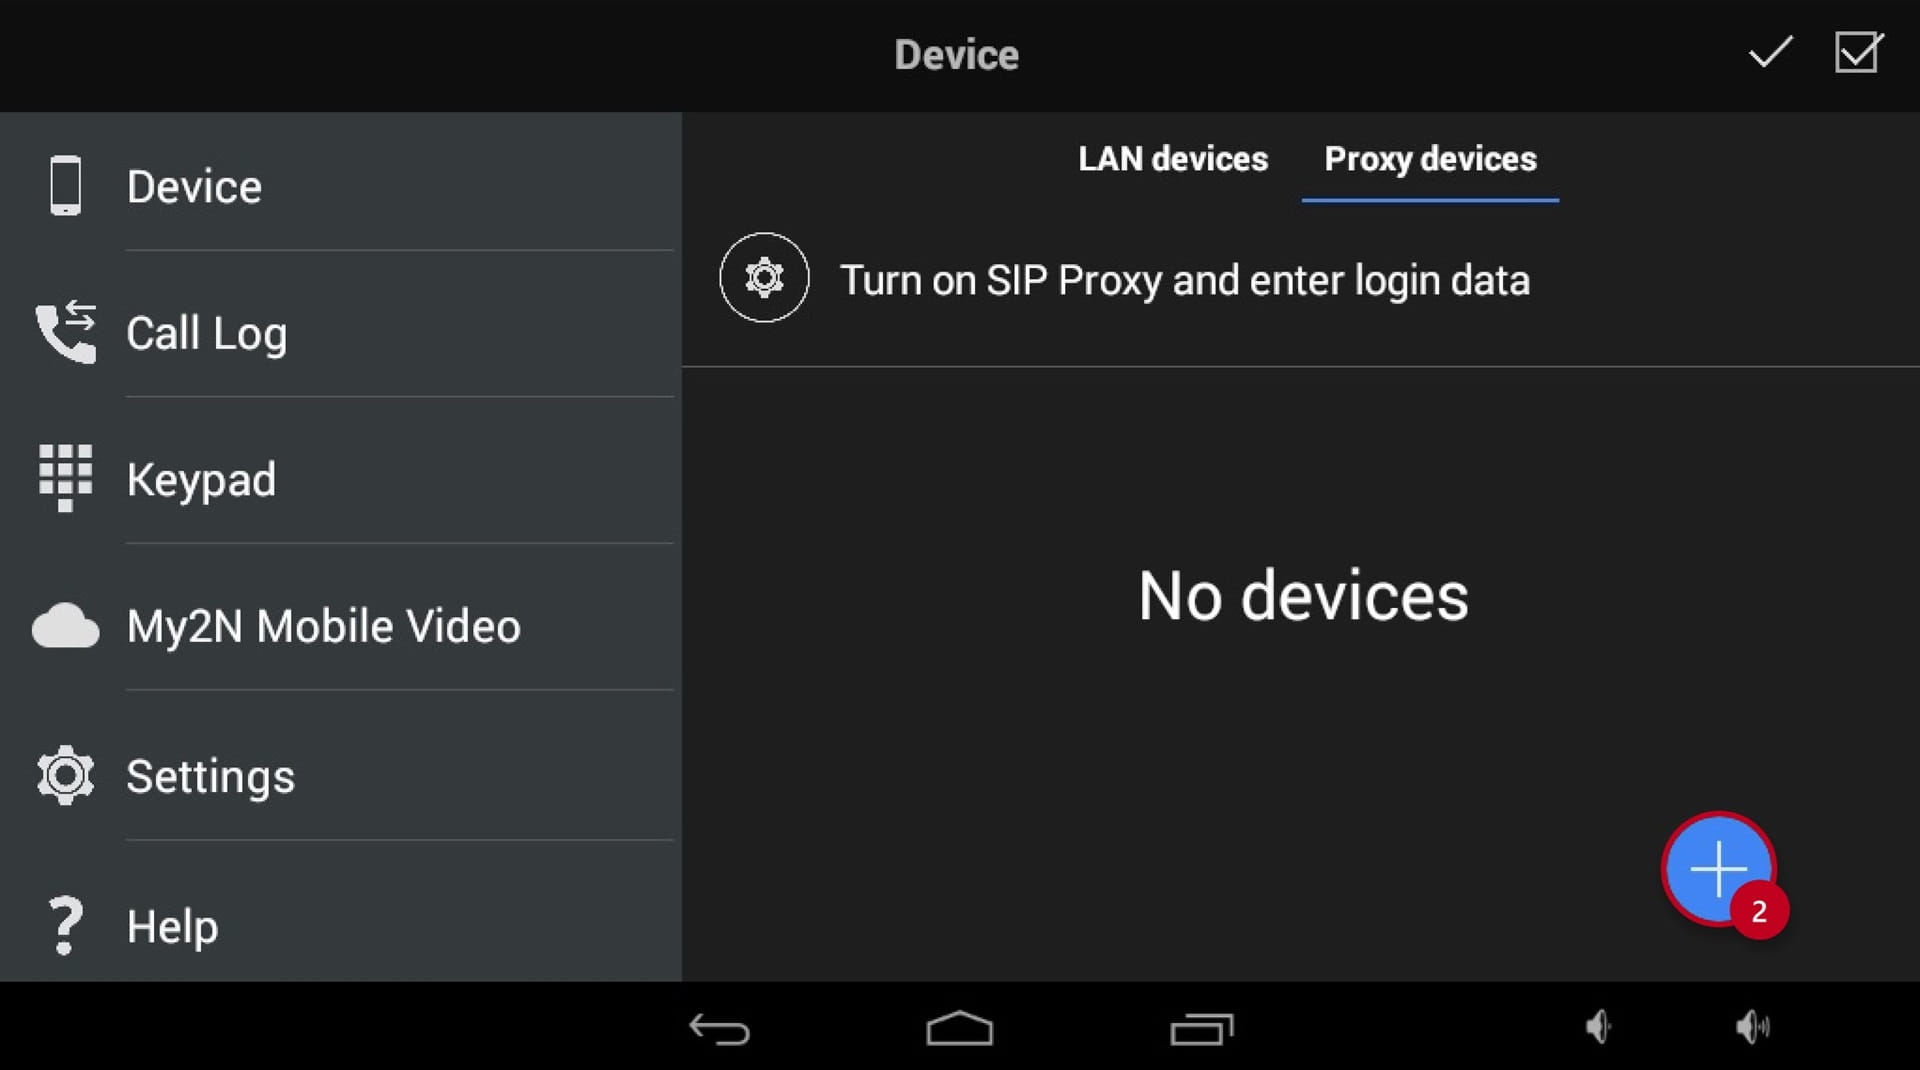
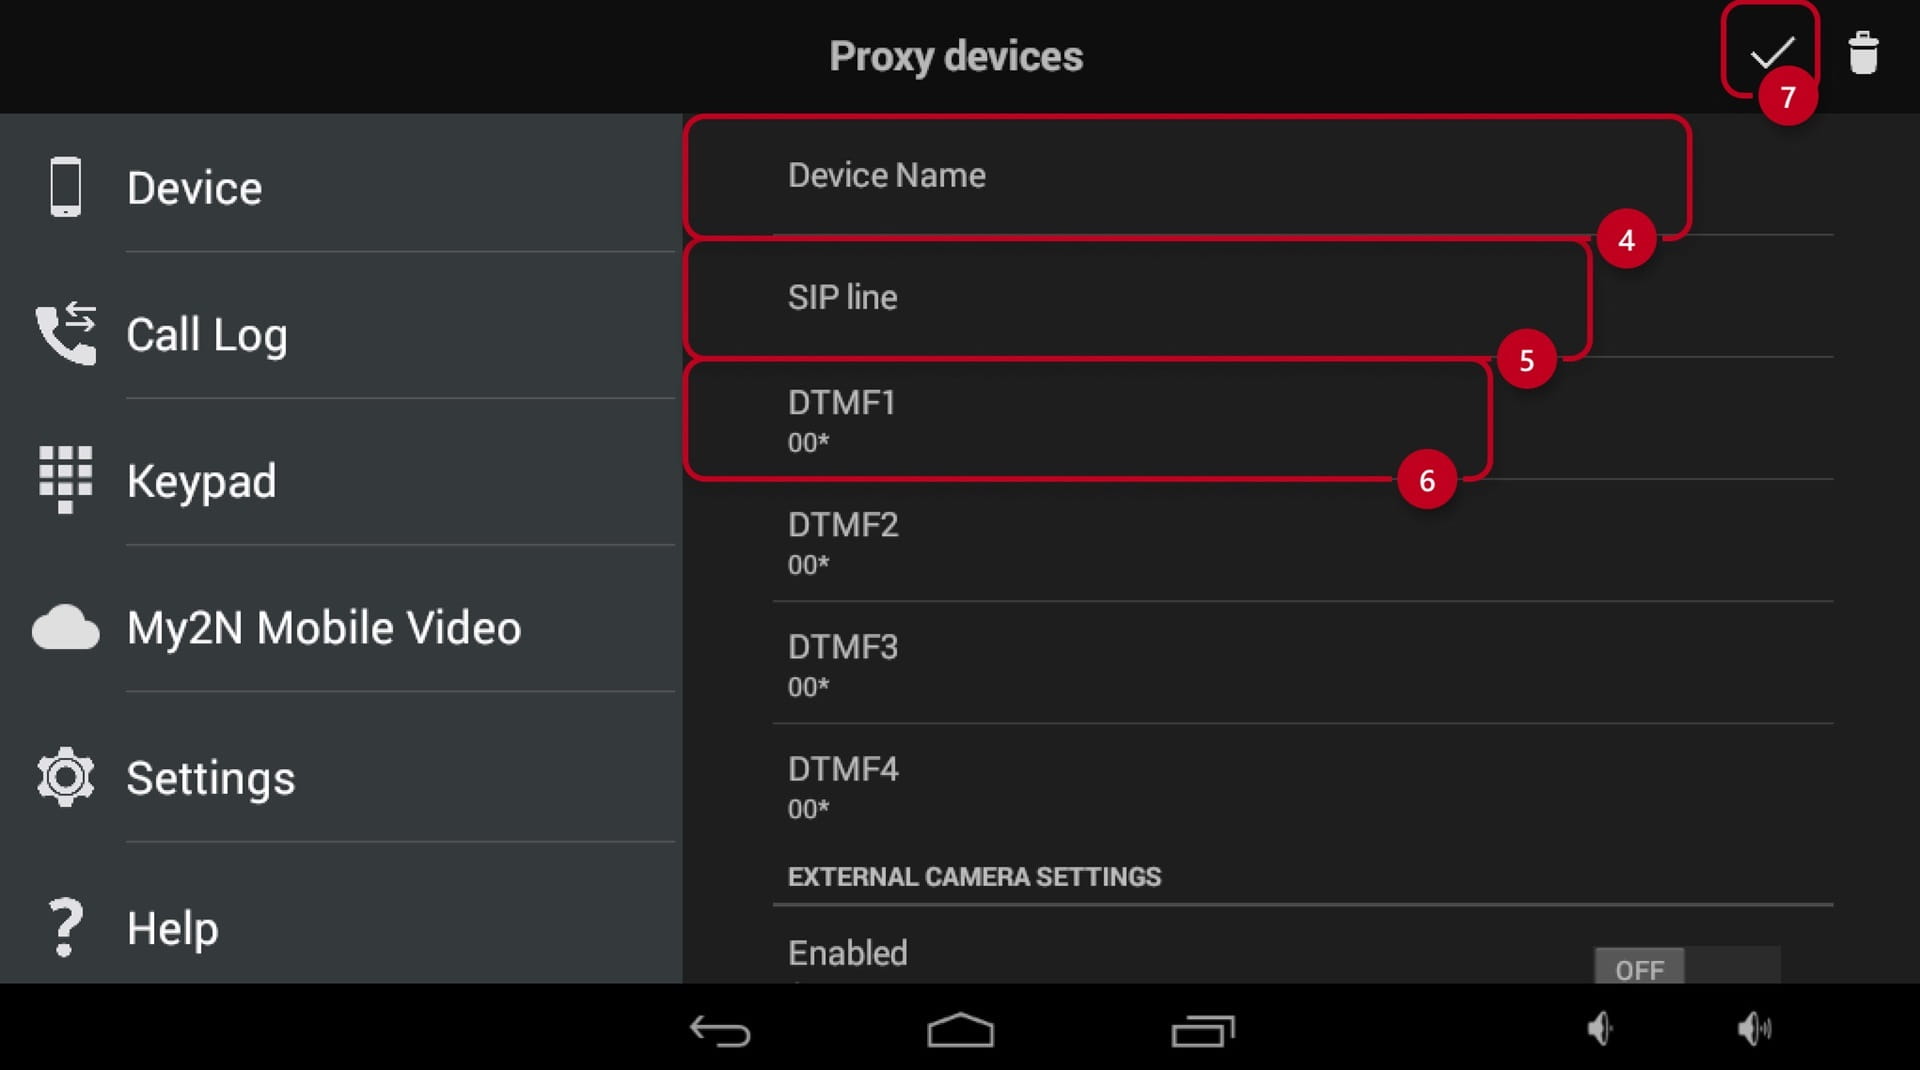
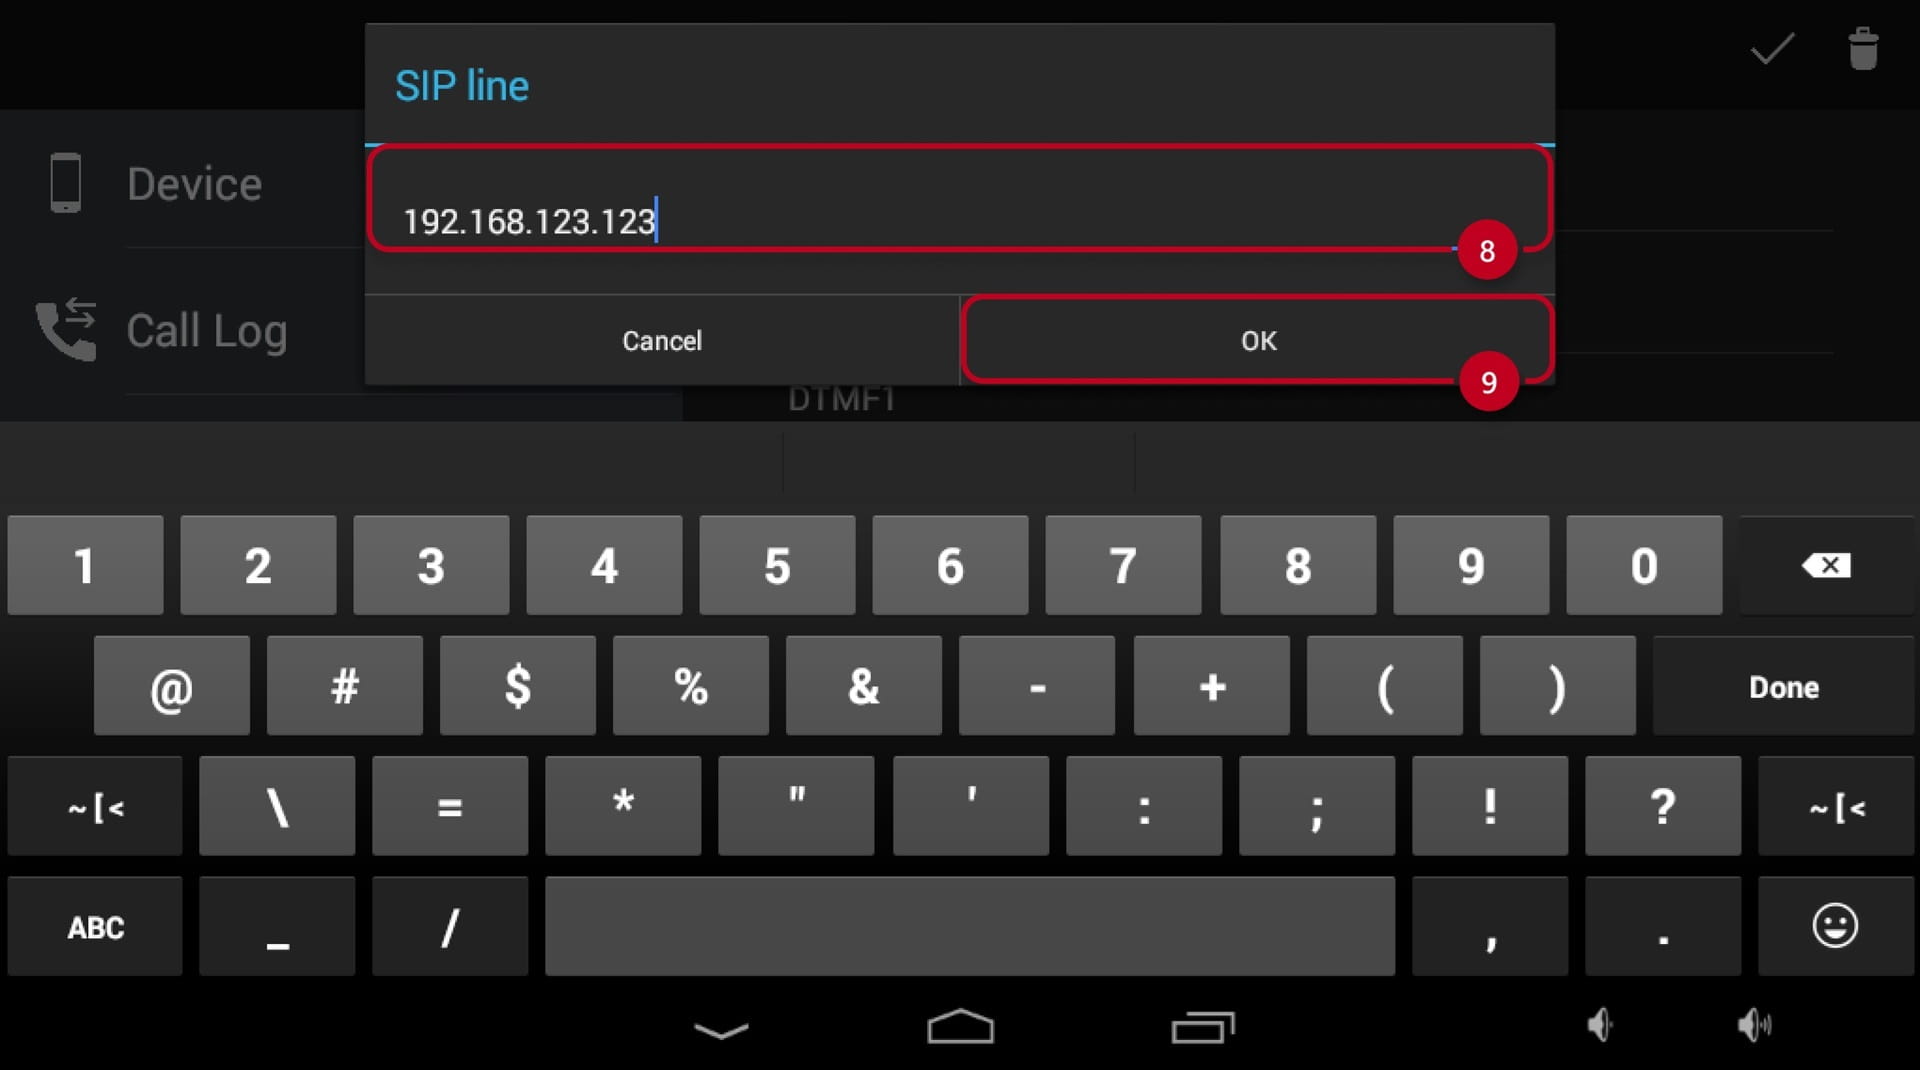
The steps in this article require using the web interface of a 2N device. Please follow this manual in case this is your first time using the web interface.
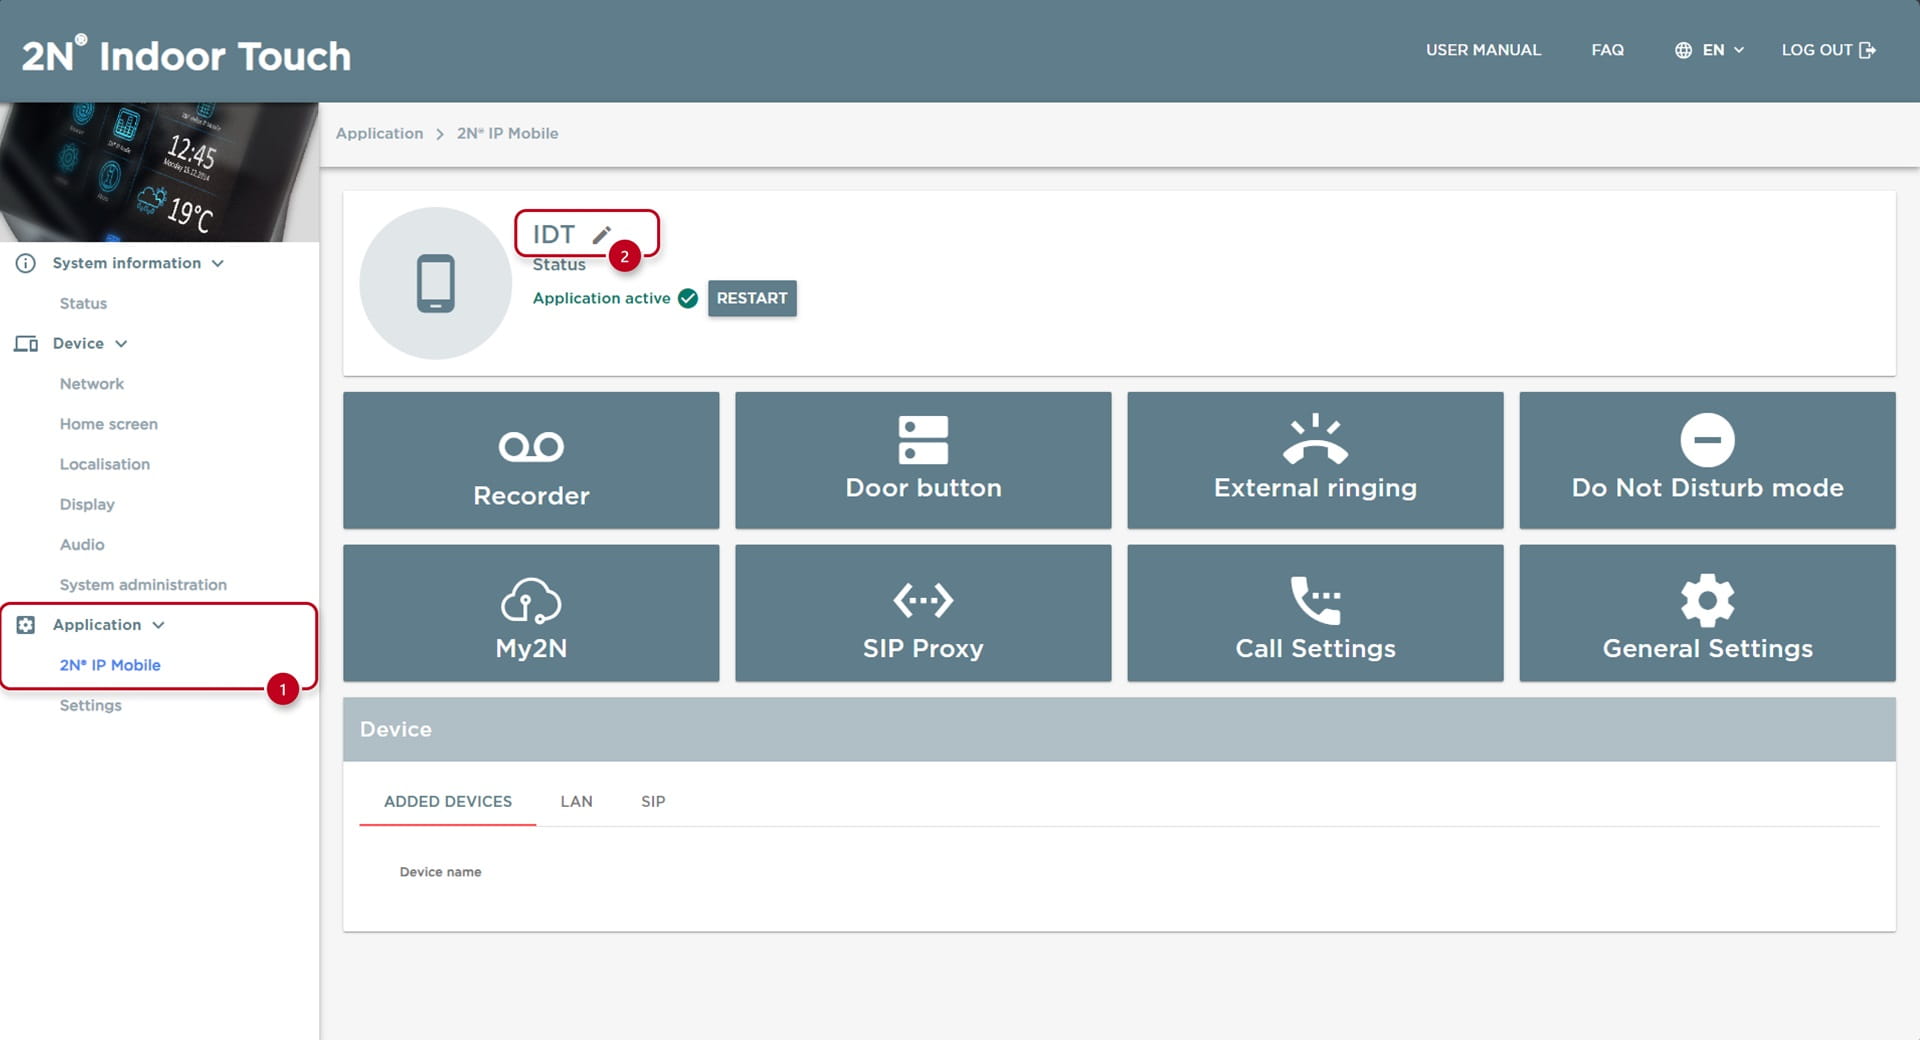
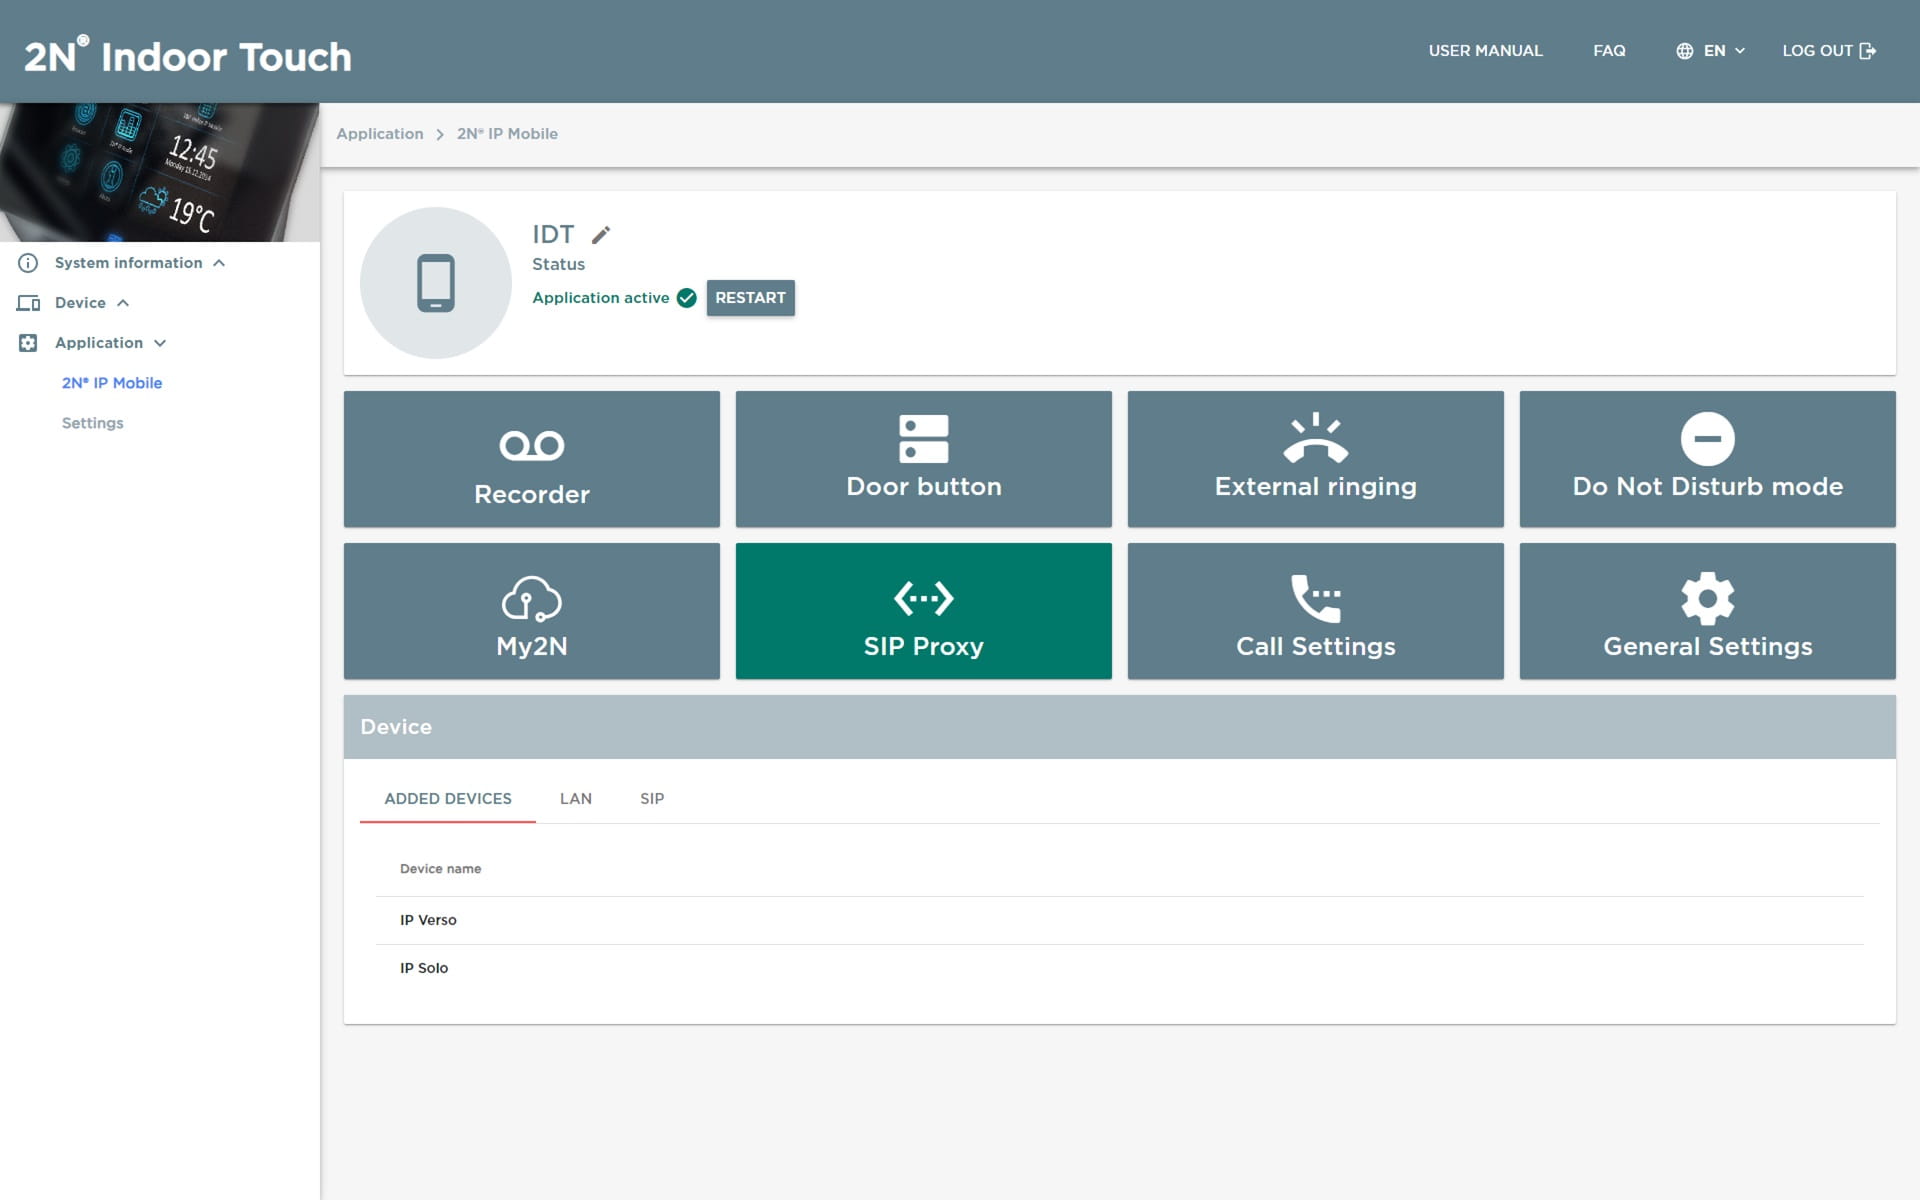
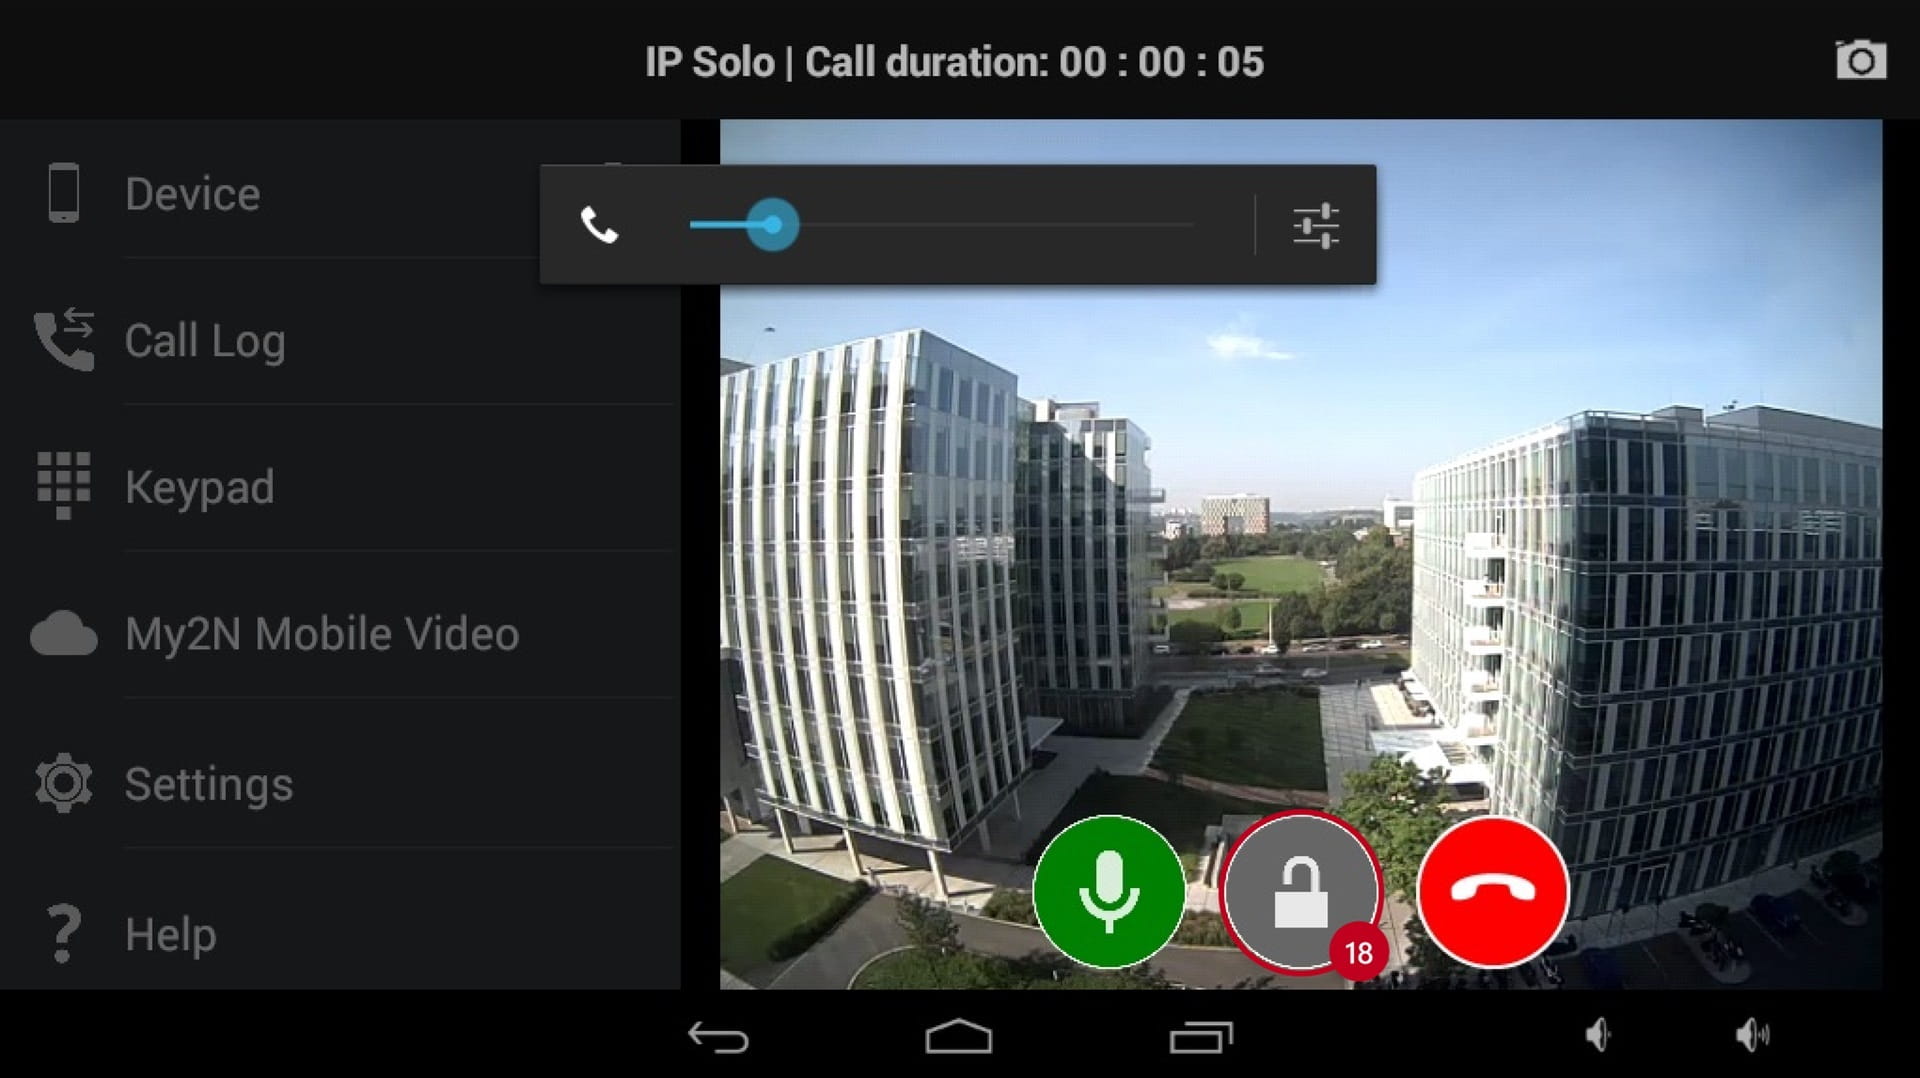
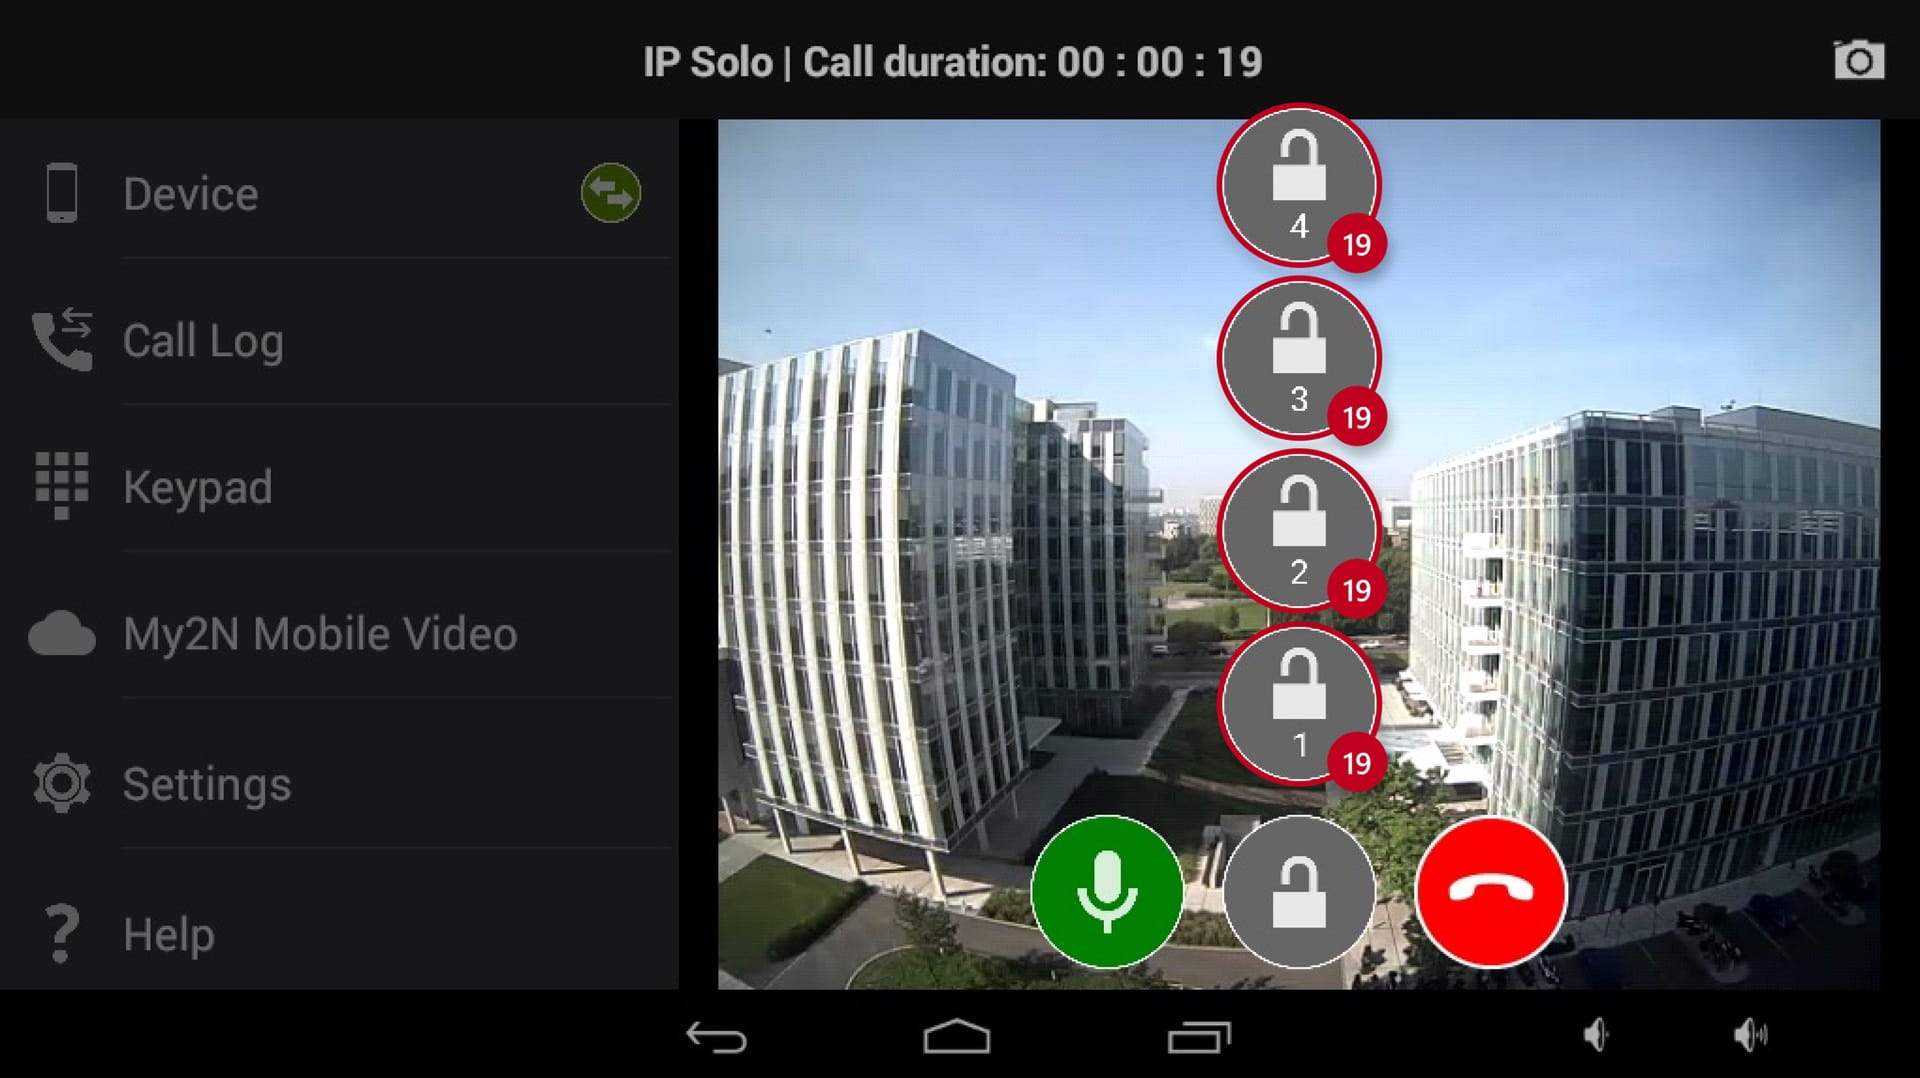
The 2N Indoor Touch unit is designed for audio/video communication with the 2N IP Intercoms.
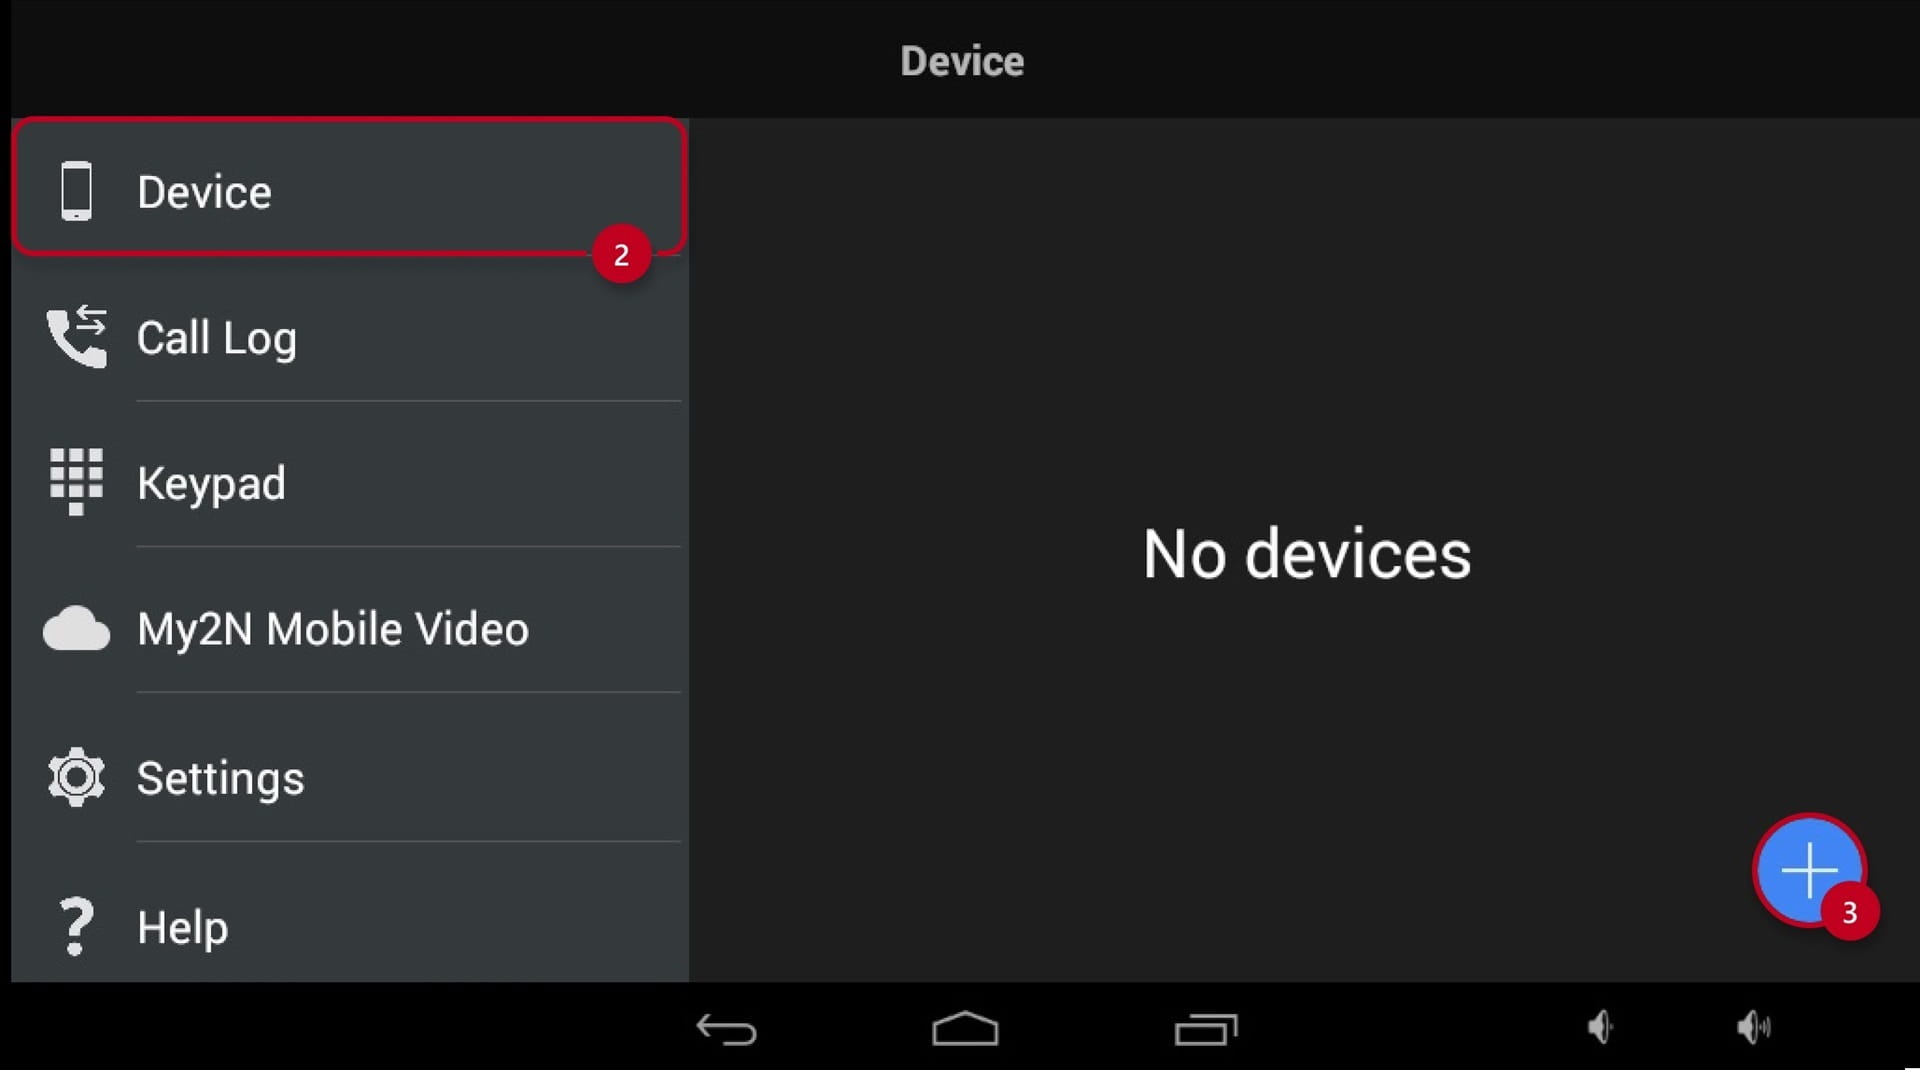
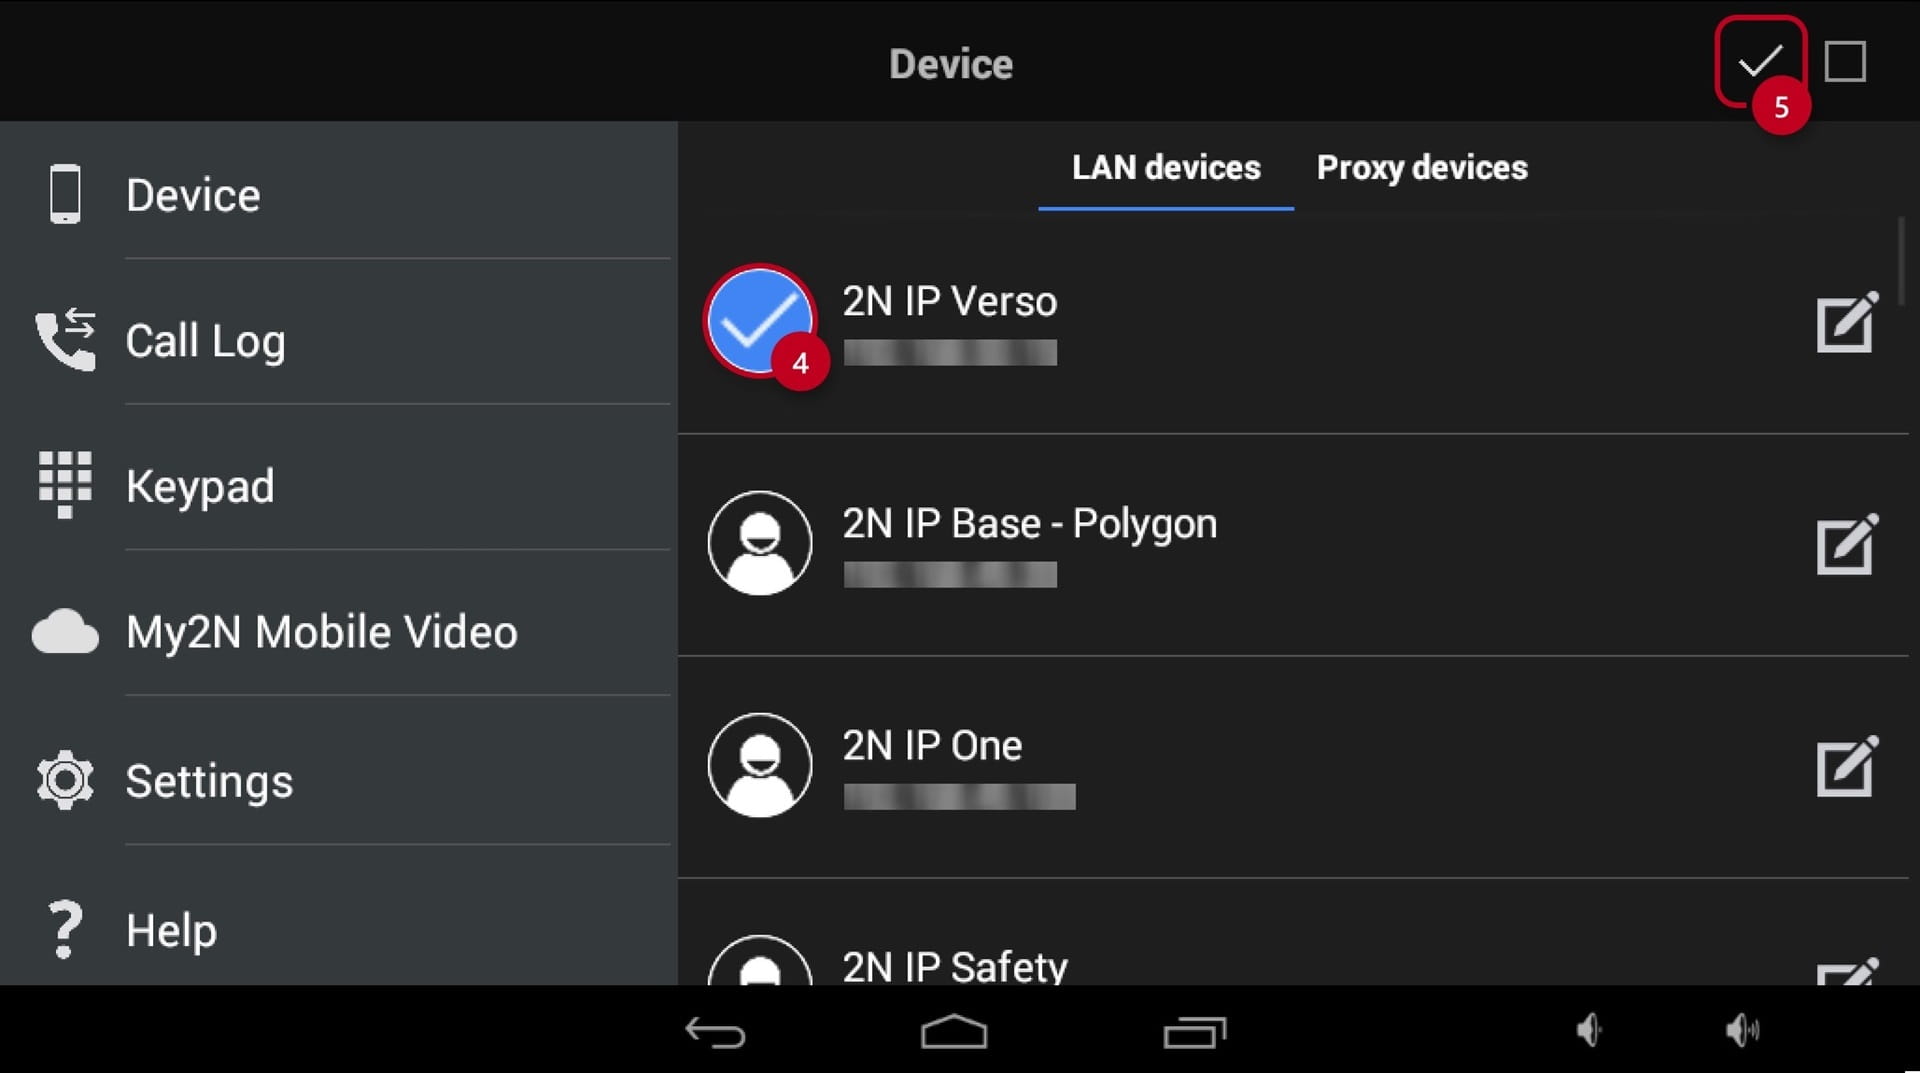
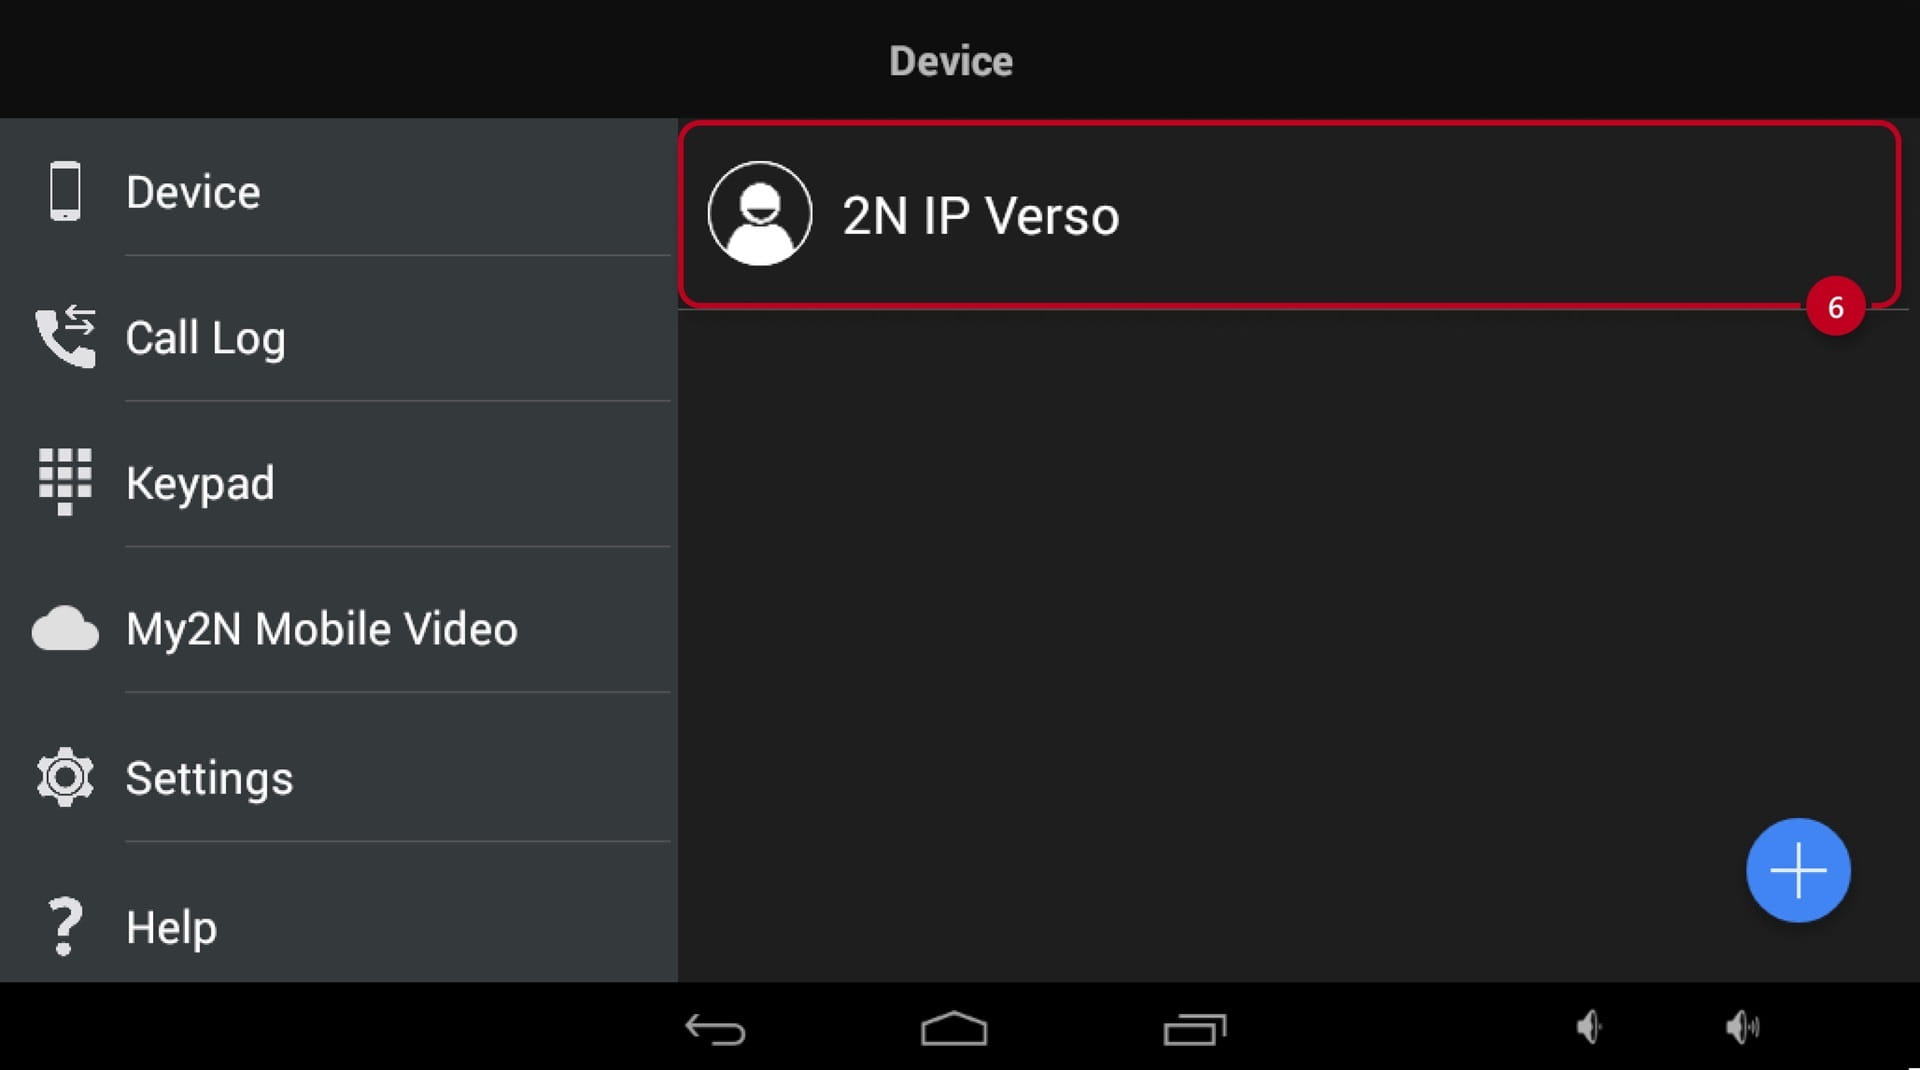
You can browsee all intercoms connected to the same LAN, you are able to accept incoming audio/video calls, make outgoing calls to 2N IP Intercoms and also control locks/switches connected to the intercom.
2N IP Intercom configuration
-
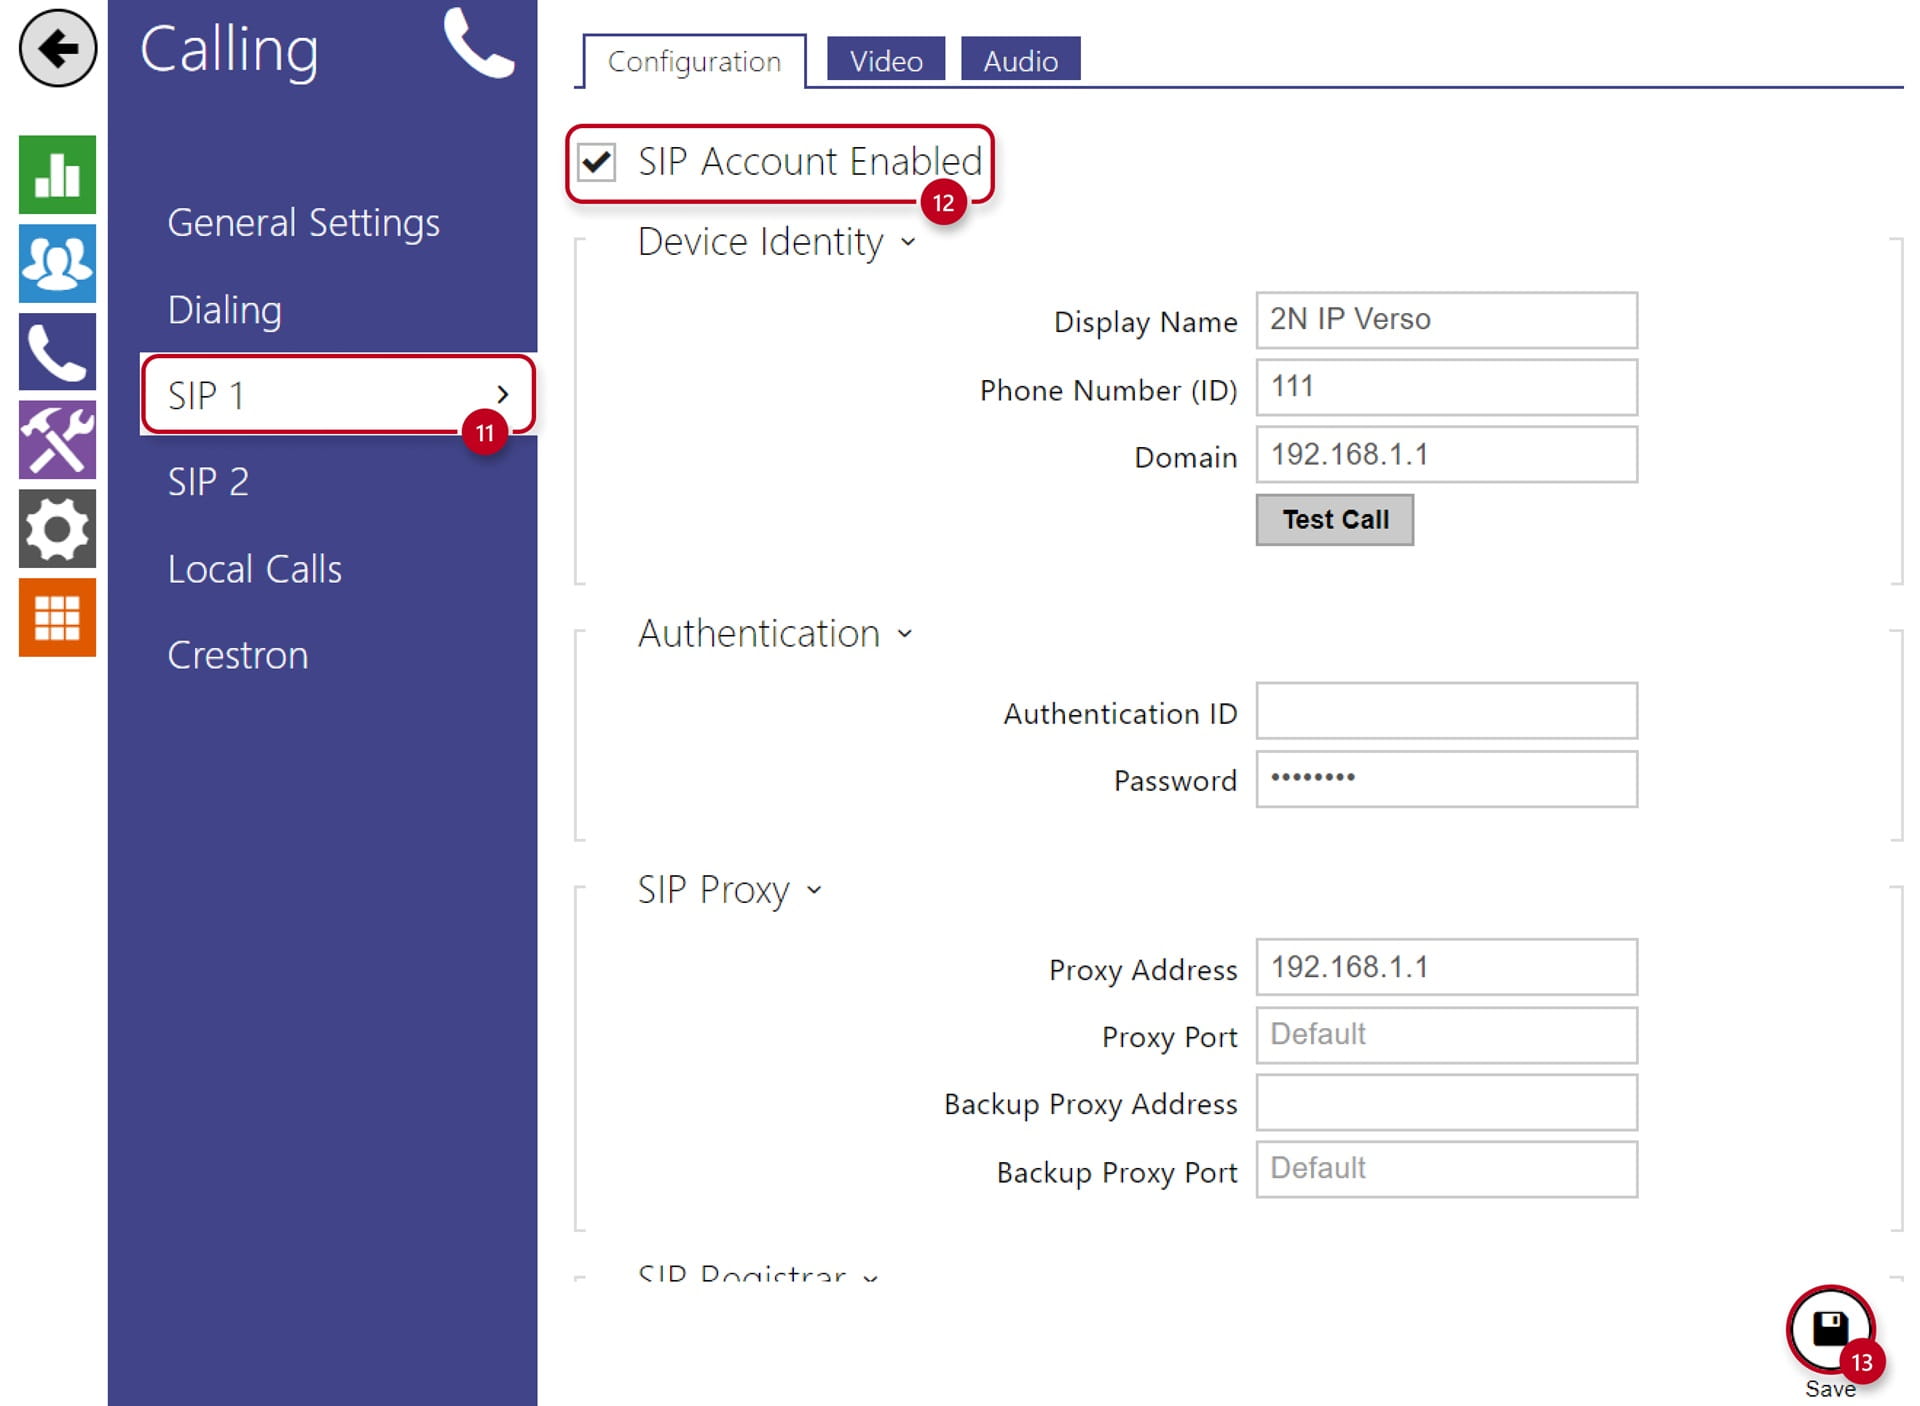
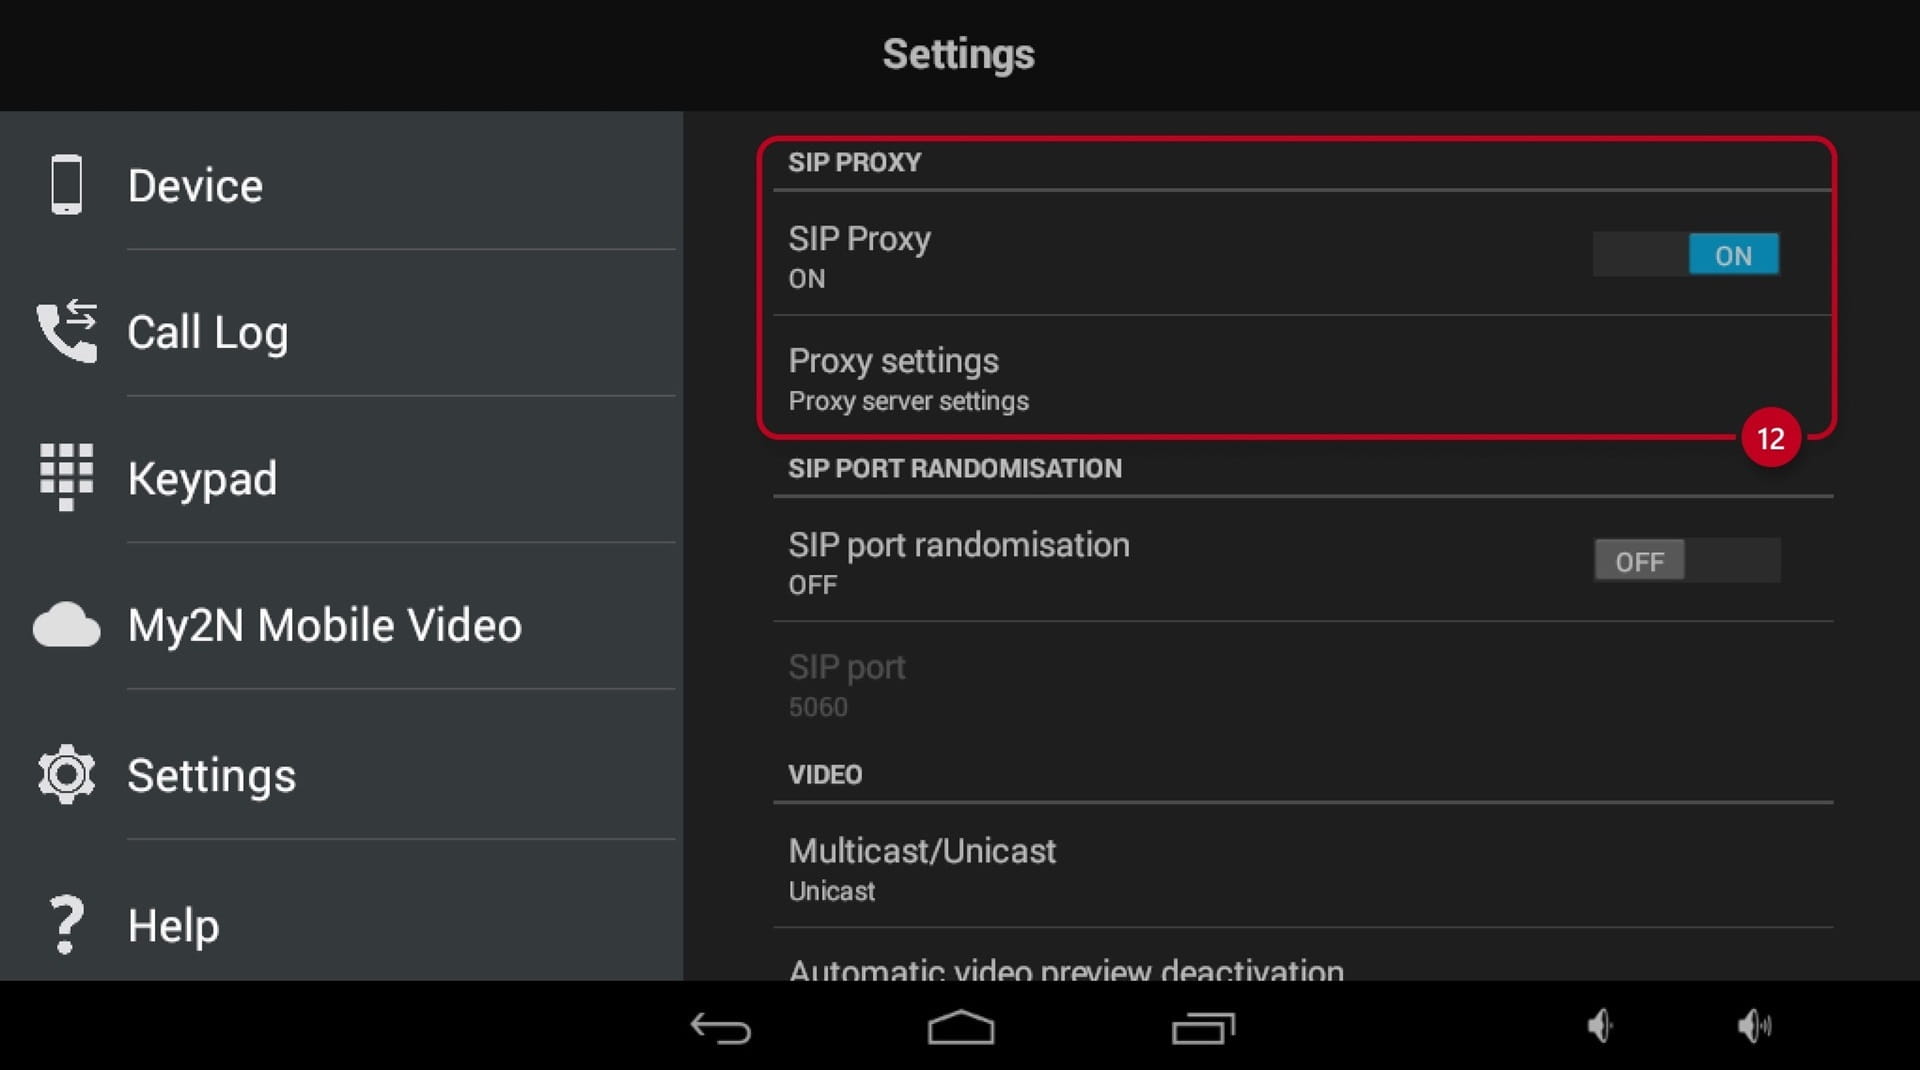
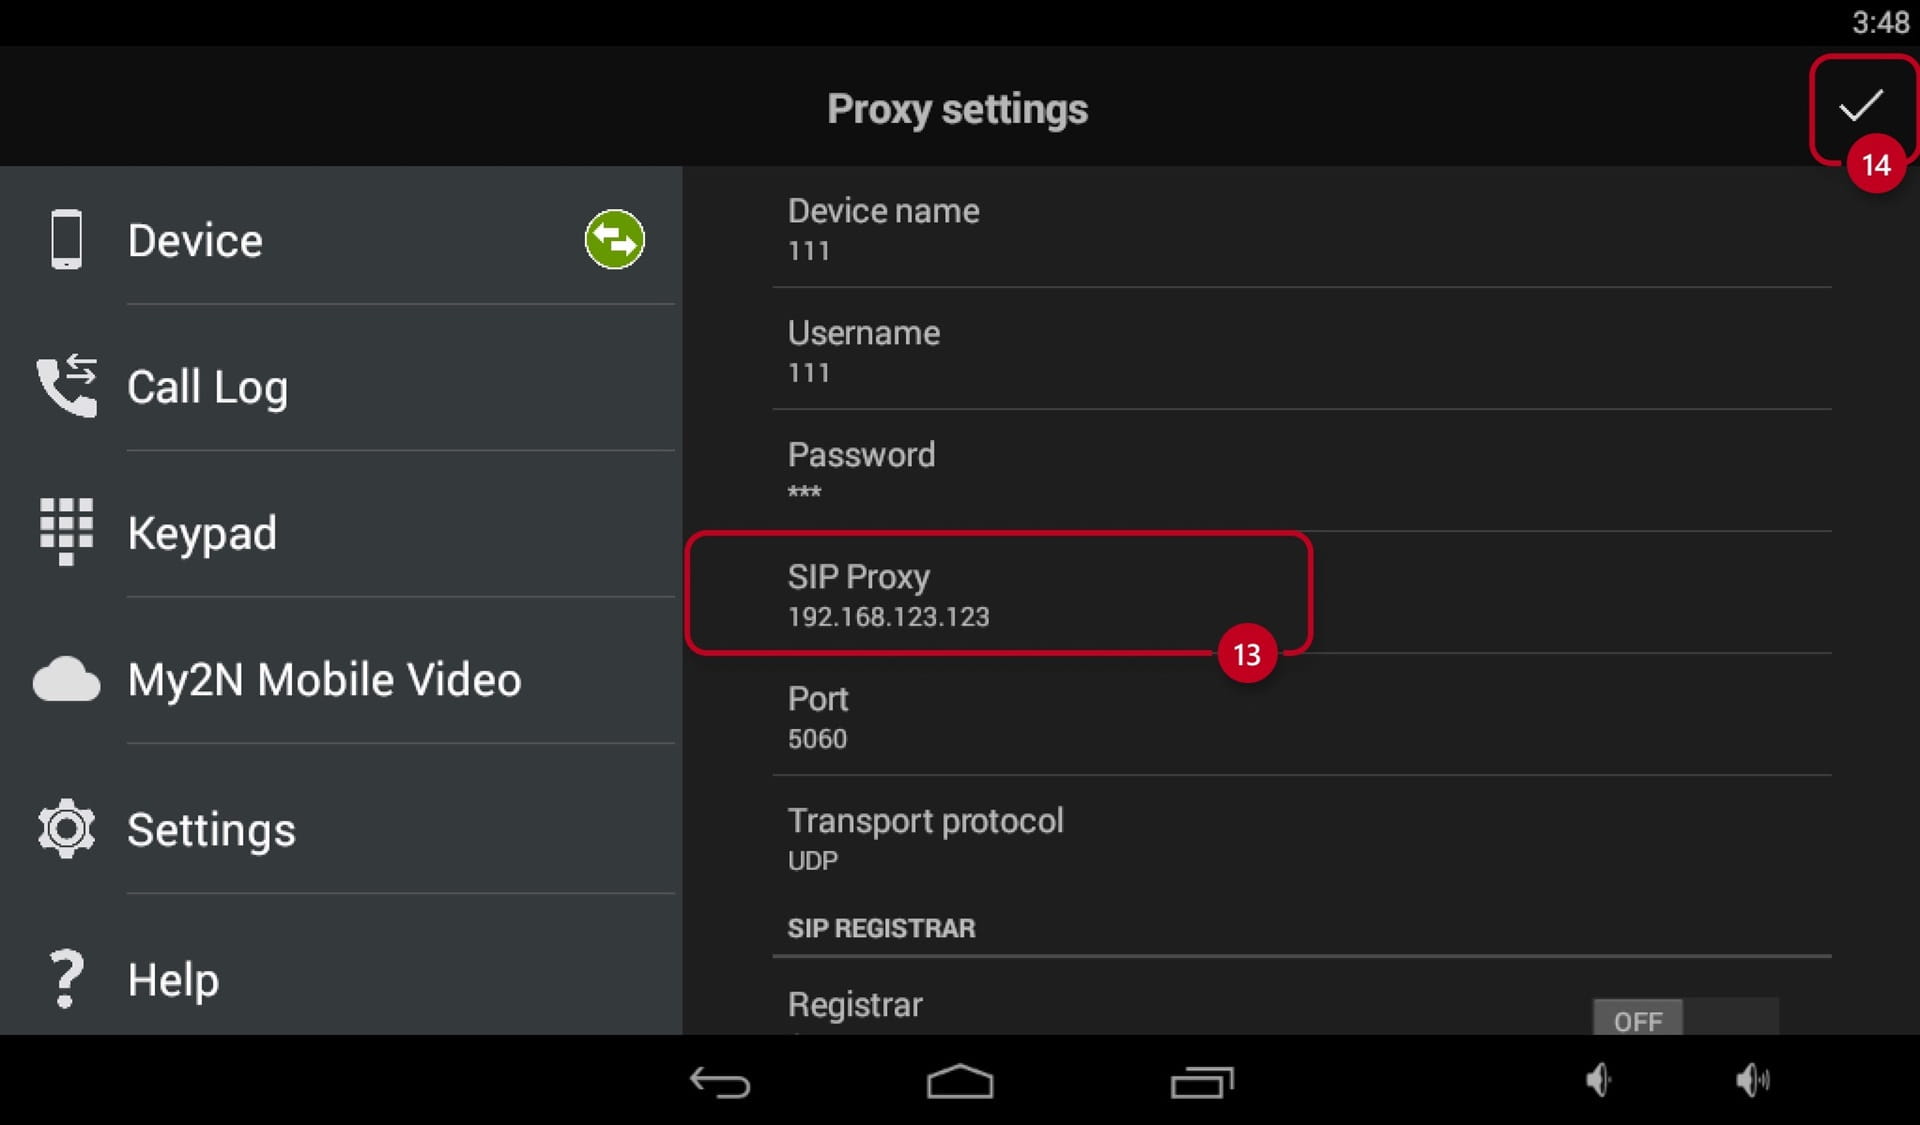
Depending on the application, you can set up the calling via Local Calls or SIP (VOIP) Calls.
-
Main difference is the method of calling the other device.
- For Local Calls use "Device ID", for SIP Calls use IP Address of the device
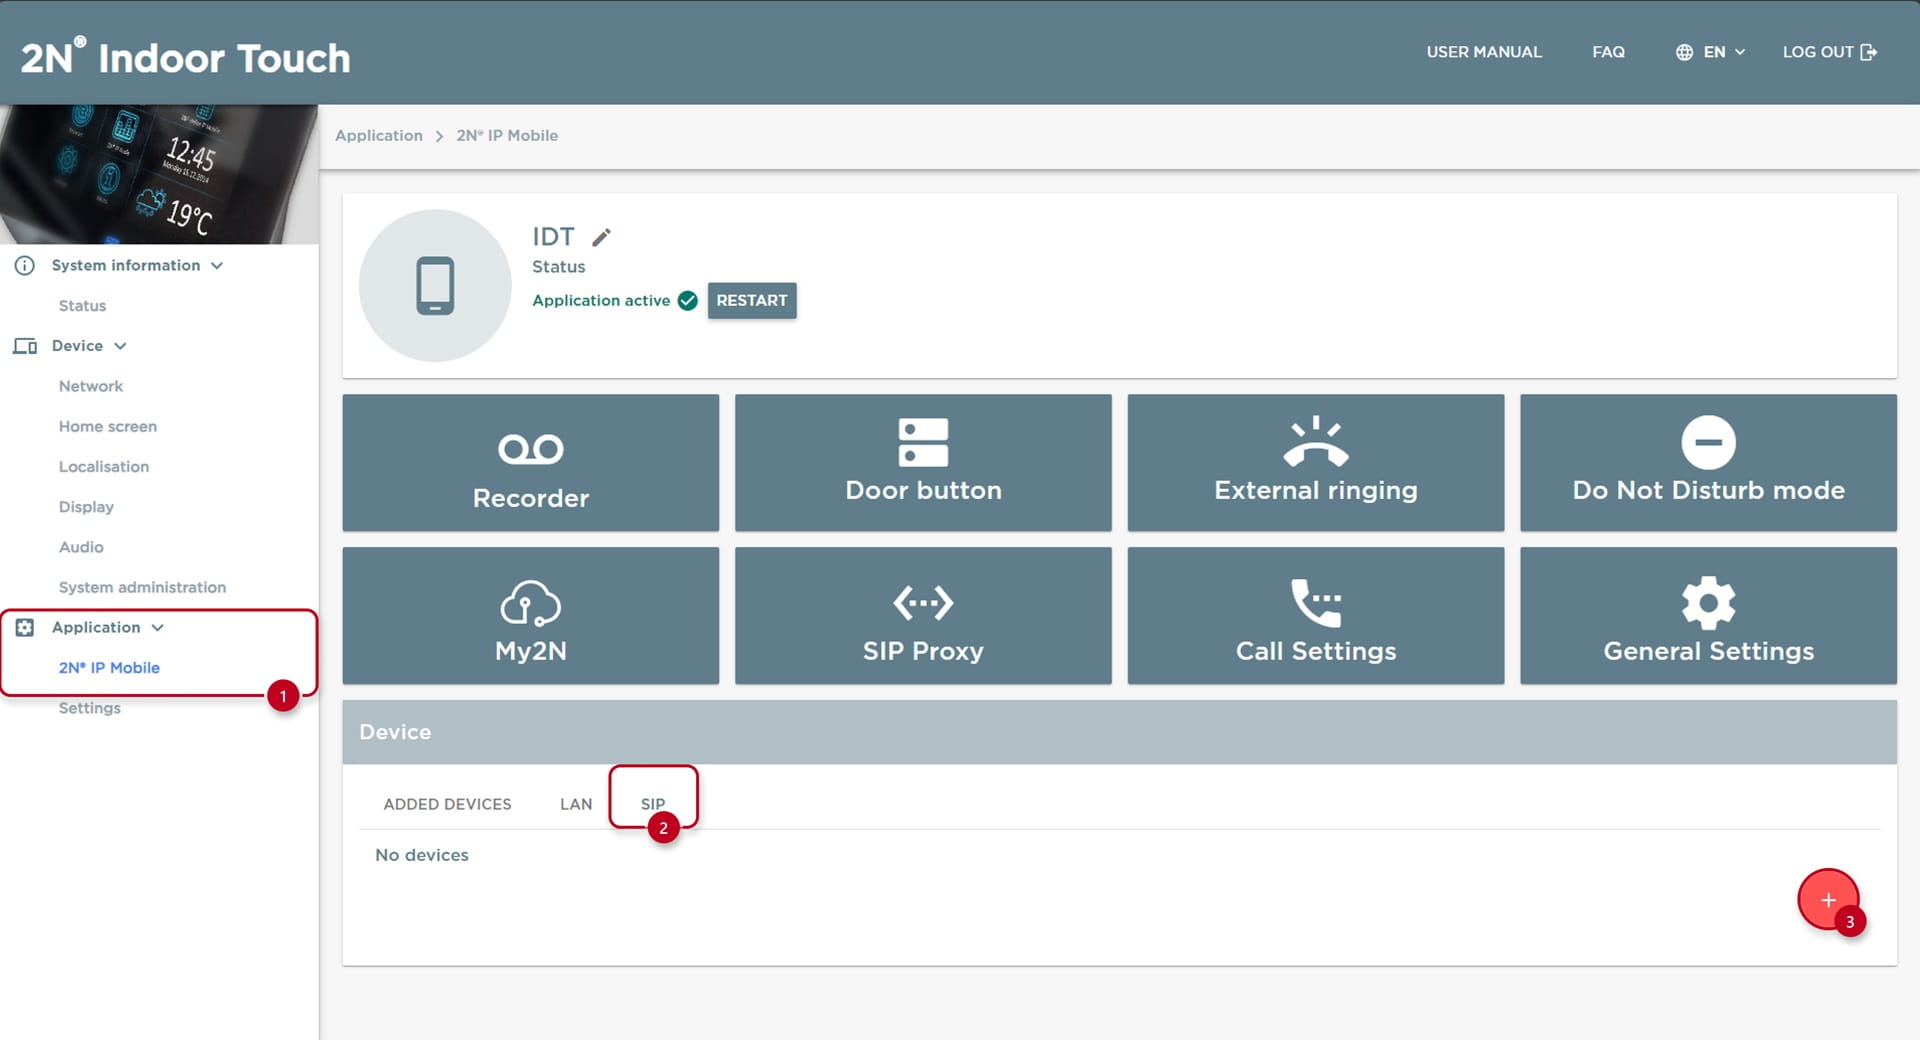
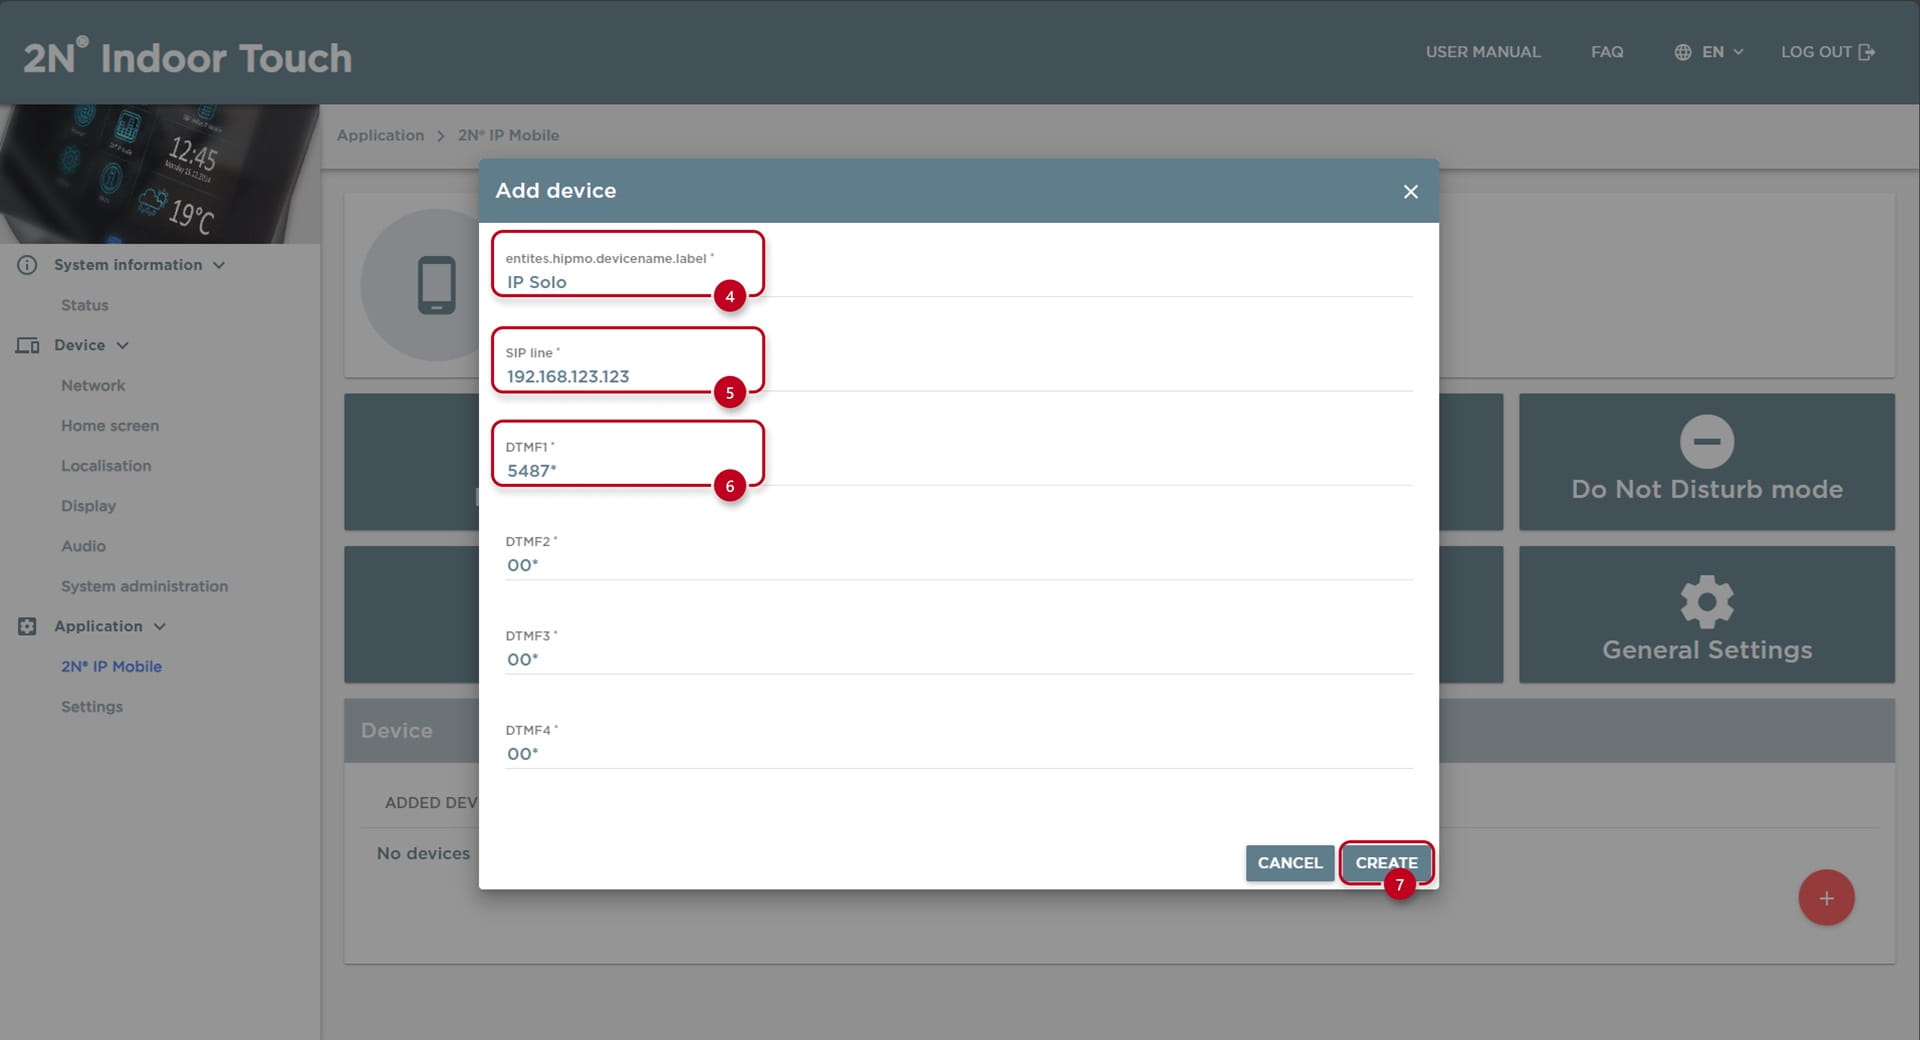
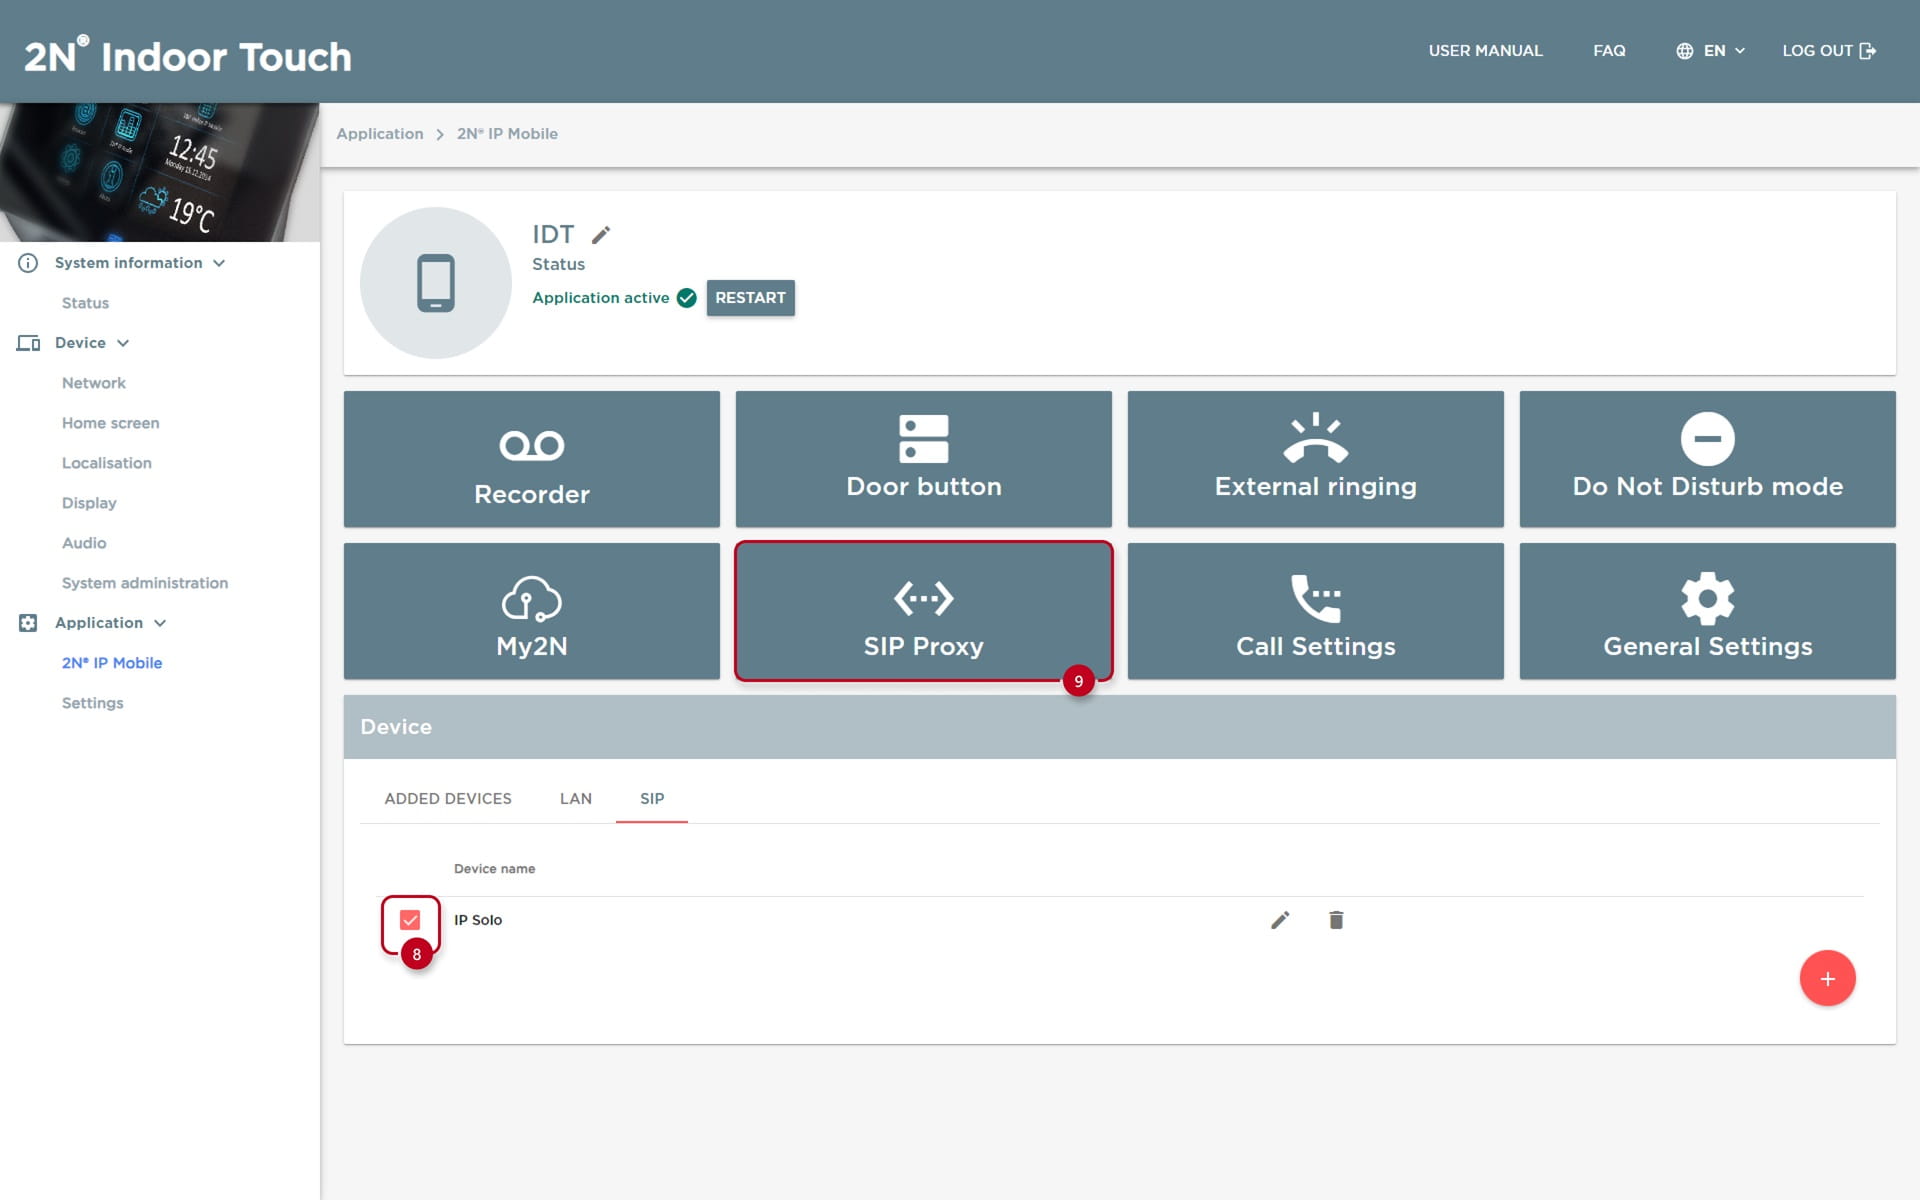
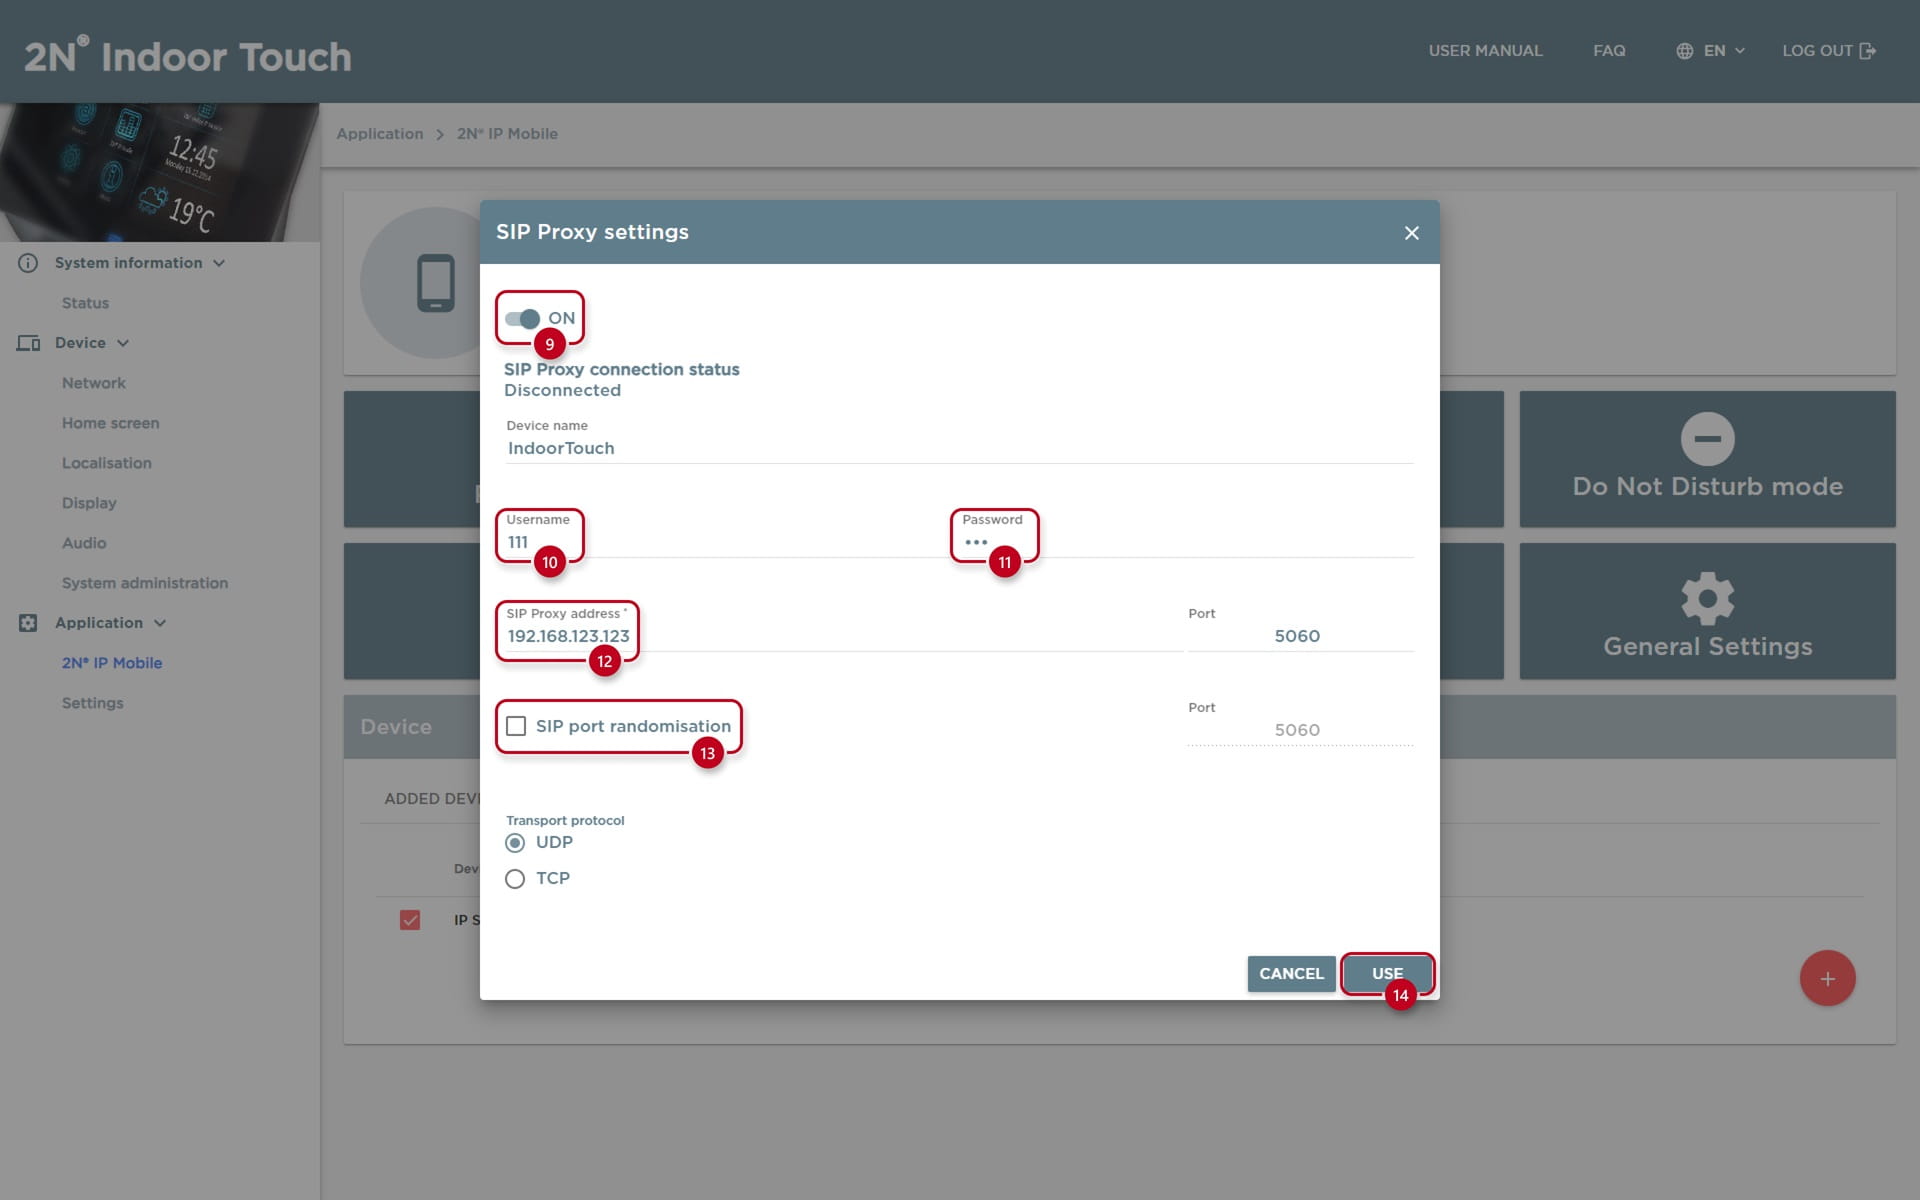
Intercom Local Calls
-
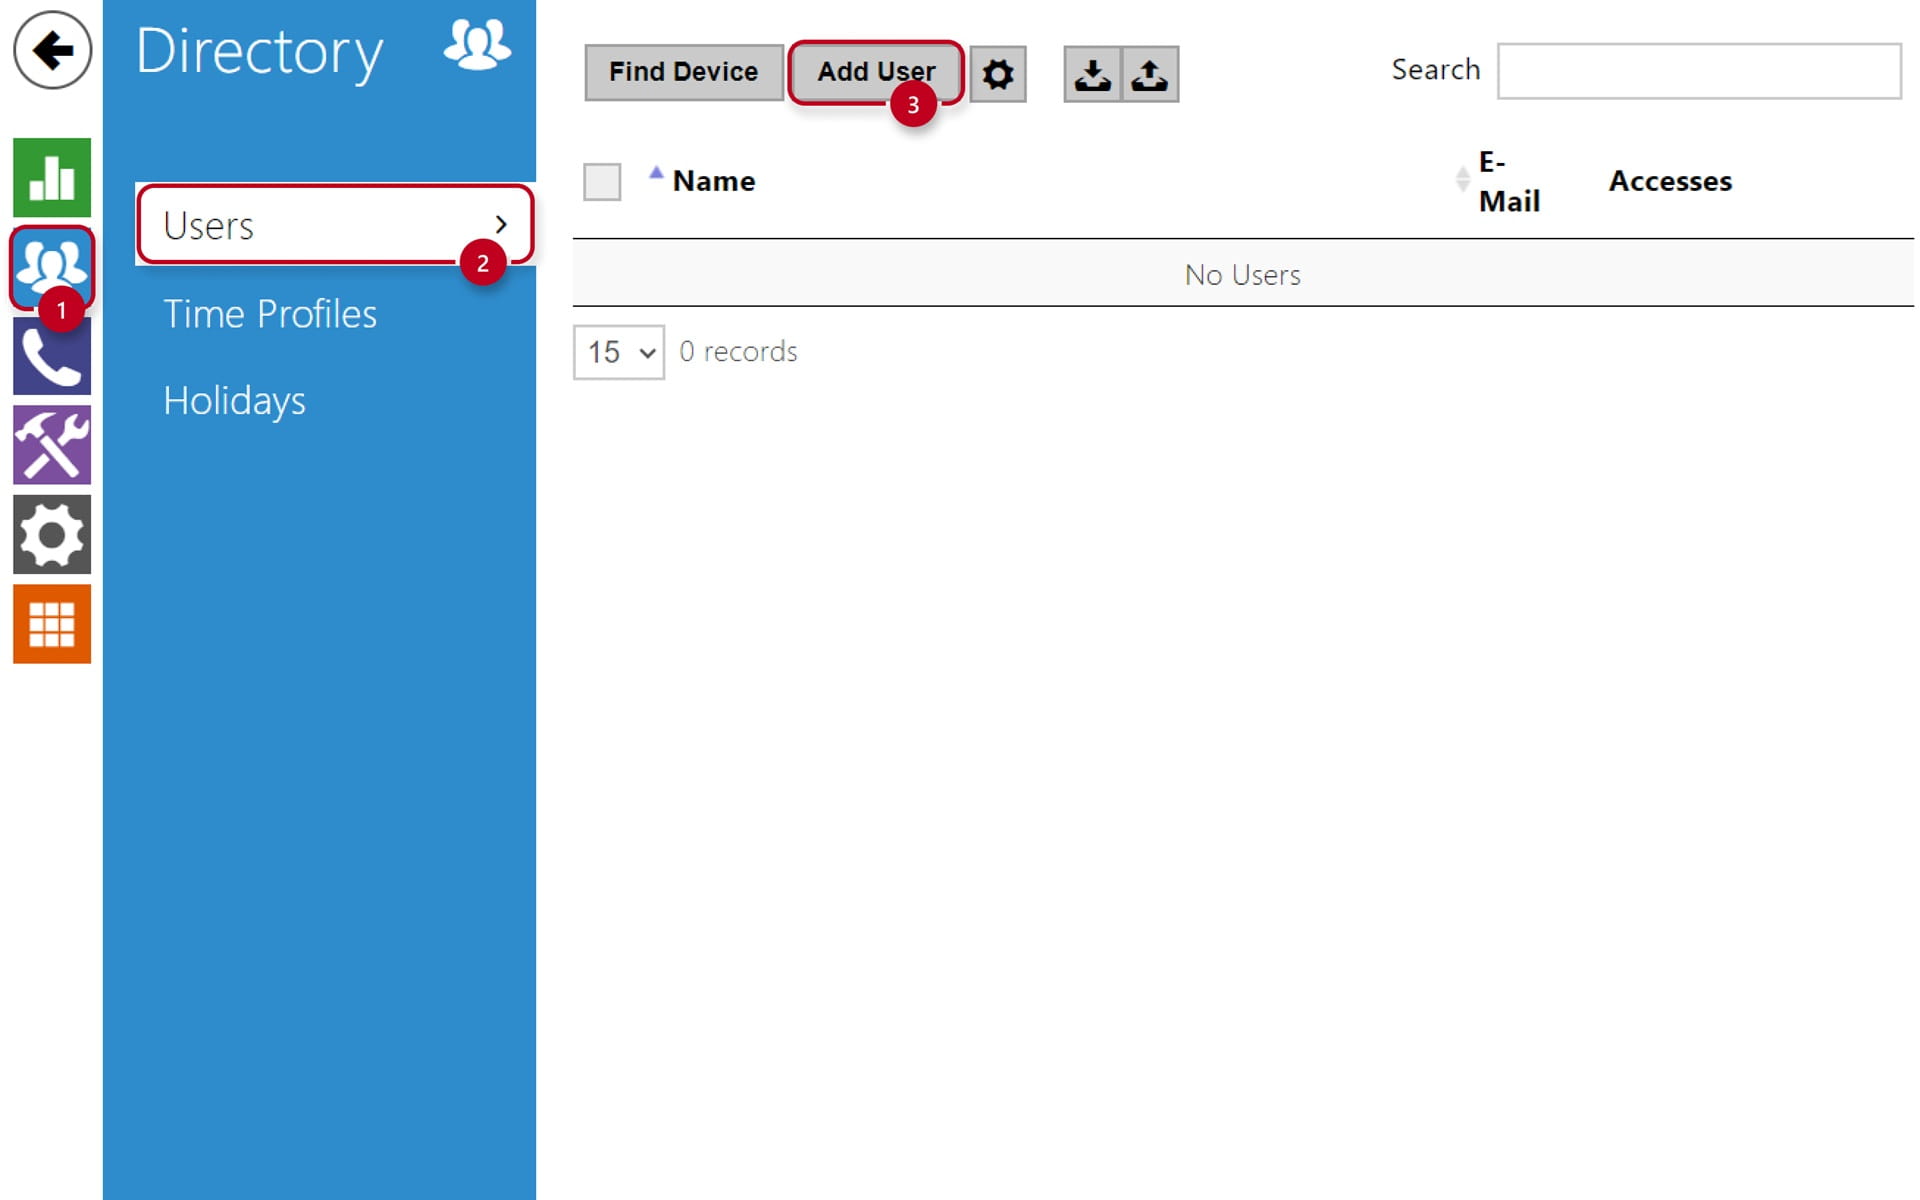
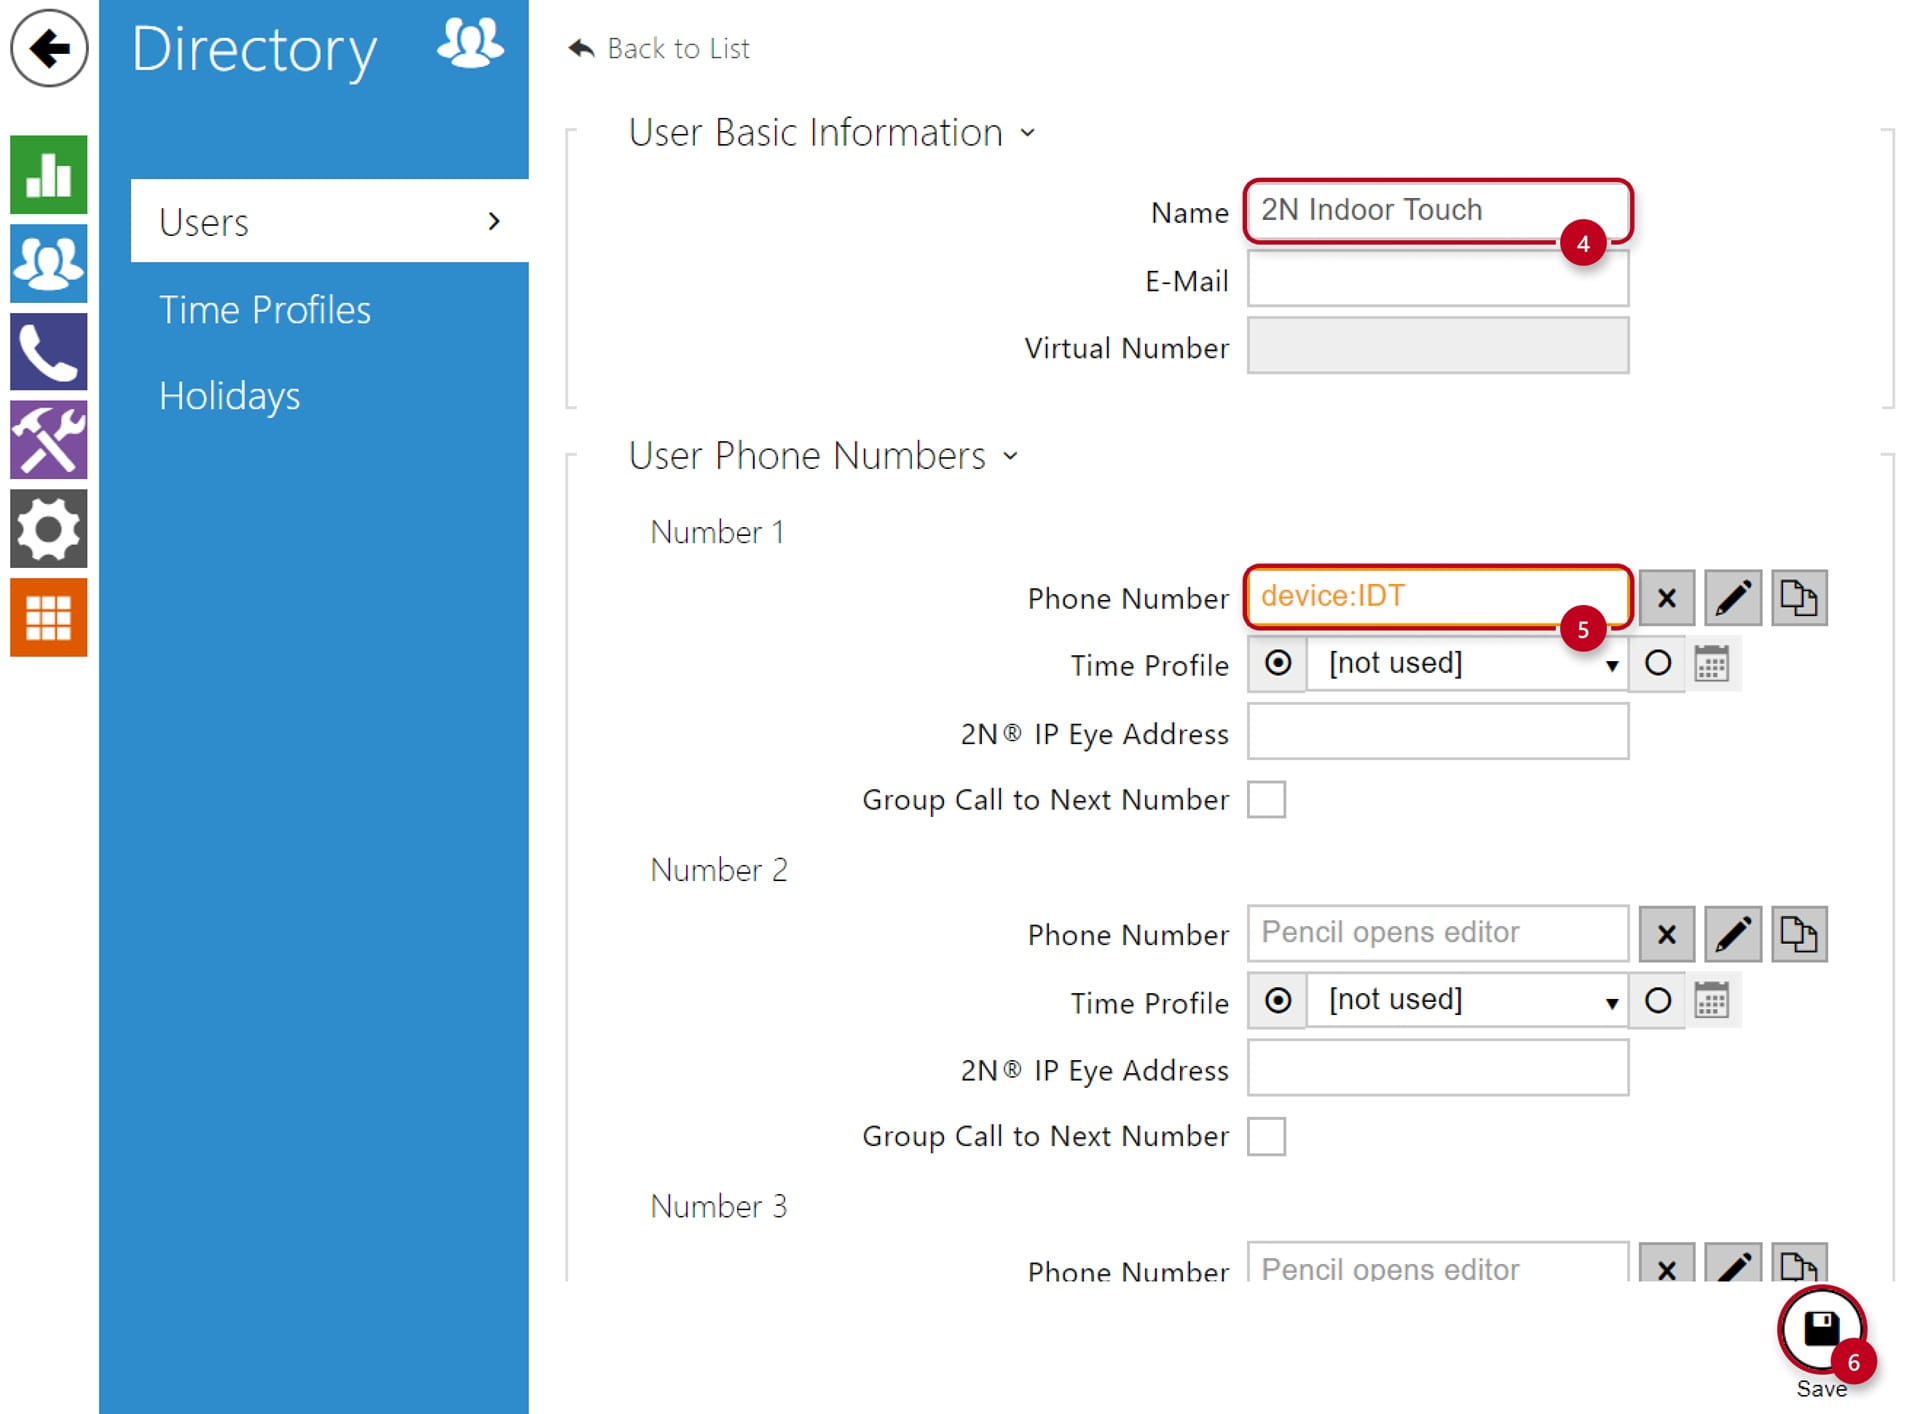
Navigate to the section "Directory" (1), then "Users" (2), create a new user and set the "Phone Number" (3) to be dialled once you press selected quickdial button on the Intercom:

-
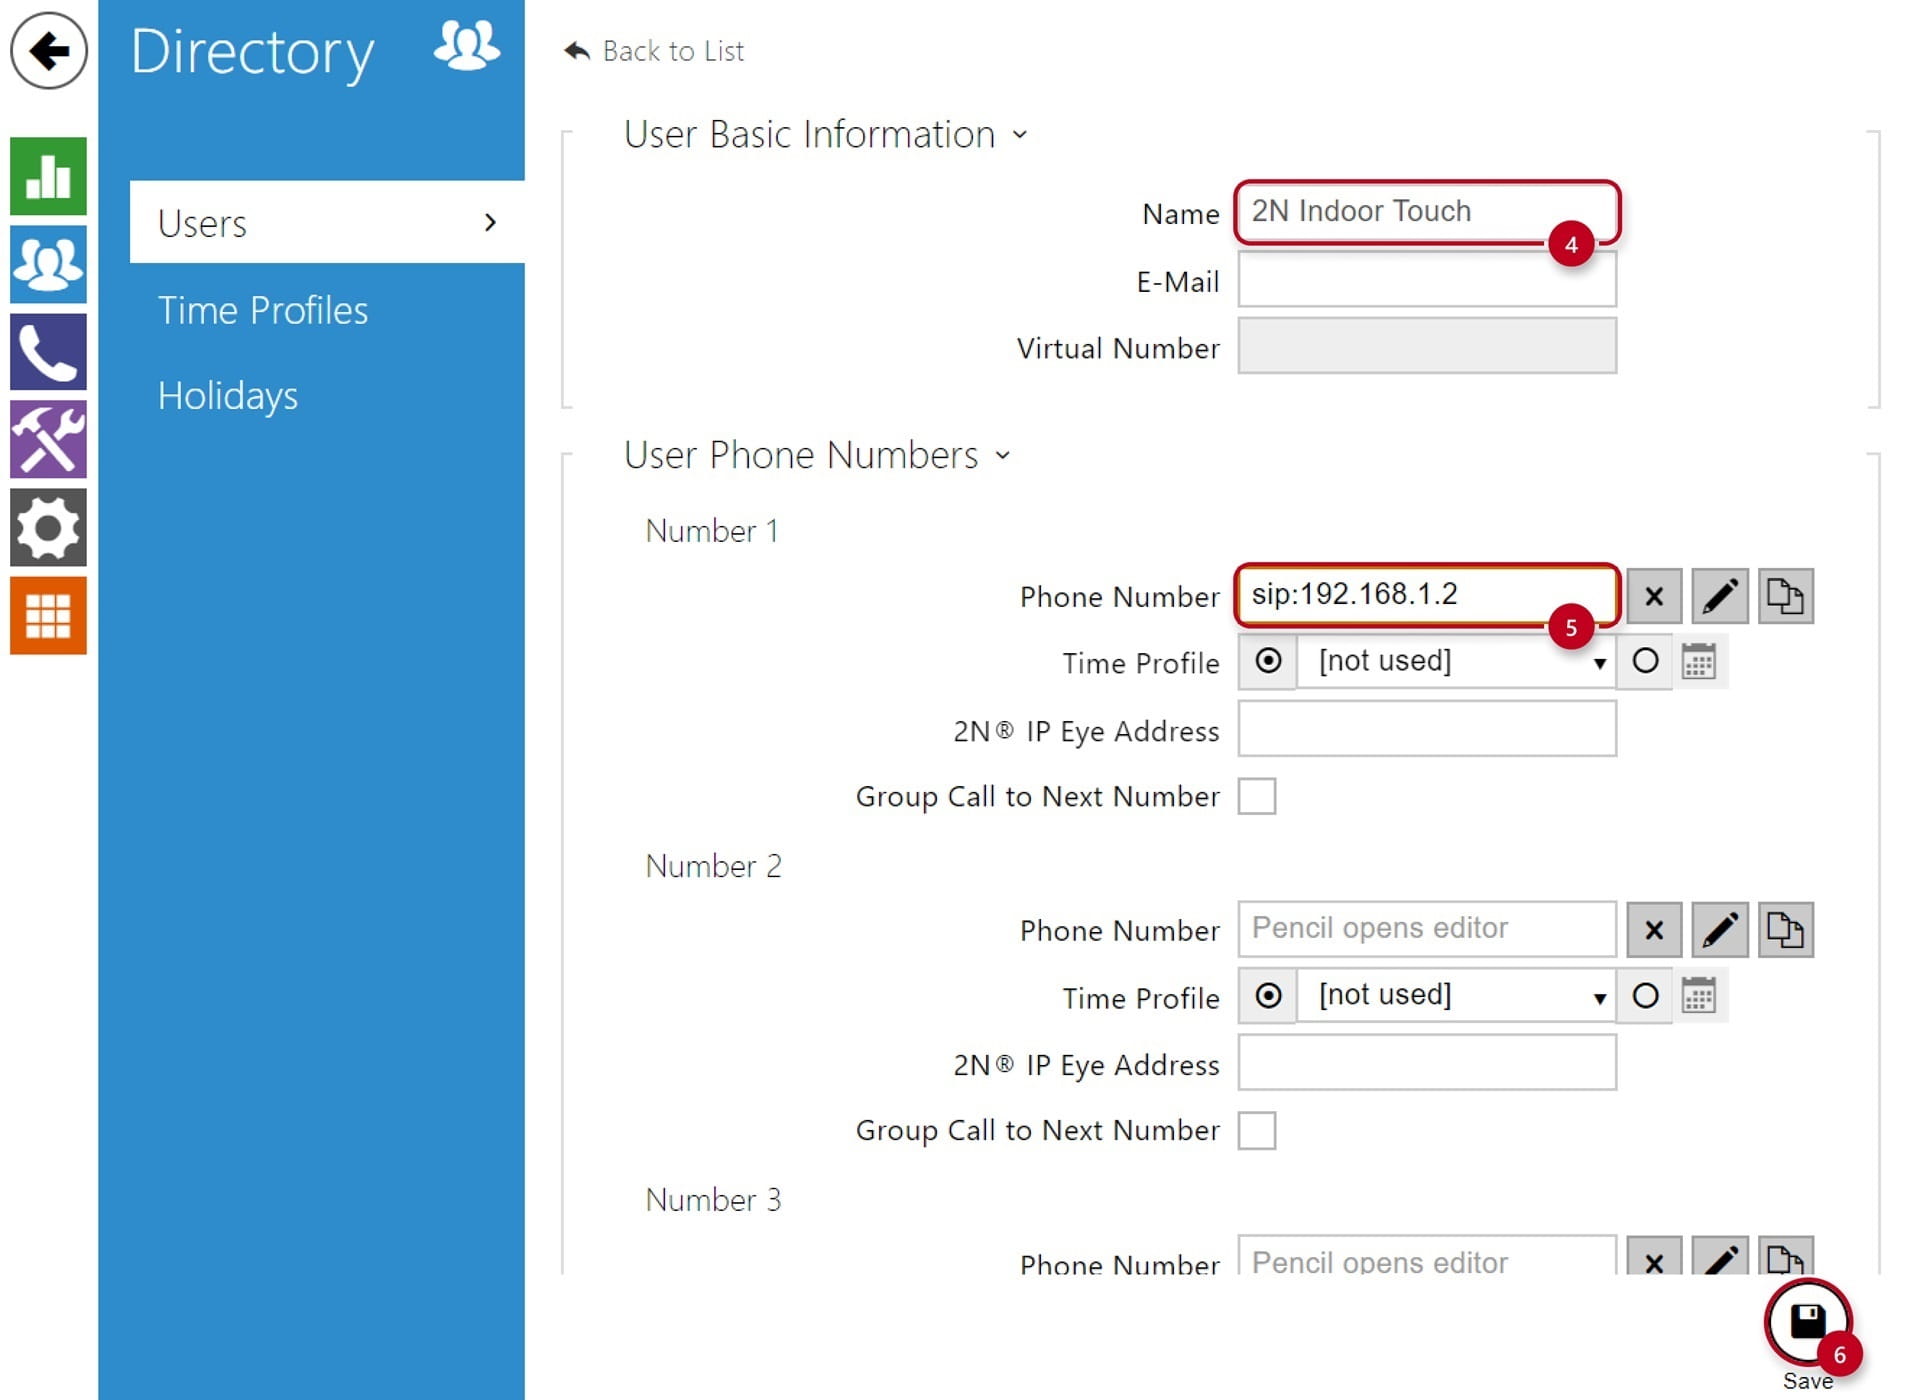
Type in the "Name" (4) of the user you wish to create
-
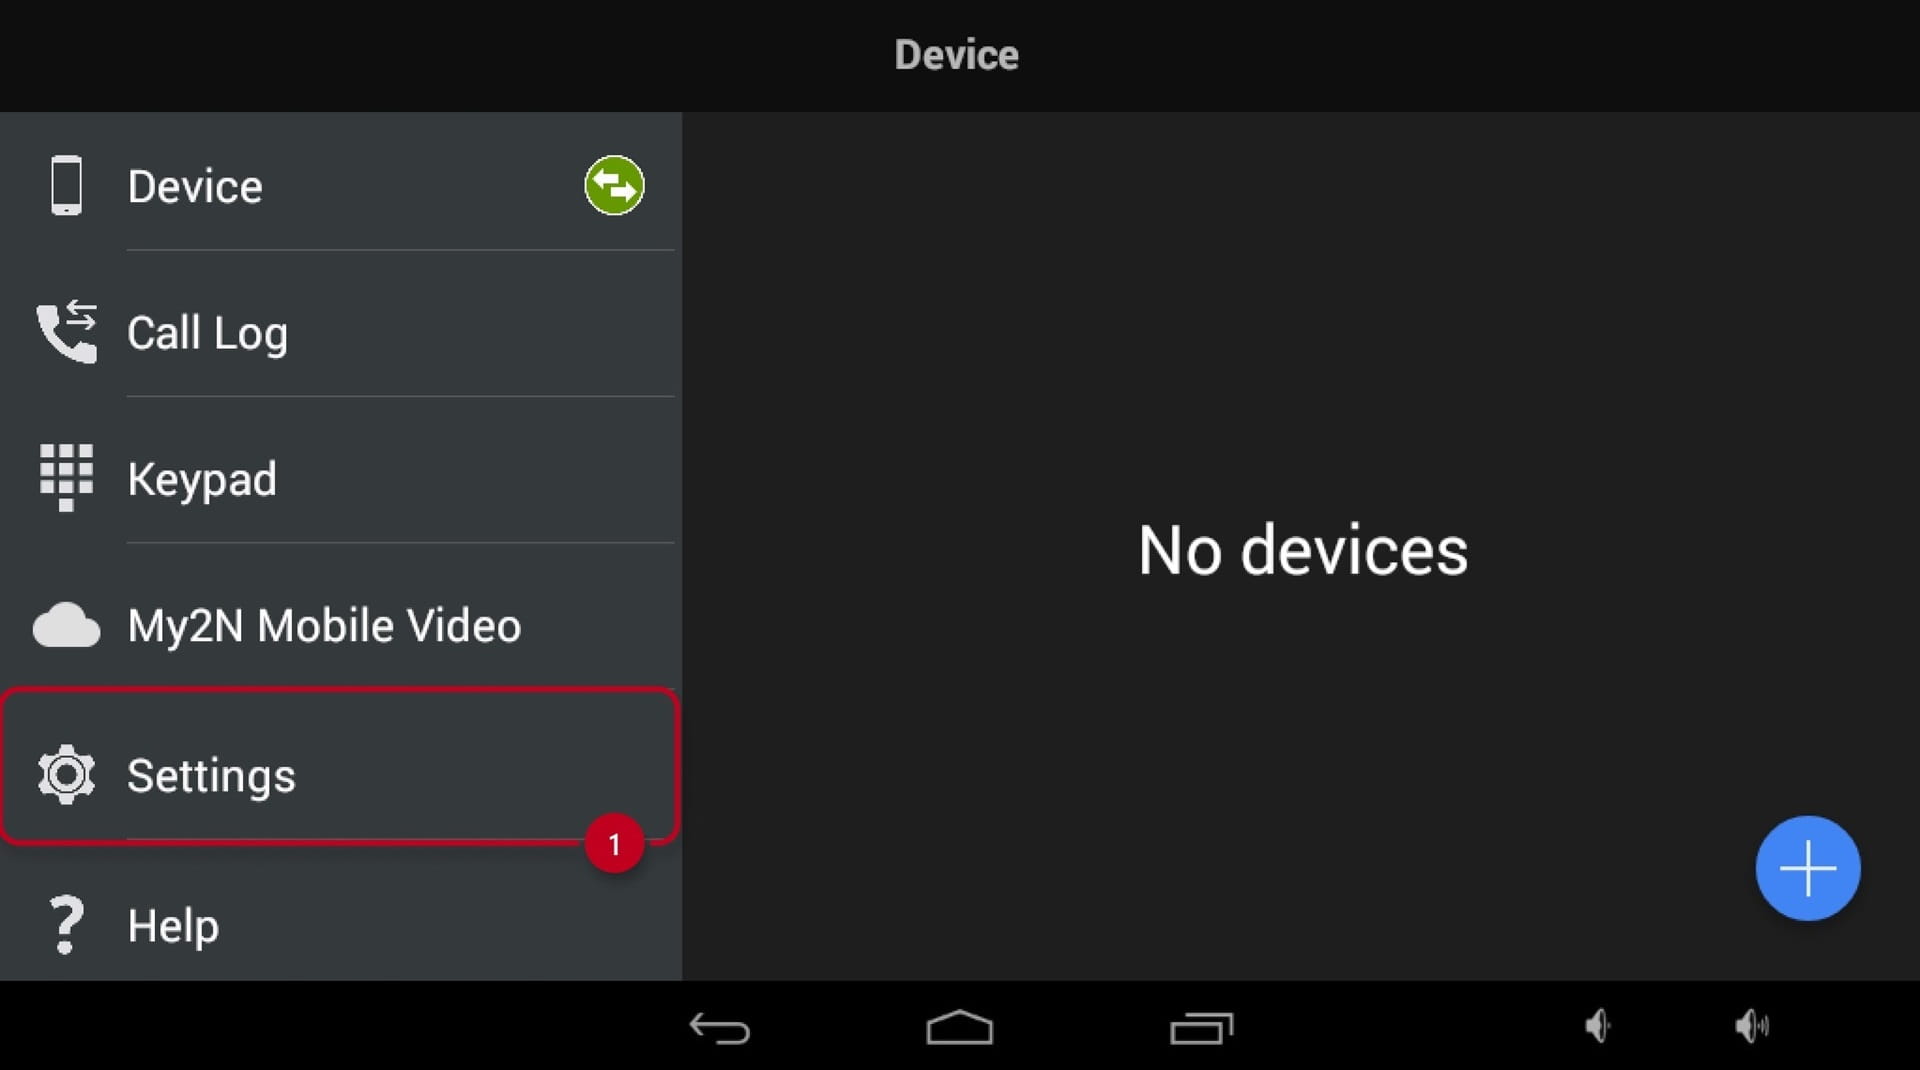
If you want to call to the 2N Indoor Touch via Local Calls, the Phone Number (5) has to be filled in a format: "device:name"
-
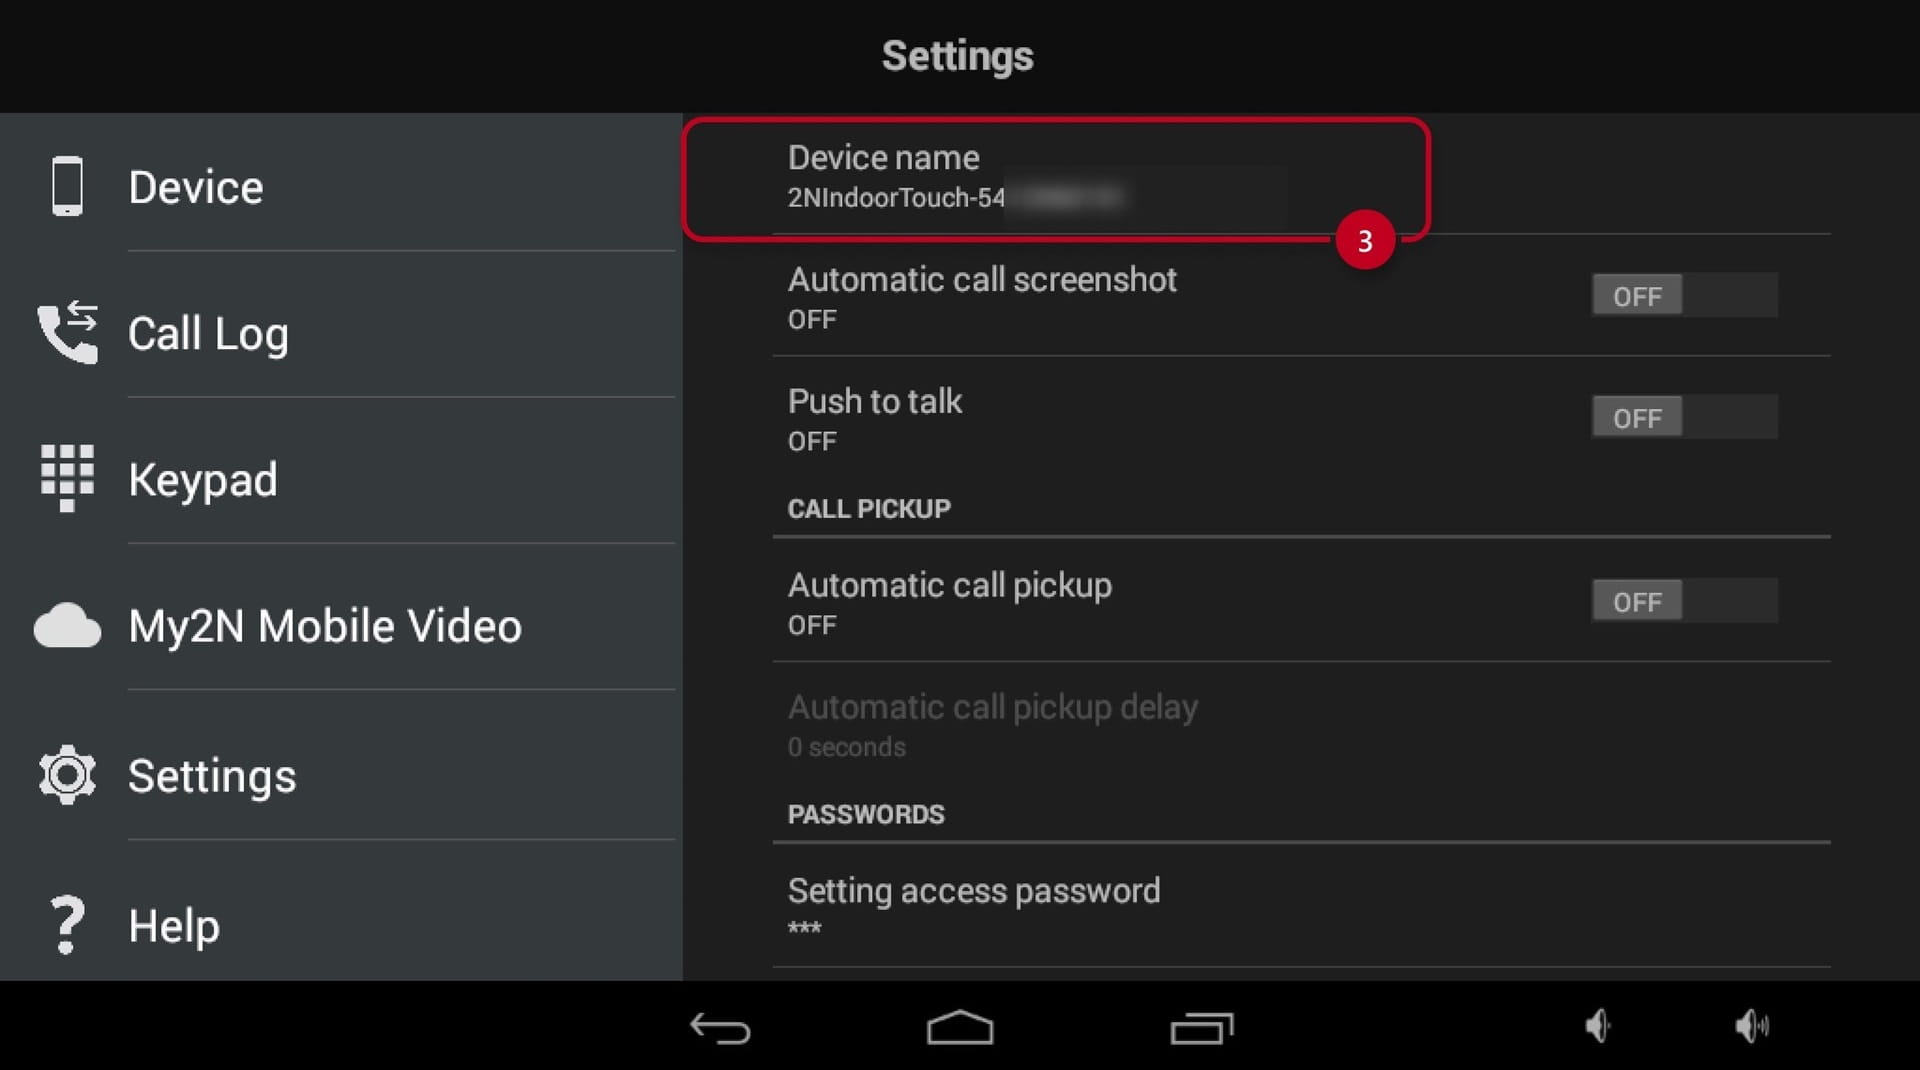
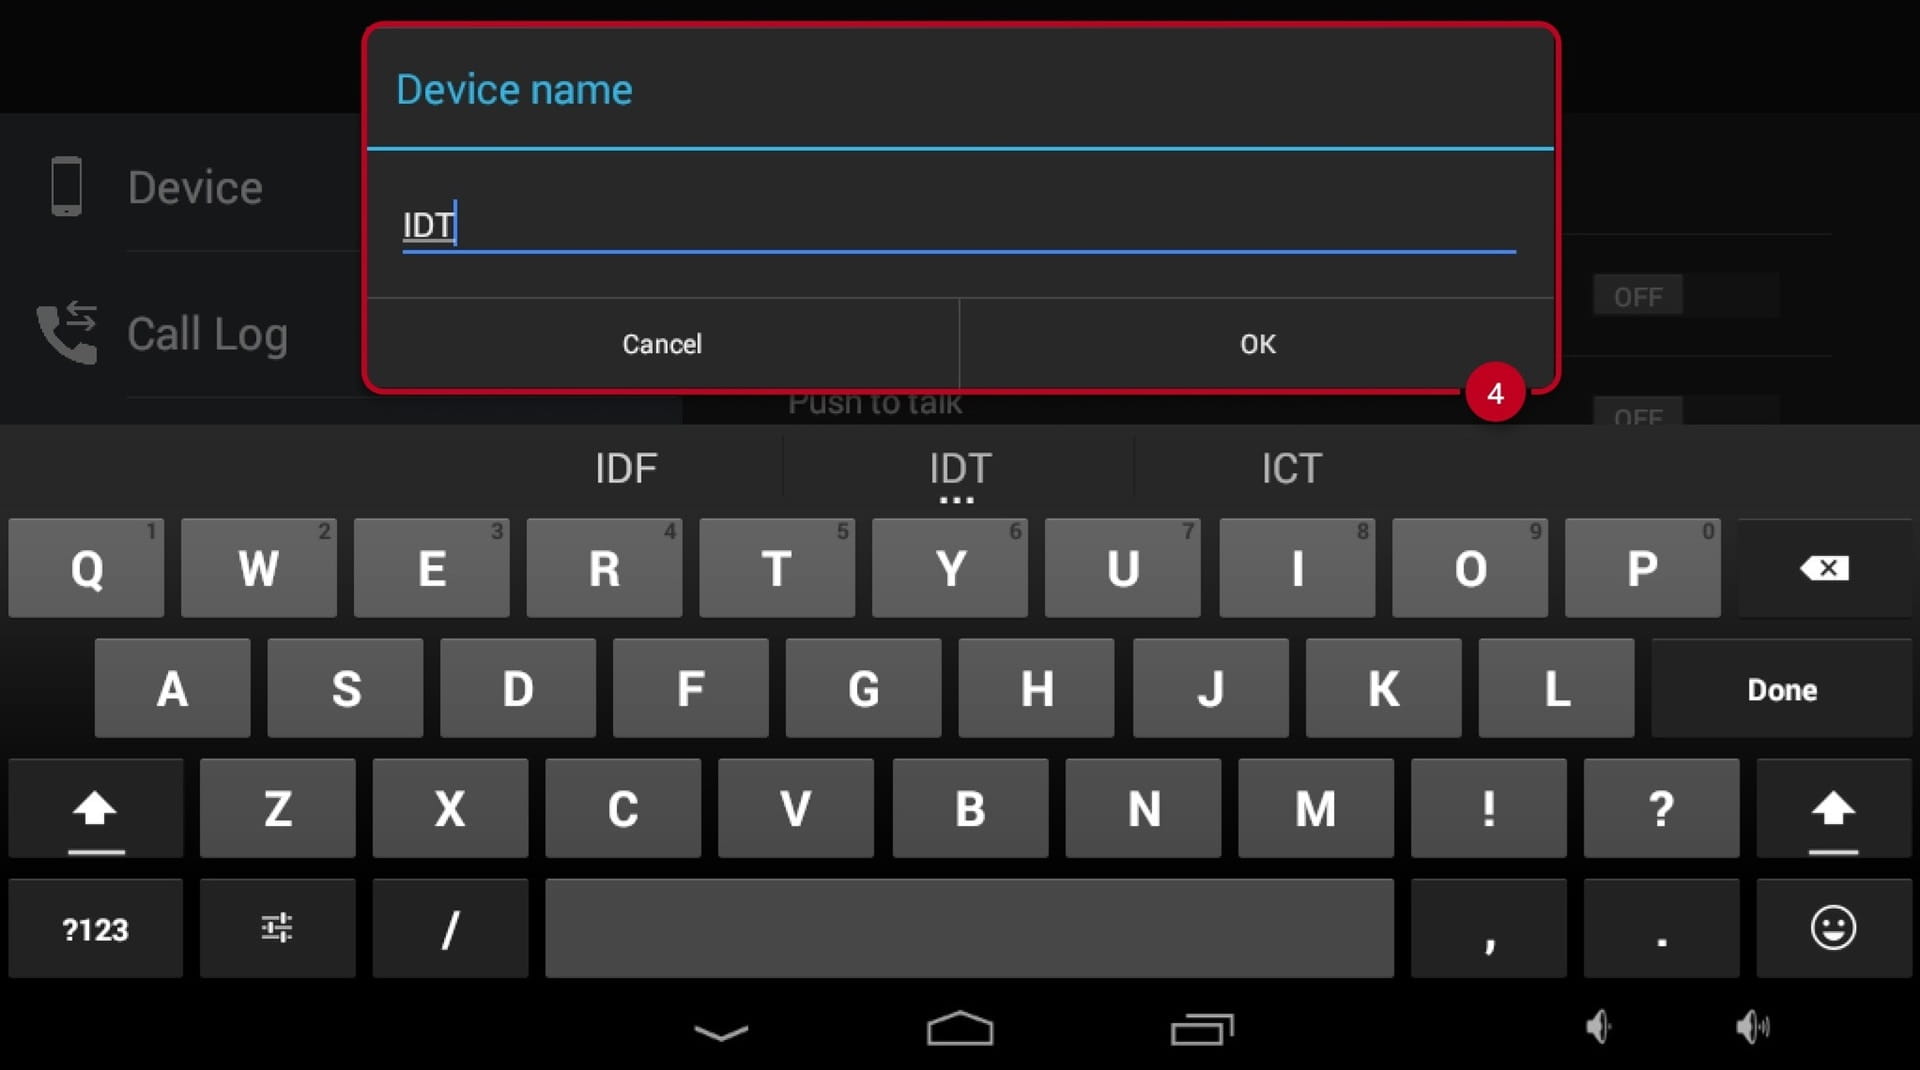
In our example the device name "IDT" is used
-
Make sure to hit "Save" (6) once the configuration is done:
-
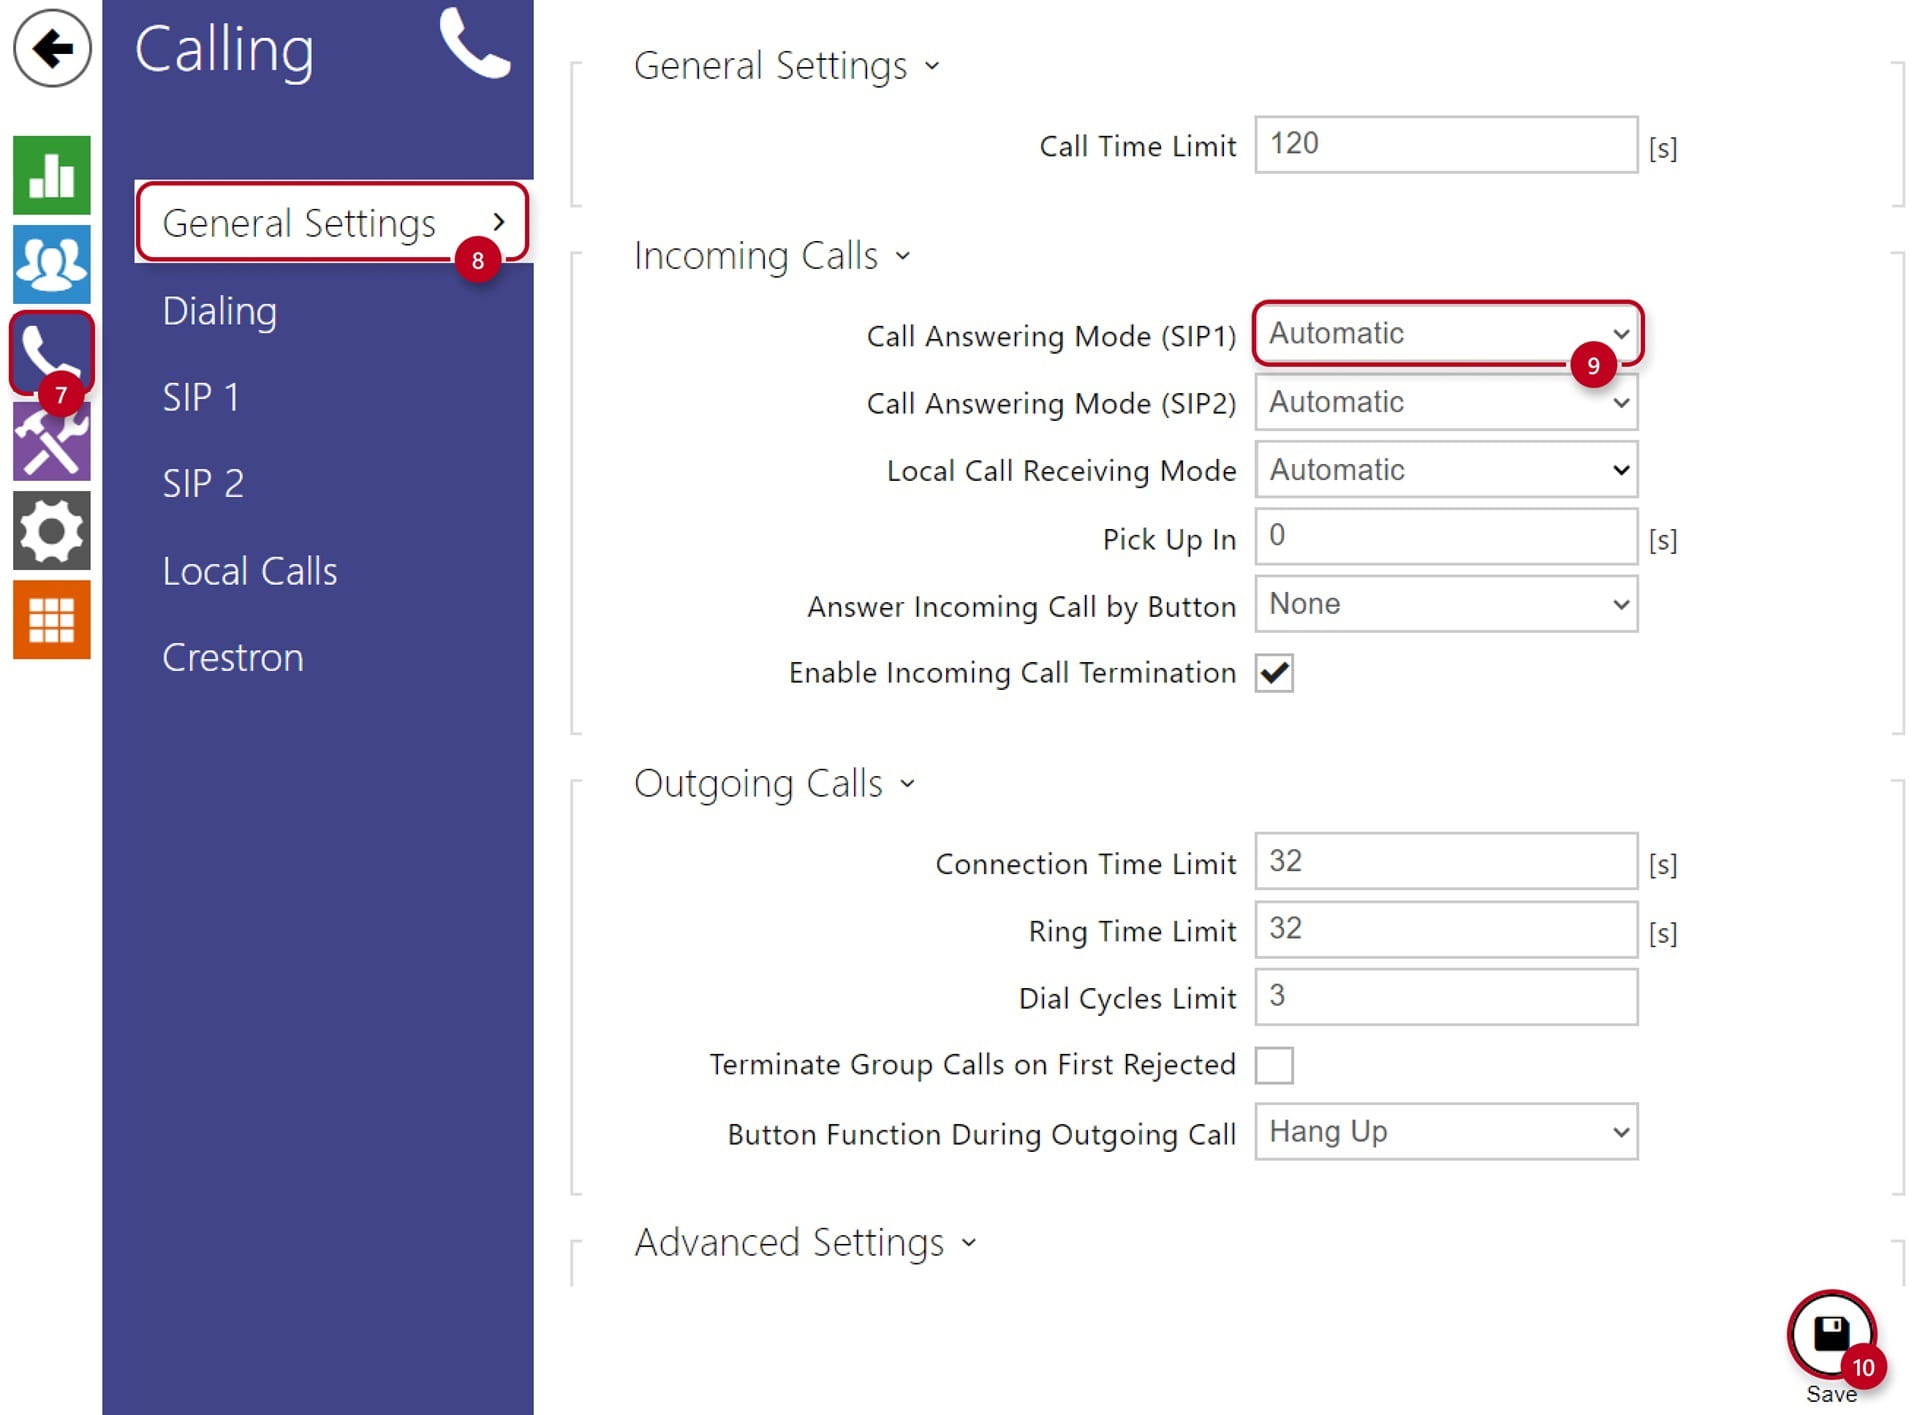
In the next step you can set the intercom to automatically pick up the incoming calls in order to easily reach it at any time
-
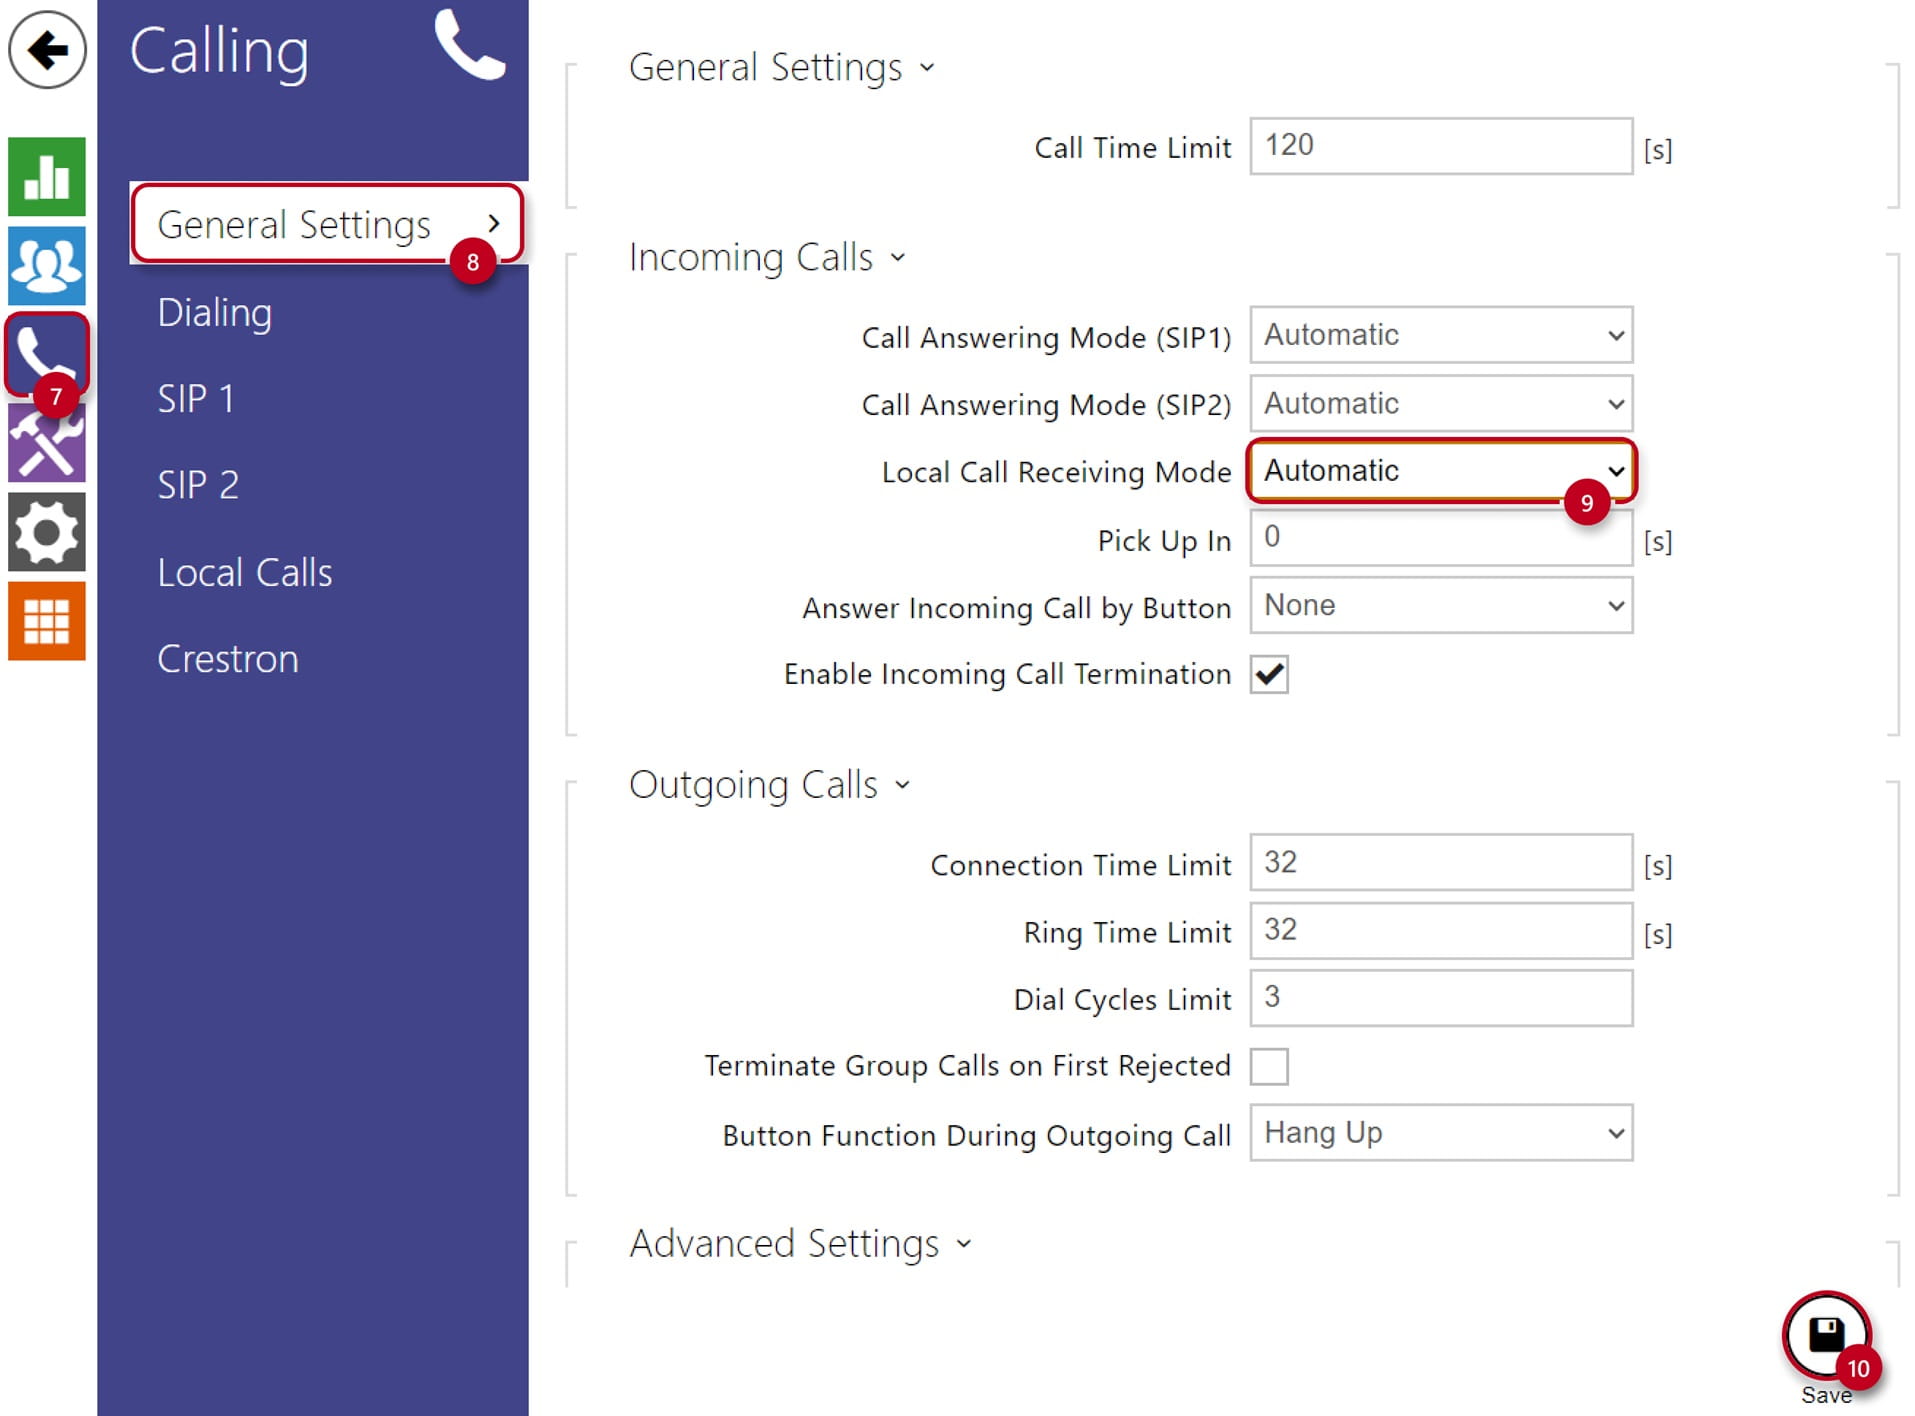
Go to the section "Calling" (7) and "General Settings" (8)
-
Enable Automatic Pickup for incoming local calls under "Local Call Receiving Mode" (9) and hit "Save" (10):
-
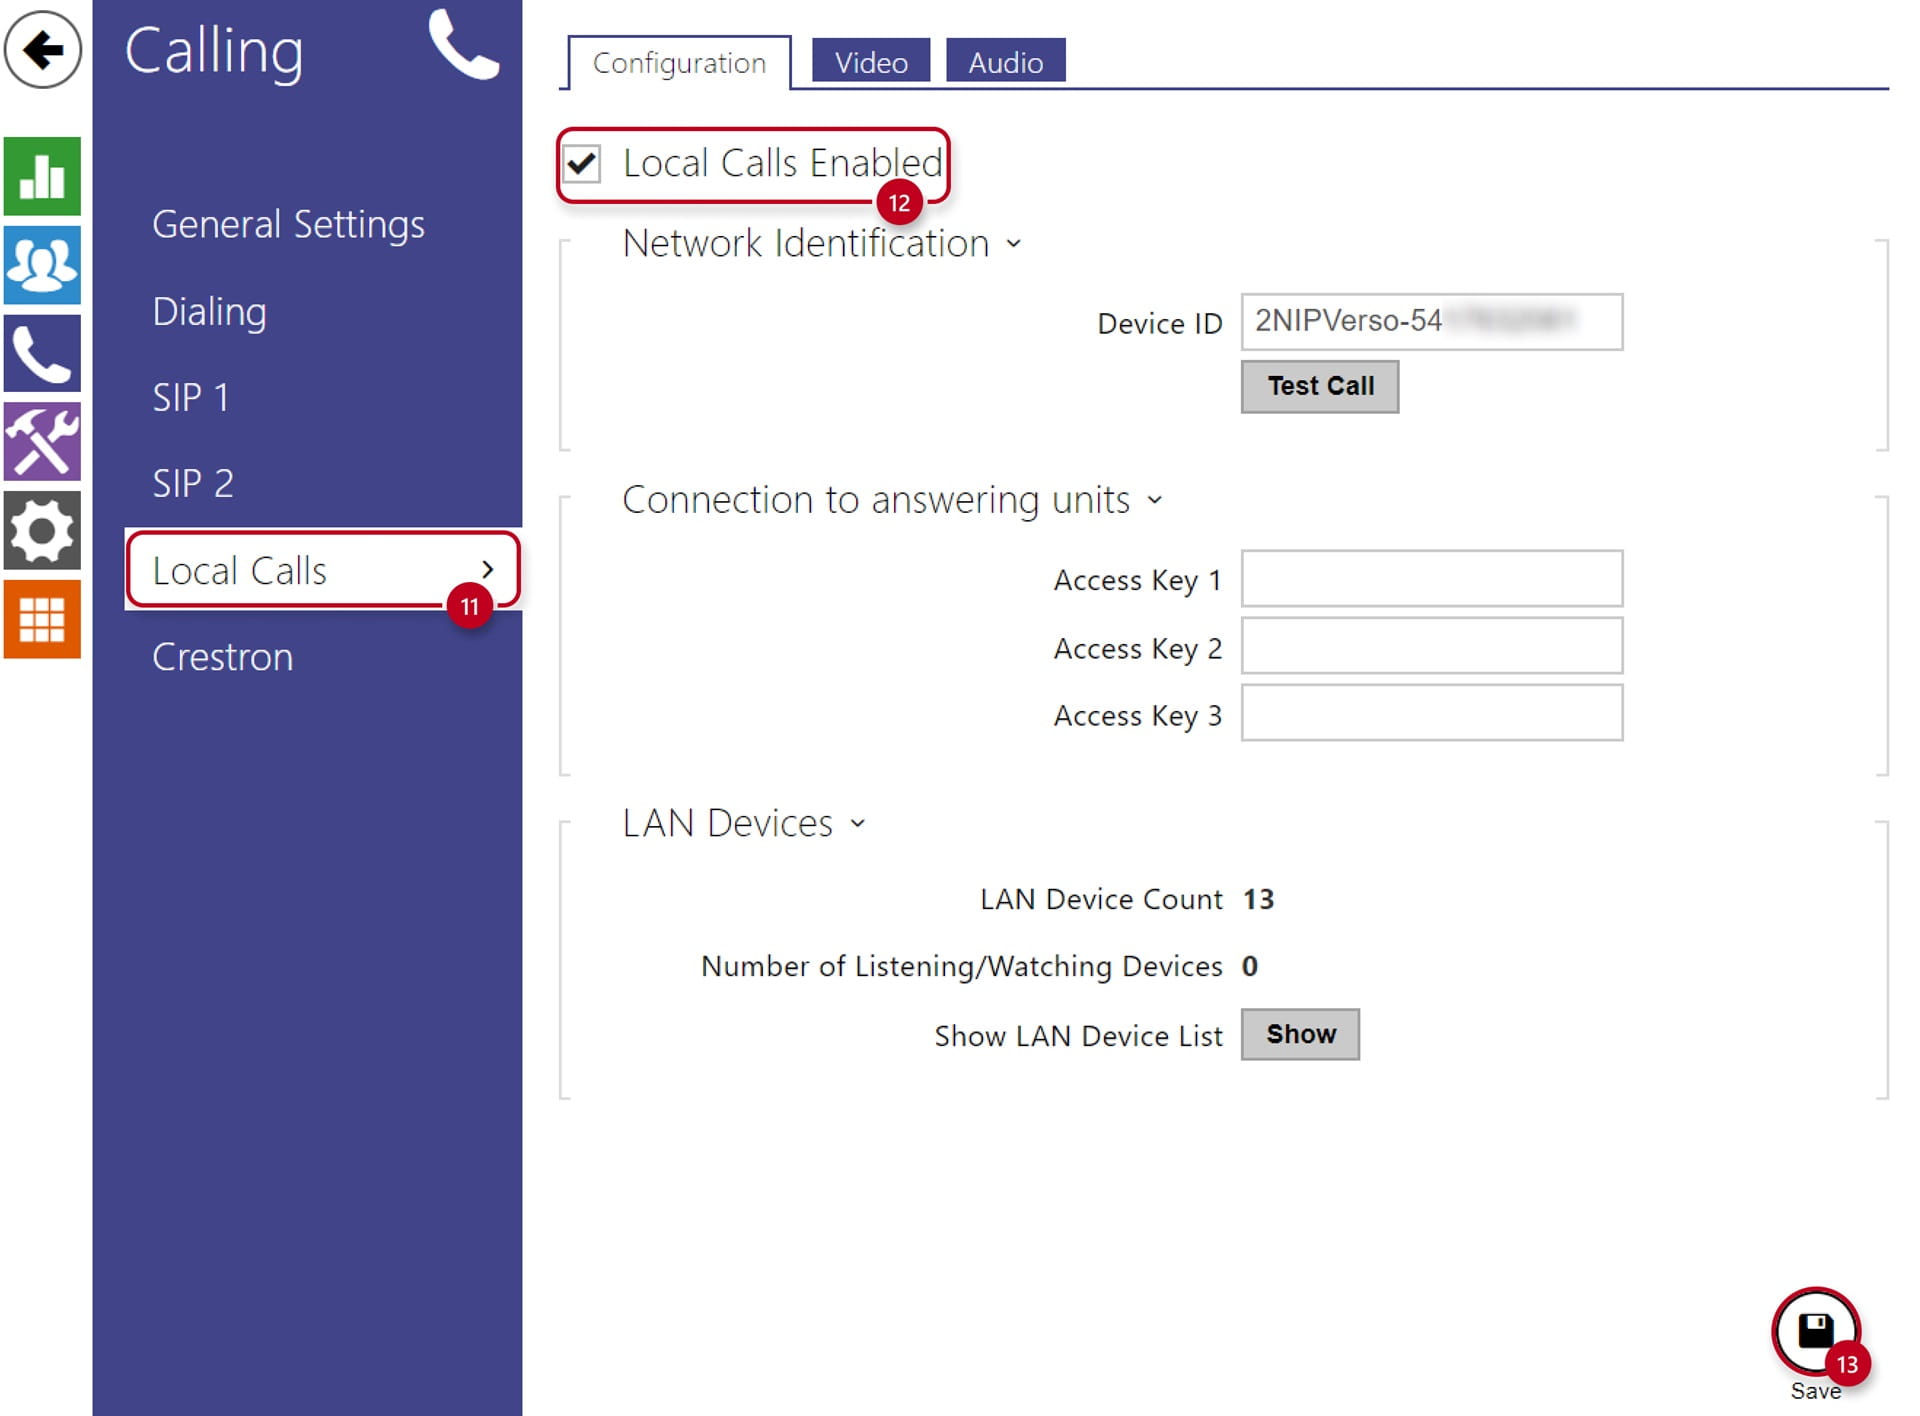
As a next step go to the section "Calling" (11) and "Local Calls"
-
Make sure the "Local Calls Enabled" (12) is selected and saved (13):
-
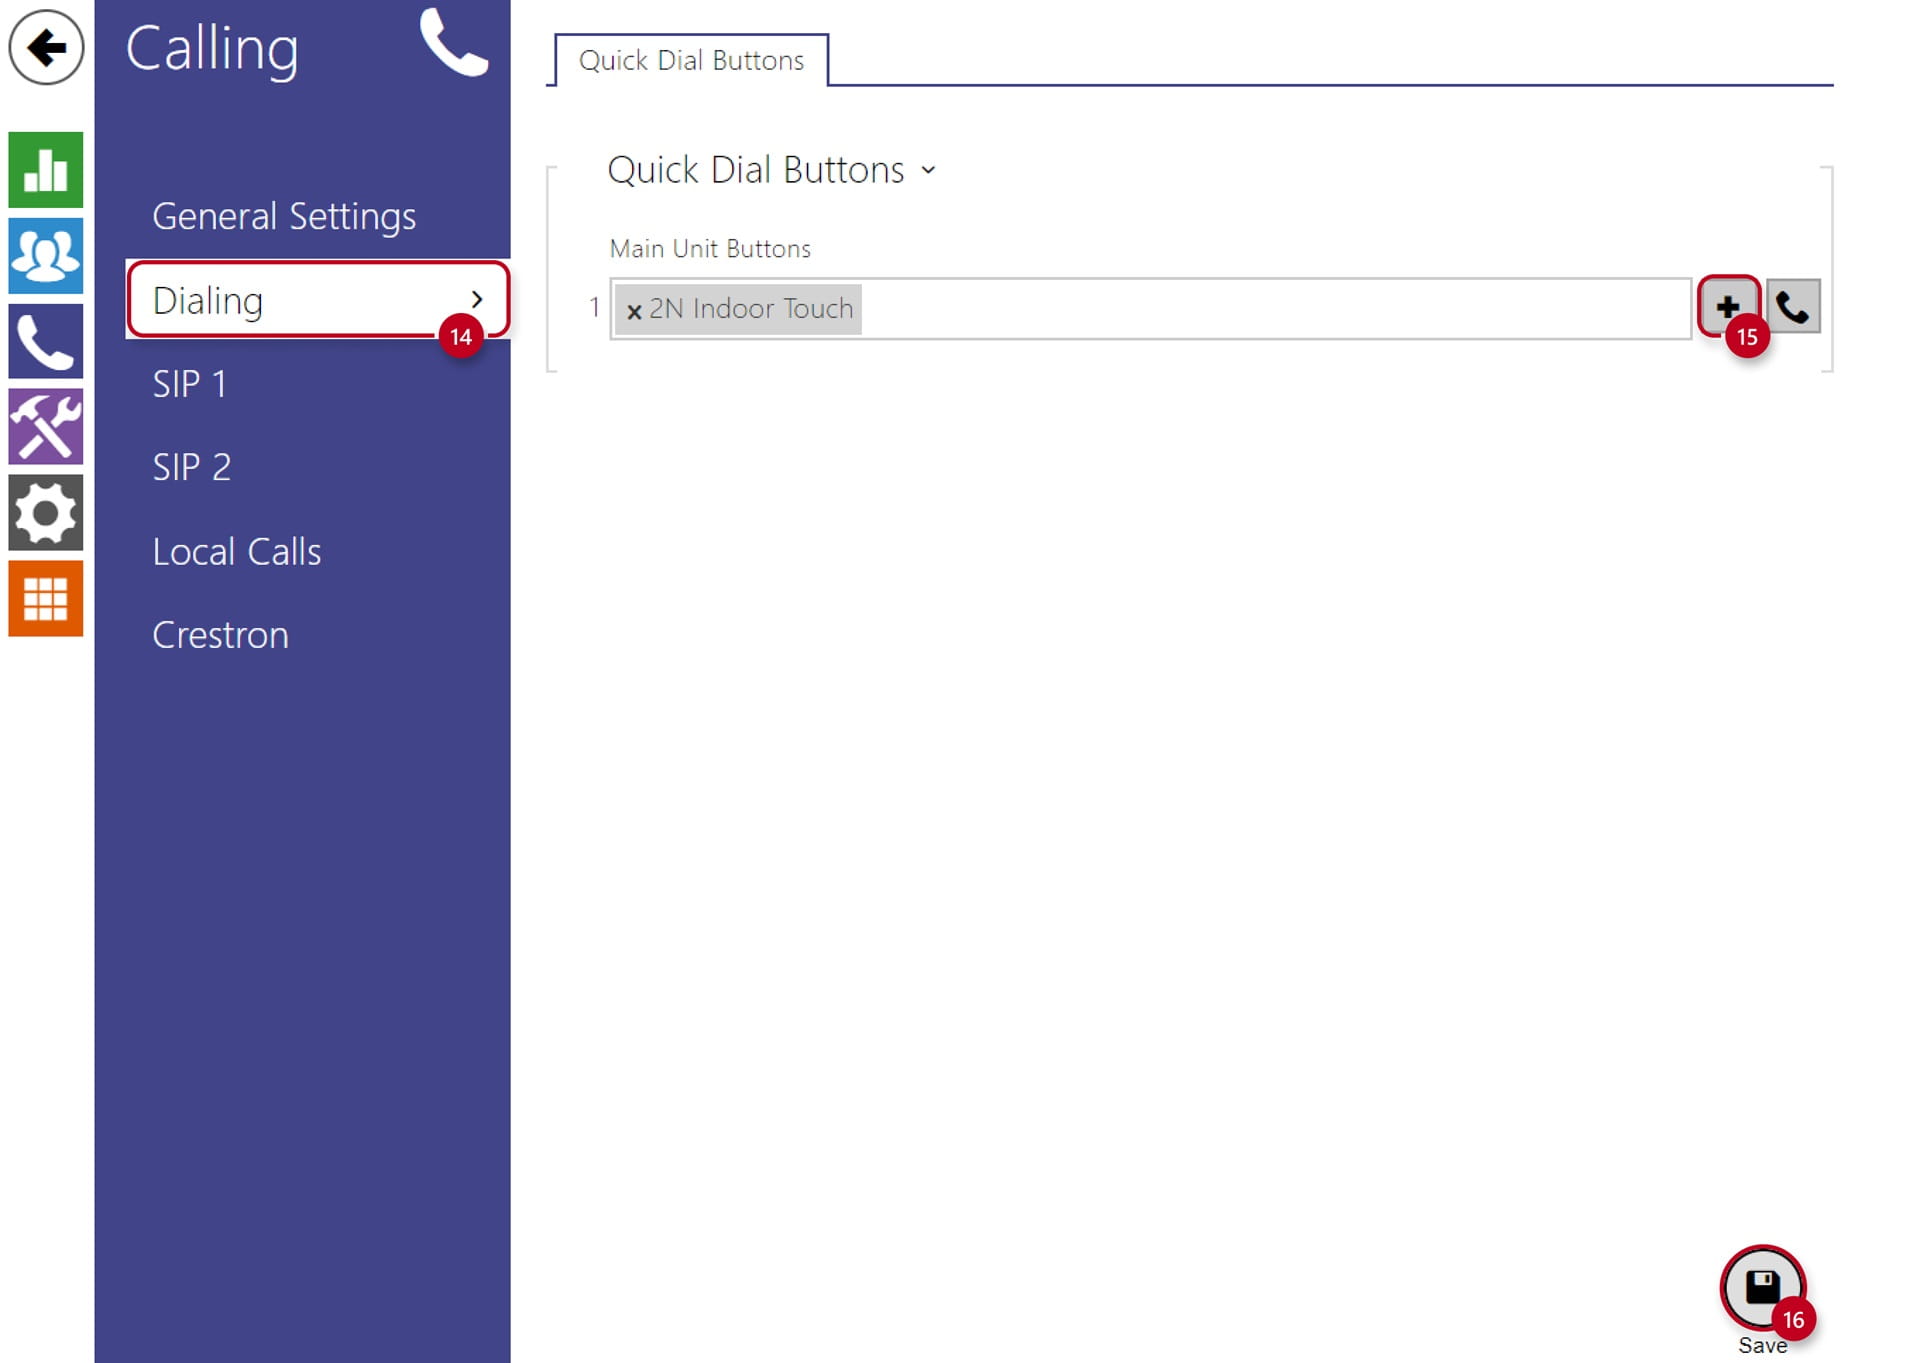
Last step is to assign the contact to a quick dial button under "Dialing" (14)
-
Click on the "+" (15) and select the user
-
Make sure to save the configuration (16):