How To Correctly Install The 2N® IP Style? [Video Guide]
Installing the 2N® IP Style is easy and intuitive, but who’s going to read the manual? It’s much quicker to just view the new installation video.
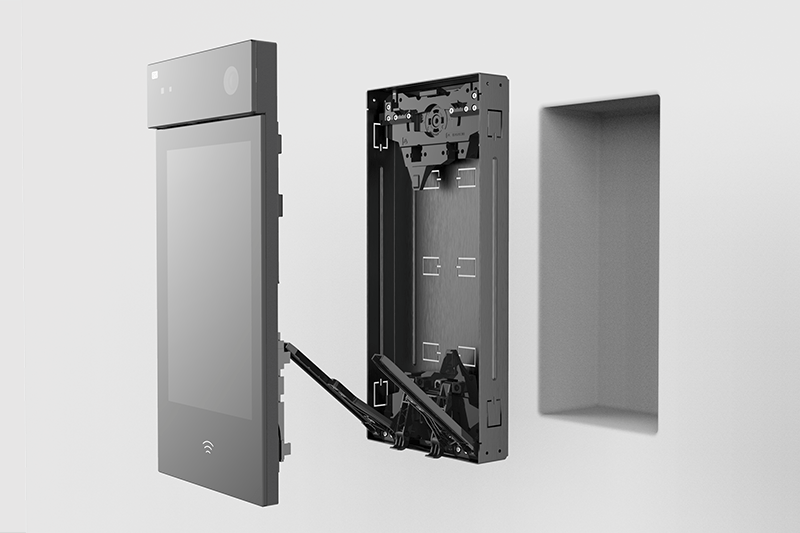
We’ll guide you through flush-mounting the device into a wall step-by-step. We’ll show you how to work with the patented elevating mechanism, which enables the intercom to be aligned with the wall surface, exactly as the designers intended. We’re sure you’ll be surprised by the passage on the innovative tilt mechanism, which makes connecting the cables much easier. 
With this solution, you don’t have to support the intercom at all, so you can work comfortably with both hands and still have access to the ports in the rear of the device. Have you left the cable too long? We will show you exactly that there are special clips, into which you insert the cable.
We also recommend watching the video guide on the easier method of installing the 2N® IP Style, mounted on the wall. The second part of the video is the same for both types of installation.