Web interface access - 2N IP intercoms
From an internet browser
PREREQUISITES:
- Your computer and the 2N device which you want to access must be connected in the same Local Area Network.
- To access the web interface of a 2N device you will need its IP address.
The easiest way to identify the IP address of your device is to find it in 2N Network Scanner. You can download this simple program here.
As shown below, 2N Network scanner shows you all devices connected to the same LAN as your computer. You can search in the list by IP address, Serial Number, Display Name and Version.

STEPS:
1. Type or paste the IP address in the browser and press Enter or simply double-click its line in 2N Network Scanner.
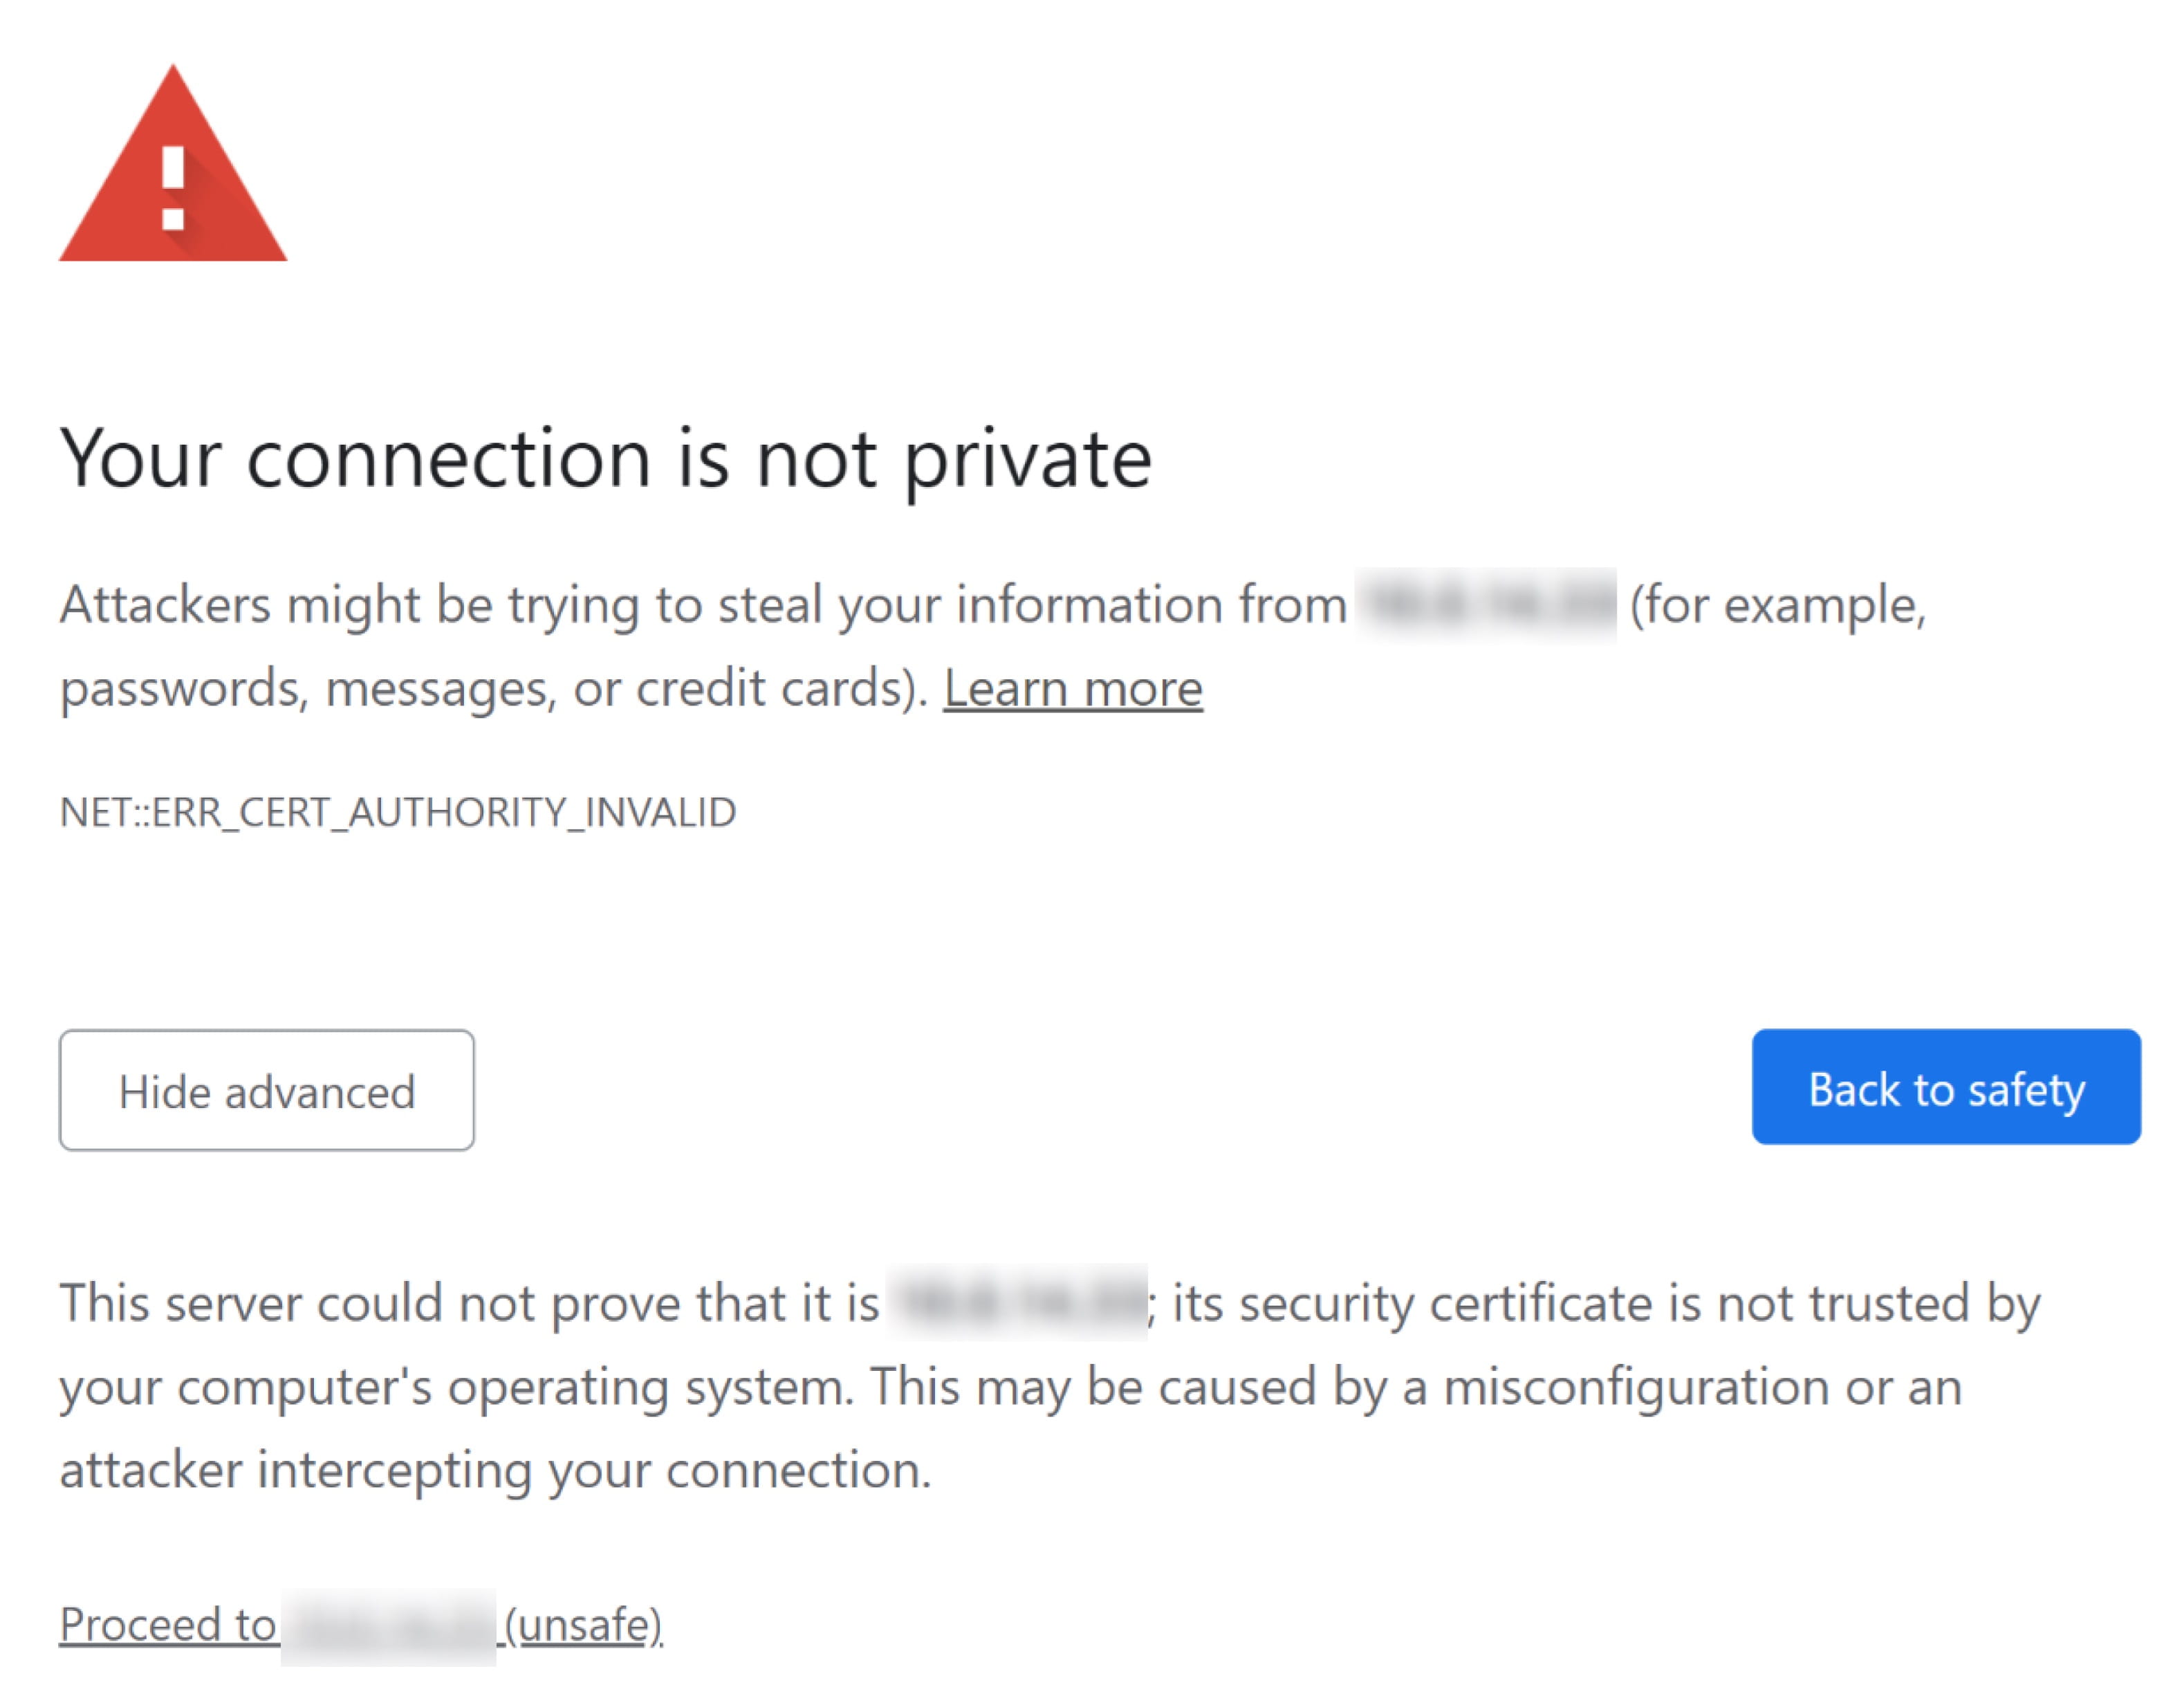
2. Because of certificate settings in 2N devices, your browser will display a warning message. (Examples below.) Do not worry about this message and proceed to the login page. It is safe to do so. Click "Advanced" and continue to the website.

Once you proceed, the login page appears. In the top left corner and the top right corner, you can see the model name of the device. In the top right corner, you can also find the serial number of the device.

Default credentials are:
Username: admin
Password: 2n
In case the credentials were changed and you do not know them, the only way to access the device is to perform a factory reset, which deletes the current configuration.
3. Once you enter the correct credentials, click "Login". Now you are in the web interface of a 2N IP Intercom and you can configure your device.

Note: After a period of inactivity, you will be automatically logged out.
From My2N Web Platform
Log in your My2N account and access the correct site. Go to Device detail page of your IP Intercom. Expand the 2N Remote Configuration Services section at the bottom by clicking the title. Click Open Configuration button.

Follow the instructions above from STEP 2.