
Installation
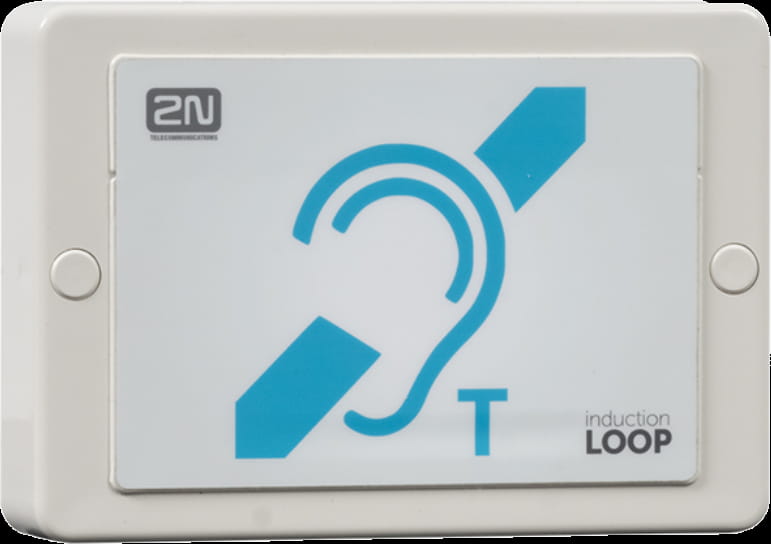
Please click on the selected induction loop to see the instructions:
9155041 for IP Style, IP Verso, IP Verso 2.0
- The module contains two bus connectors, that are fully interchangeable and can be used either as inputs from the basic unit or outputs to other modules.
- Location of bus connector on 2N IP Intercom:
- 2N IP Style

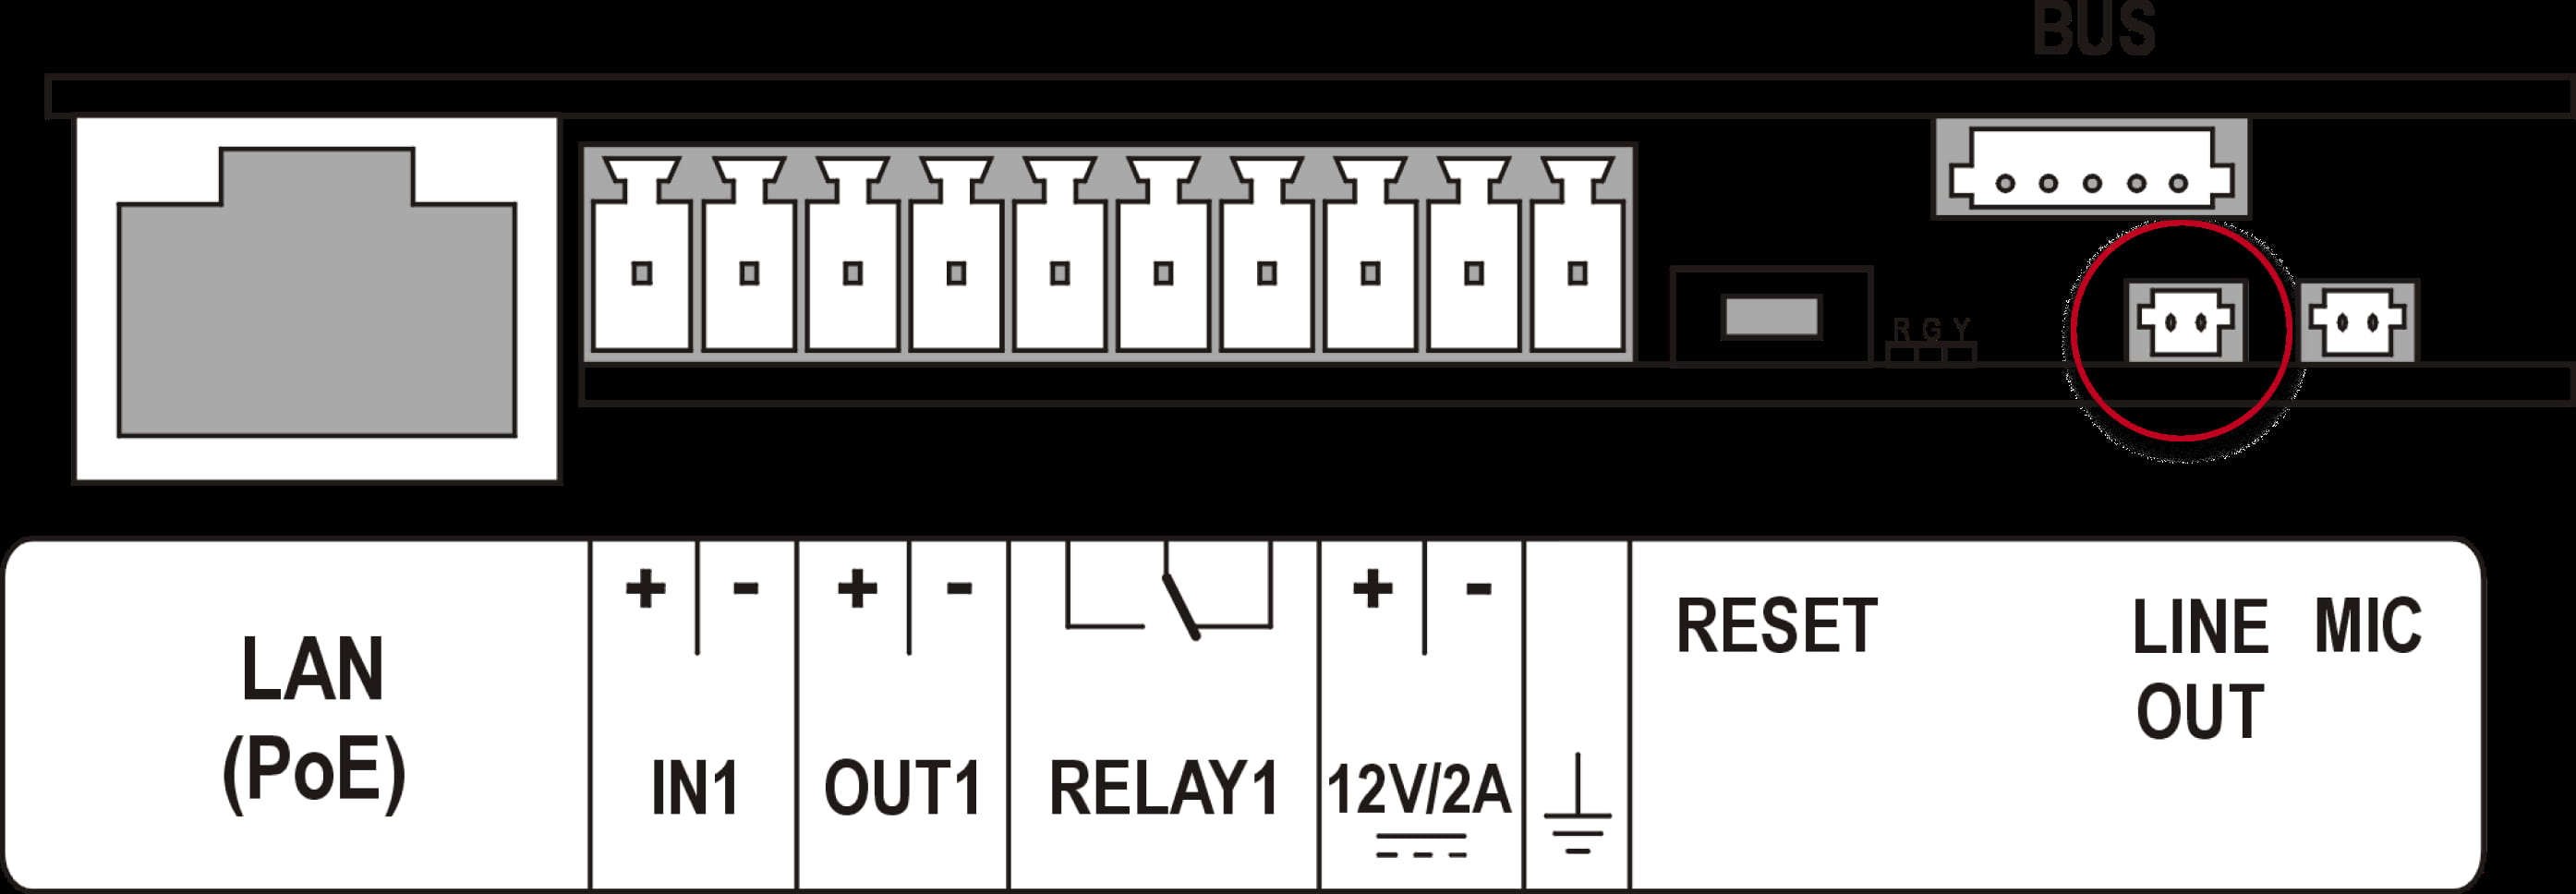
- 2N IP Verso
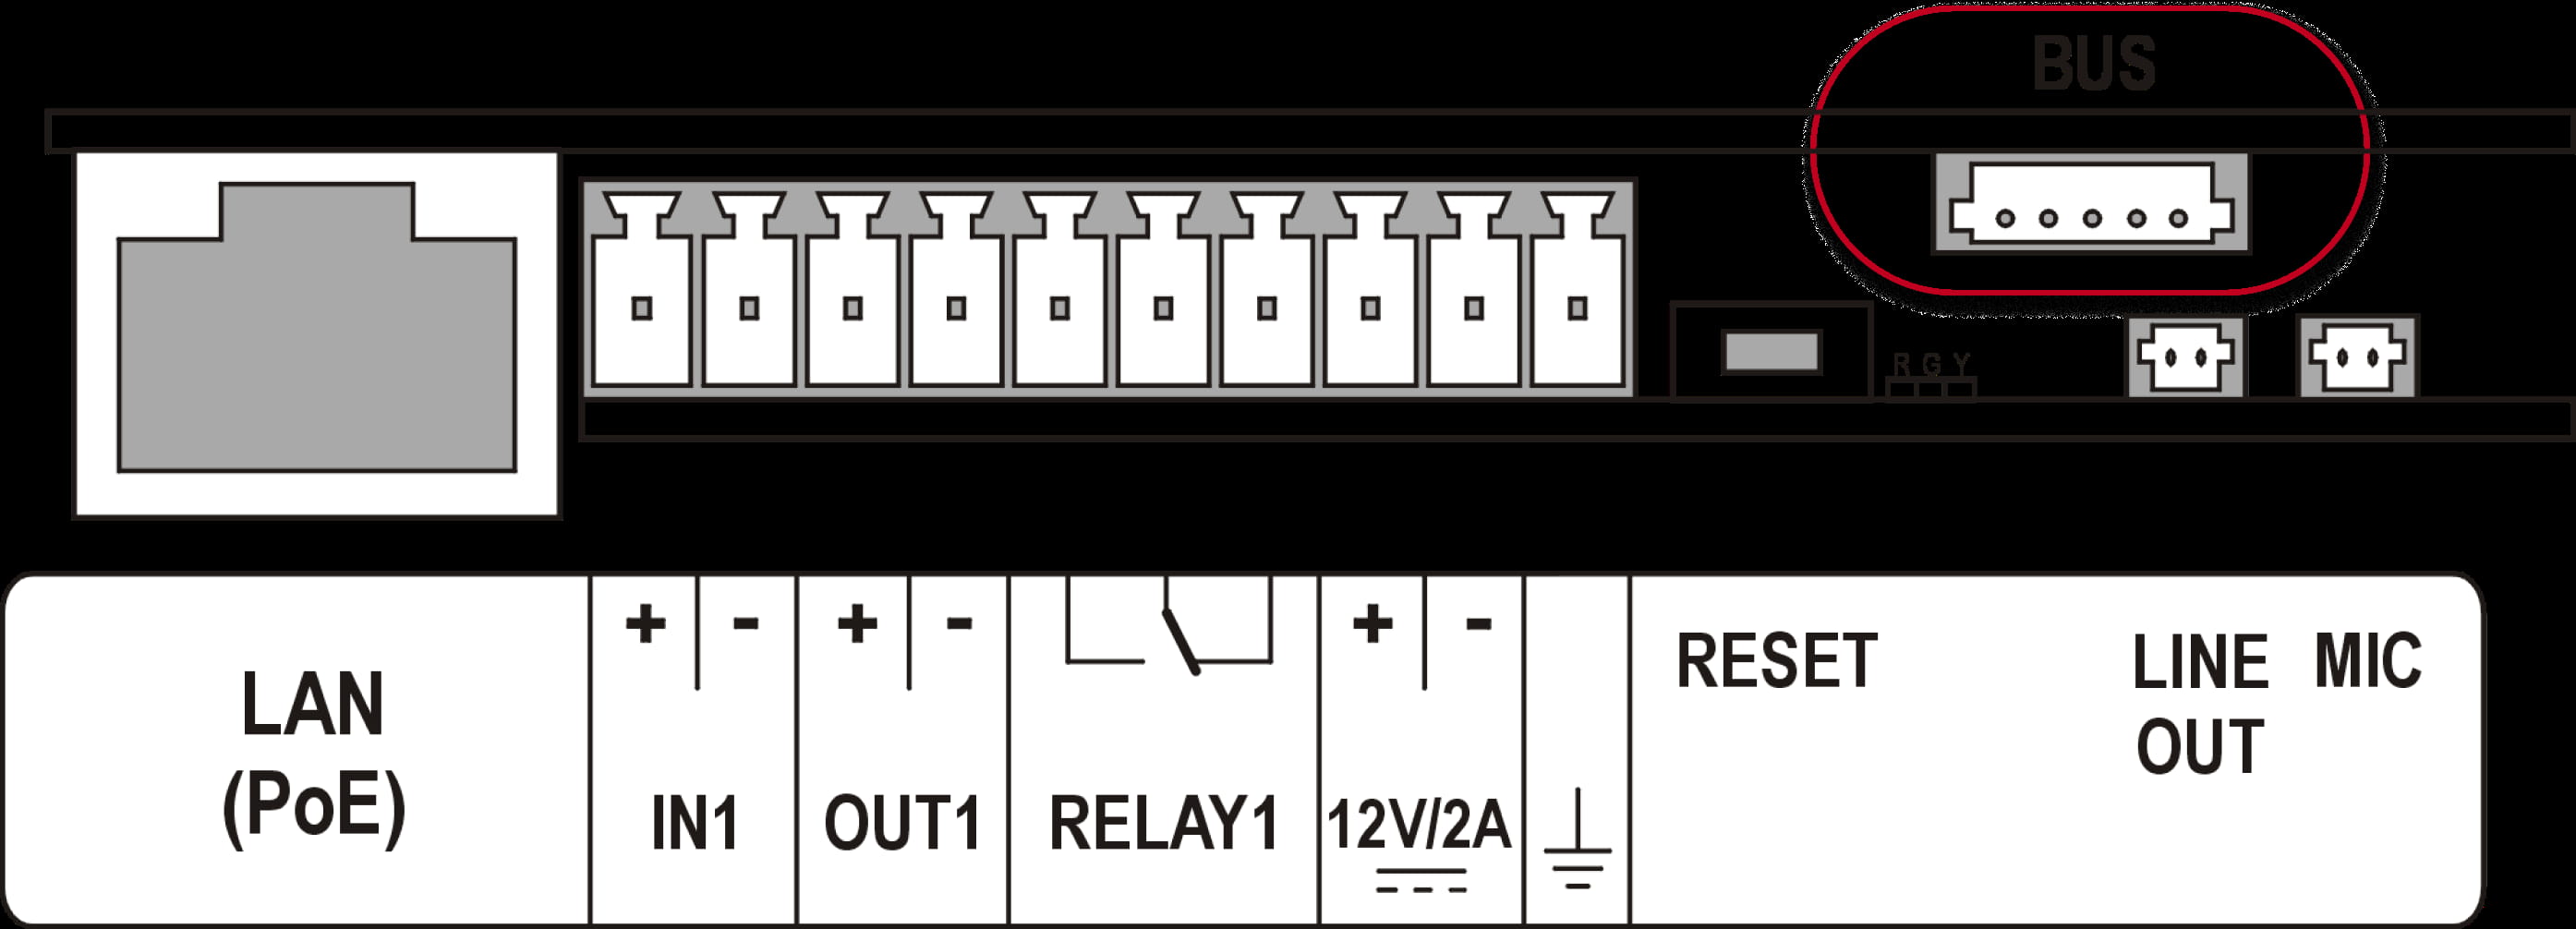
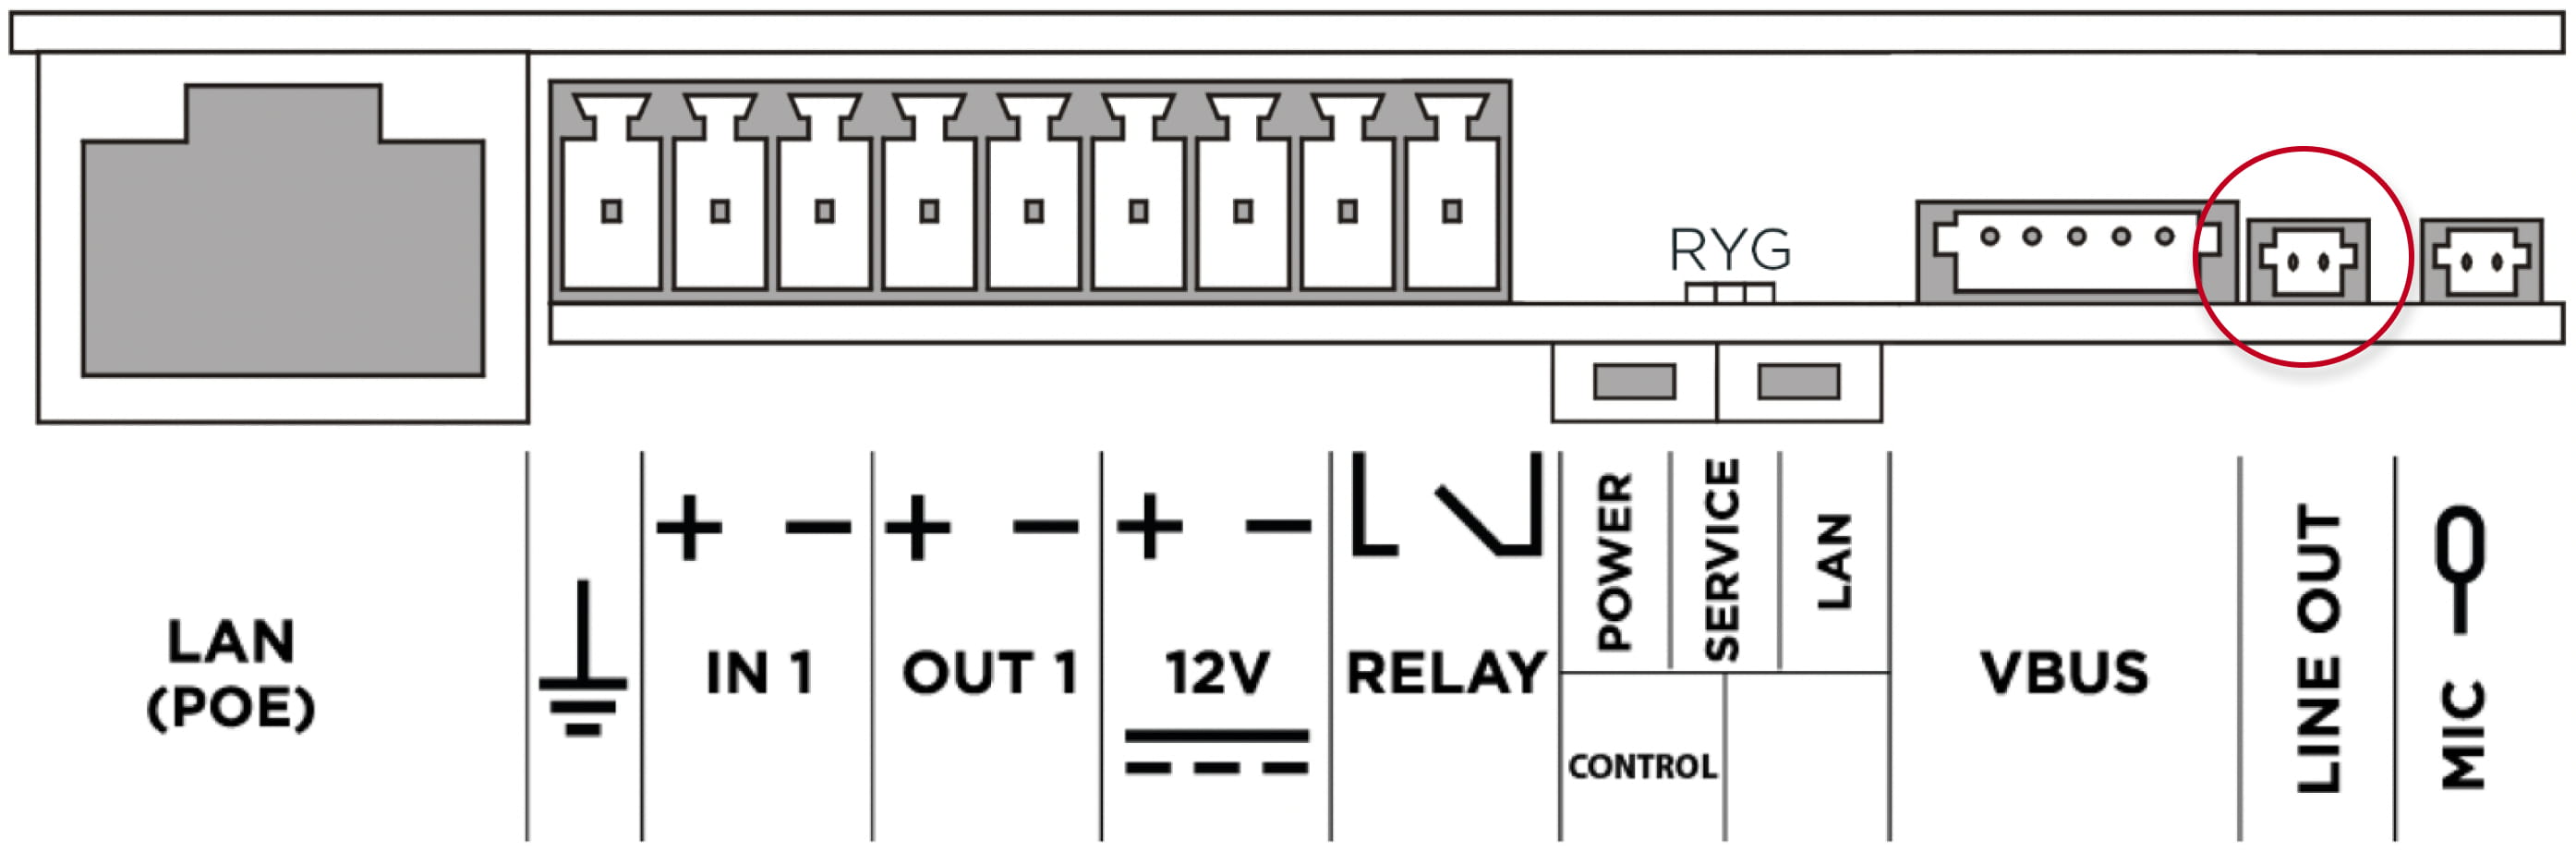
- 2N IP Verso 2.0
- 2N IP Style
9159050 for IP Force, IP Safety, IP Style, IP Uni, IP Vario, IP Verso, IP Verso 2.0
- The induction loop amplifier can be wall mounted with the use of an internal induction loop where a signal covering is requested. Outdoor use is possible thanks to the IP65 covering.

- A four-wire cable of the length of one meter is mounted to the supplied product for easier connection to the intercom. In the cable are two wires for 12 V DC supply and two wires for signal input, the wires are connected into interconnection connector. If you shorten the cable, follow the colour marking.

- Before wall mounting, run the cable through the hole that you have prepared.
- Then mark two mounting holes on the wall, through the amplifier front.
- Remove the amplifier and drill the mounting holes. Use a drill of the diameter of 6 mm.
- Use the plugs and screws included in the delivery.
- After fastening, cover the screws with the blanks supplied.
- Use the supplied connectors to connect the amplifier to the intercom and power supply. The A connector is connected to the amplifier four-wire cable. Insert a special intercom-connecting cable supplied with the amplifier and 12 V power supply outlets to the B connector. Connect the special cable to the intercom and connect the power supply to the mains. You can place the mated A and B connectors into the 2N IP Intercom cover. The connectors help you connect stripped cables. Open the connector by pushing a thin screwdriver onto the white spots at its front and close the connector by sliding the movable part through a side gap.
- Finally, test the amplifier function using a suitable receiver for hearing impaired persons or magnetic field communication tester. No other settings are required.
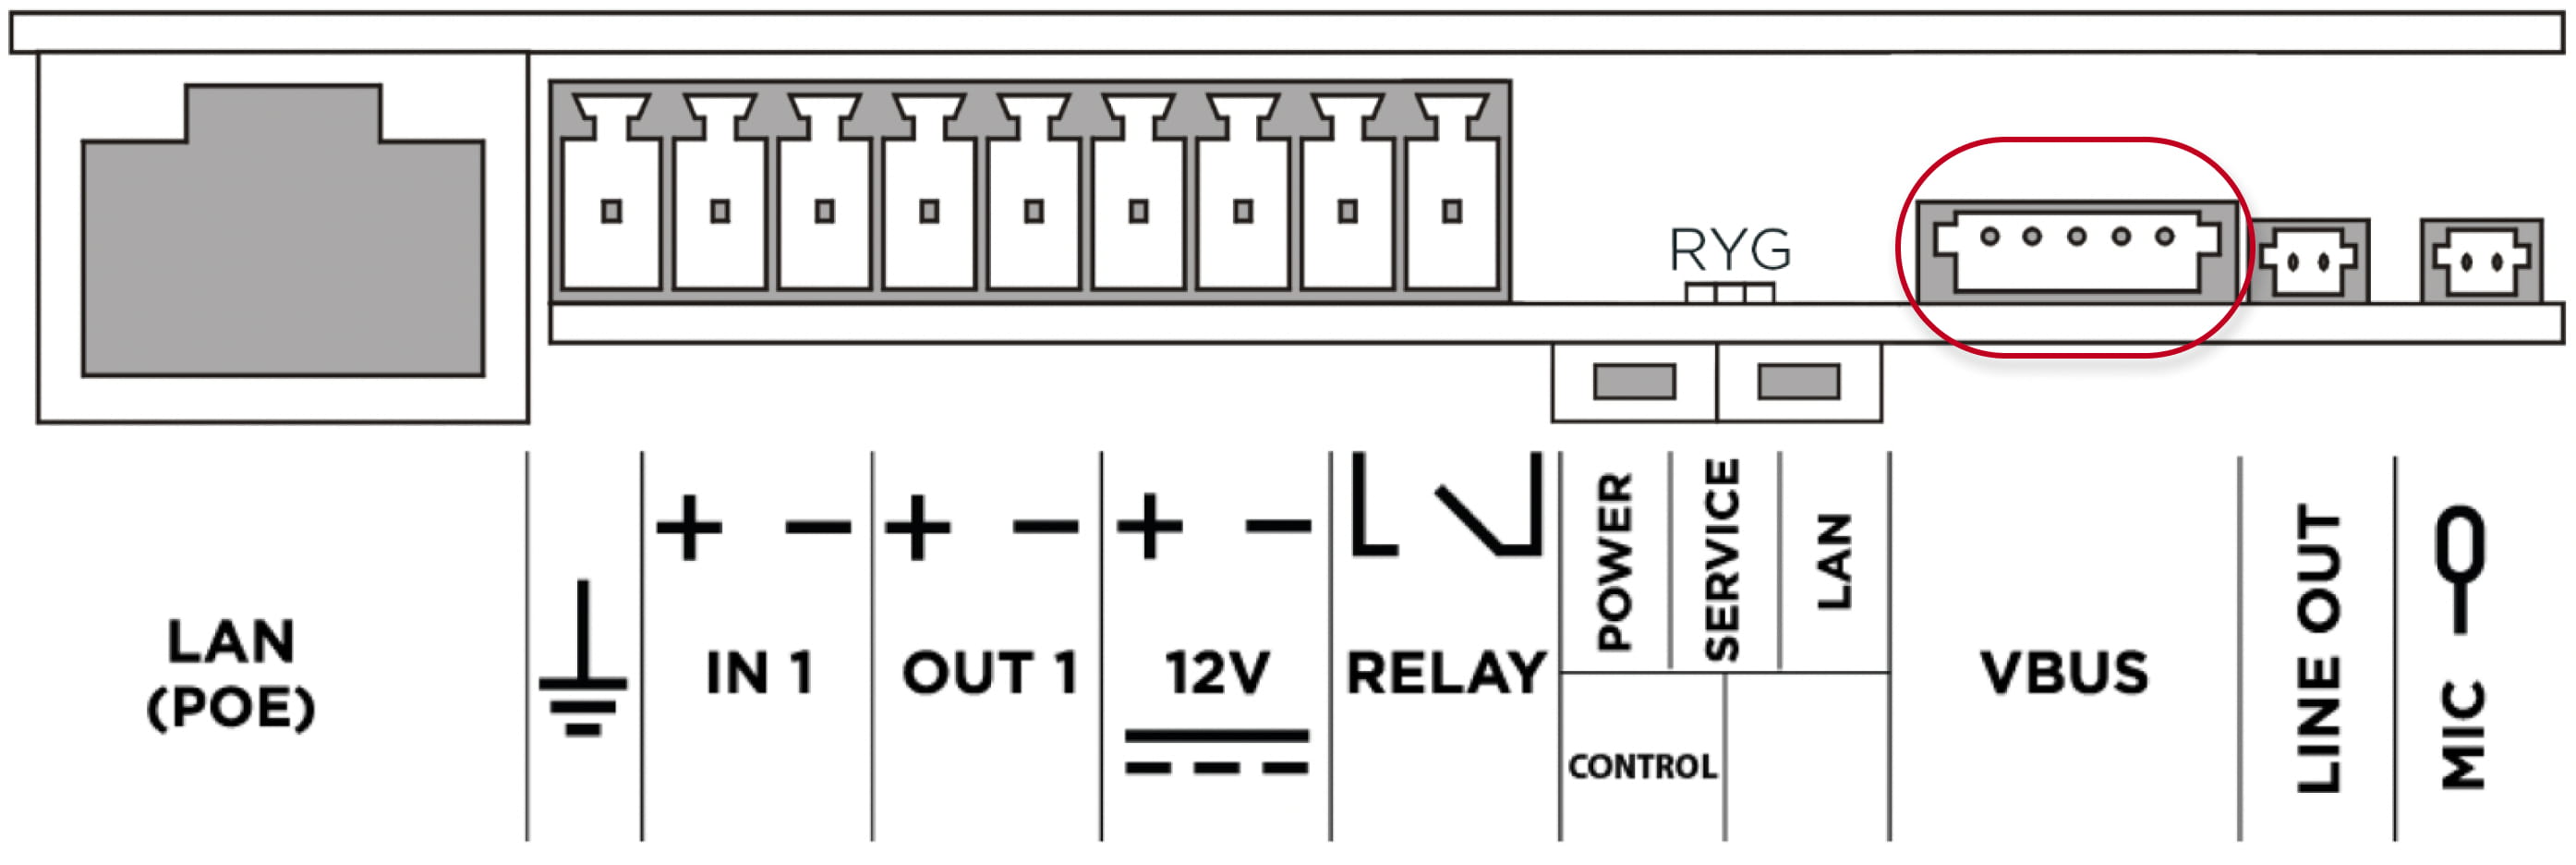
- Location of Induction loop connector on 2N IP Intercom:
- IP Force and 2N IP Safety

- 2N IP Style

- 2N IP Uni

- IP Force and 2N IP Safety
-
- 2N IP Vario

- 2N IP Vario
-
- 2N IP Verso
- 2N IP Verso 2.0
- 2N IP Verso
9159054 for Indoor Compact, Indoor Talk, Indoor View, IP Audio Kit, IP Video Kit
- The induction loop amplifier can be wall mounted with the use of an internal induction loop where a signal covering is requested. Outdoor use is possible thanks to the IP65 covering.
- A four-wire cable of the length of one meter is mounted to the supplied product for easier connection to the intercom. In the cable are two wires for 12 V DC supply and two wires for signal input, the wires are connected into interconnection connector. If you shorten the cable, follow the colour marking.
- Before wall mounting, run the cable through the hole that you have prepared.
- Then mark two mounting holes on the wall, through the amplifier front.
- Remove the amplifier and drill the mounting holes. Use a drill of the diameter of 6 mm.
- Use the plugs and screws included in the delivery.
- After fastening, cover the screws with the blanks supplied.
- Use the supplied connectors to connect the amplifier to the intercom and power supply. The A connector is connected to the amplifier four-wire cable. Insert a special intercom-connecting cable supplied with the amplifier and 12 V power supply outlets to the B connector. Connect the special cable to the intercom and connect the power supply to the mains. You can place the mated A and B connectors into the 2N IP Intercom cover. The connectors help you connect stripped cables. Open the connector by pushing a thin screwdriver onto the white spots at its front and close the connector by sliding the movable part through a side gap.
- Finally, test the amplifier function using a suitable receiver for hearing impaired persons or magnetic field communication tester. No other settings are required.
- Location of Induction loop connector on 2N Answering units and 2N IP Intercoms:
- 2N Indoor Compact, 2N Indoor Talk, 2N Indoor View

- 2N IP Audio Kit and 2N IP Video Kit

- 2N Indoor Compact, 2N Indoor Talk, 2N Indoor View