This guide describes how to connect 2N LTE Verso to LTE network and two following My2N services – 2N Mobile Video and 2N Remote Configuration.
Insert a SIM card to 2N LTE Verso
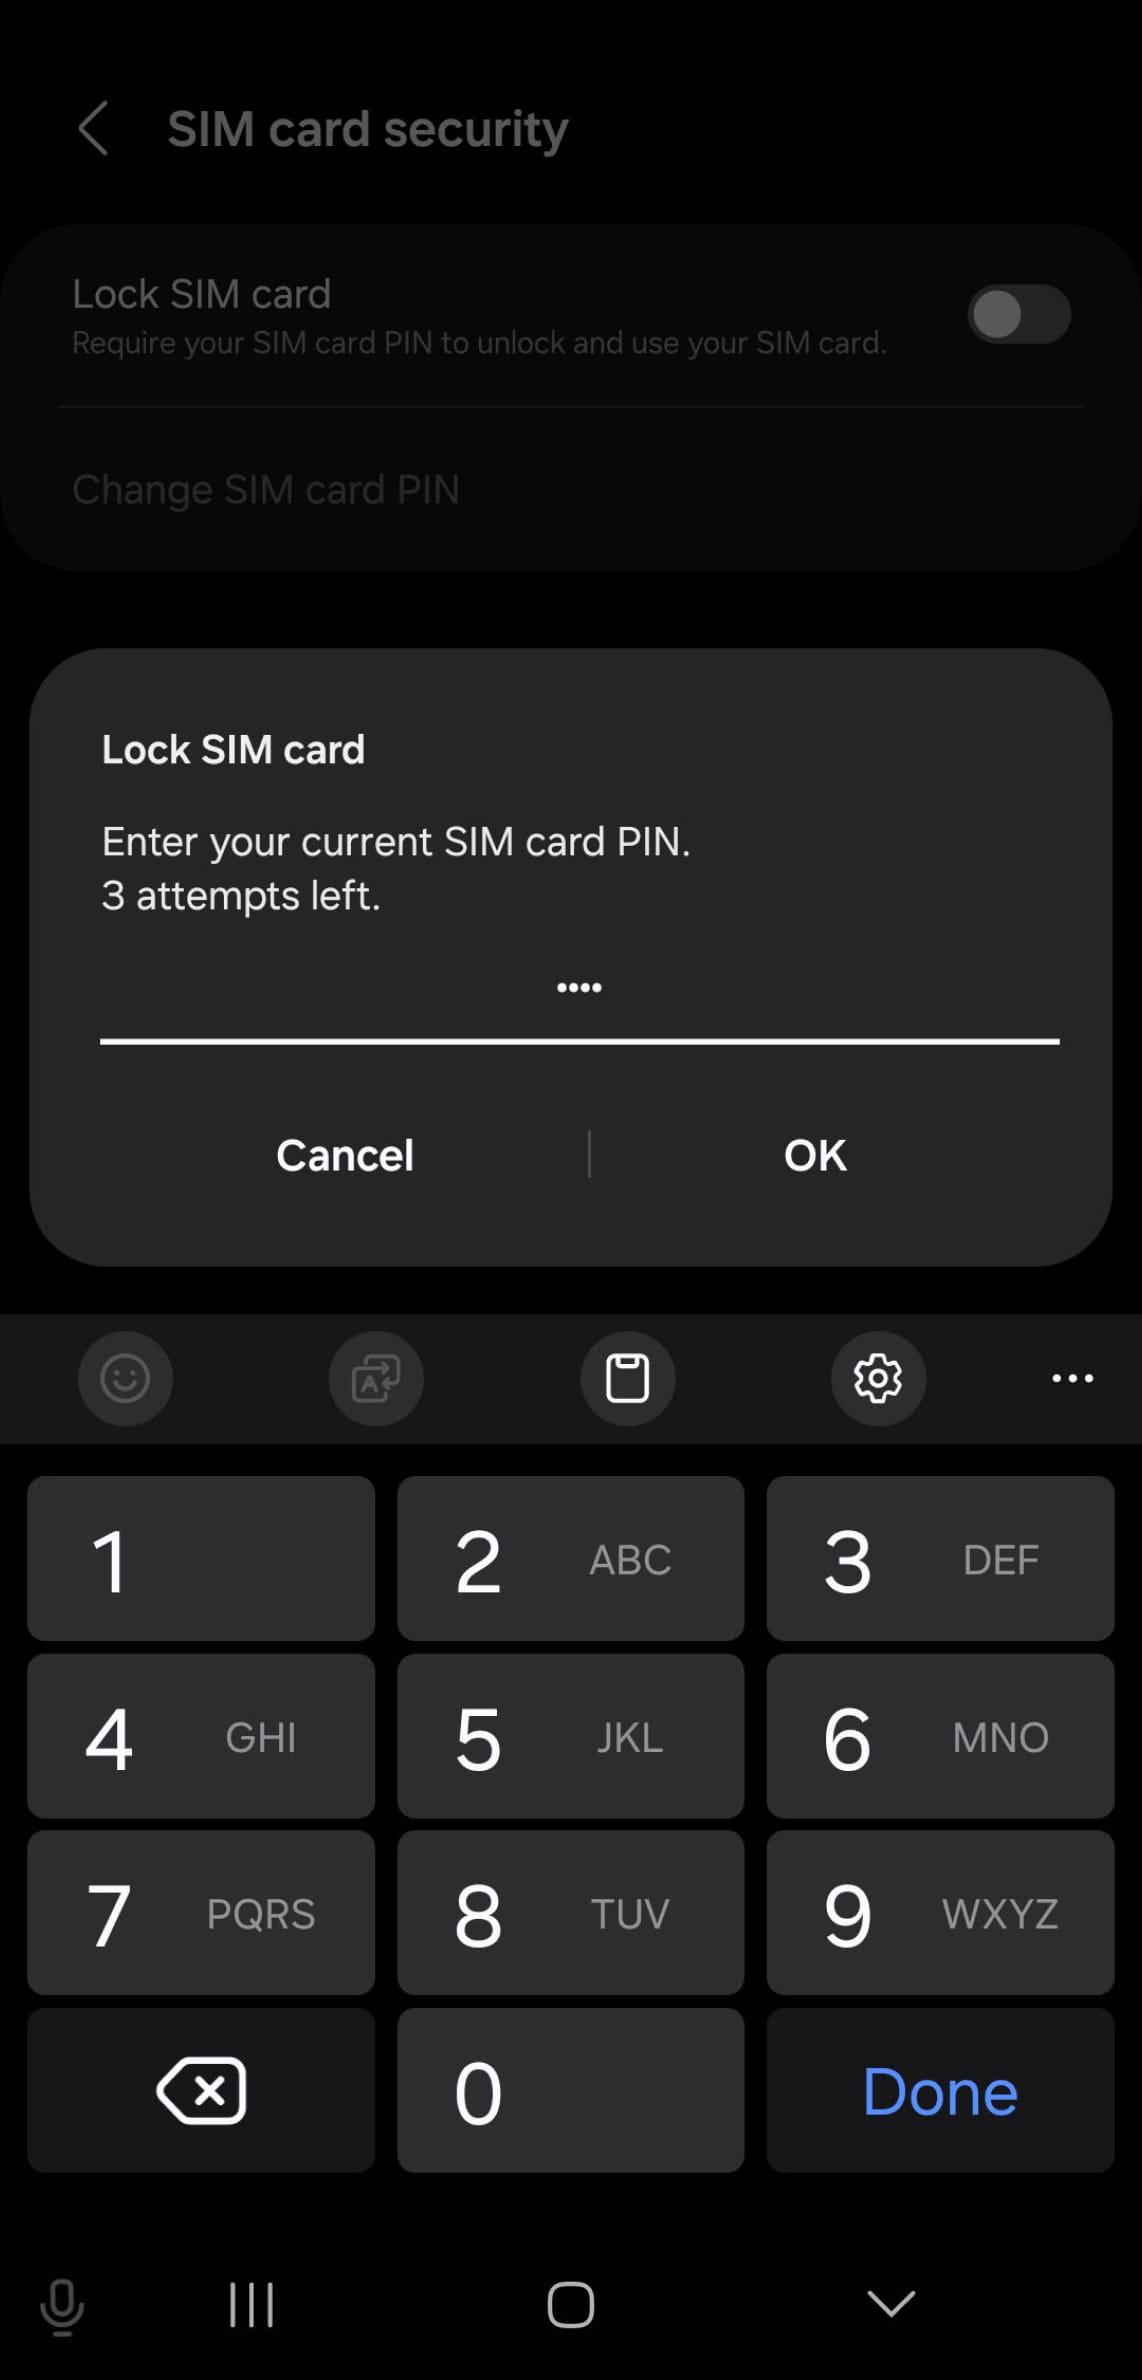
Before inserting a SIM card, it is necessary to disable the PIN code.
You can do so by inserting the SIM to a standard cell phone. Most phones have the option to disable the the PIN in their settings.
Here is an example from a Samsung phone. If you are not sure how to do it, please consult manual of your cell phone.
Registering to LTE network
After inserting the SIM card to the 2N LTE Verso, you can observe behavior of the red LED placed under the Main Quick Dial Button to verify the status of the device.

Meanings of different signals are described in following table:
|
LED behavior |
Meaning |
Note |
|
Diode is flashing after boot up |
2N LTE Verso is connecting to the network |
This is normal behavior. |
|
Diode is off |
2N LTE Verso is connected to the data network |
|
|
Diode is illuminated for 5 seconds |
SIM card error (SIM not inserted, PIN request enable or no active data service) |
When this 5s timeout is over, another connection attempt is made and the LED starts flashing again. |
|
Diode is flashing only |
The LTE signal is insufficient |
Check the area LTE signal coverage and antenna connection. Alternatively, use an appropriately placed external antenna. Caution – do not stick the external antenna to a metal surface! |
SMS command
2N LTE Verso includes a set of SMS commands that help you identify the device state and configure the basic mobile data connection parameters.
Send SMS in format state pwd=<password> and intercom will return information about network and signal.
Registering the 2N LTE Verso to My2N cloud – 2N Mobile Video service
Enter your My2N account, go to the Site you want to register the 2N LTE Verso, and follow these steps:
-
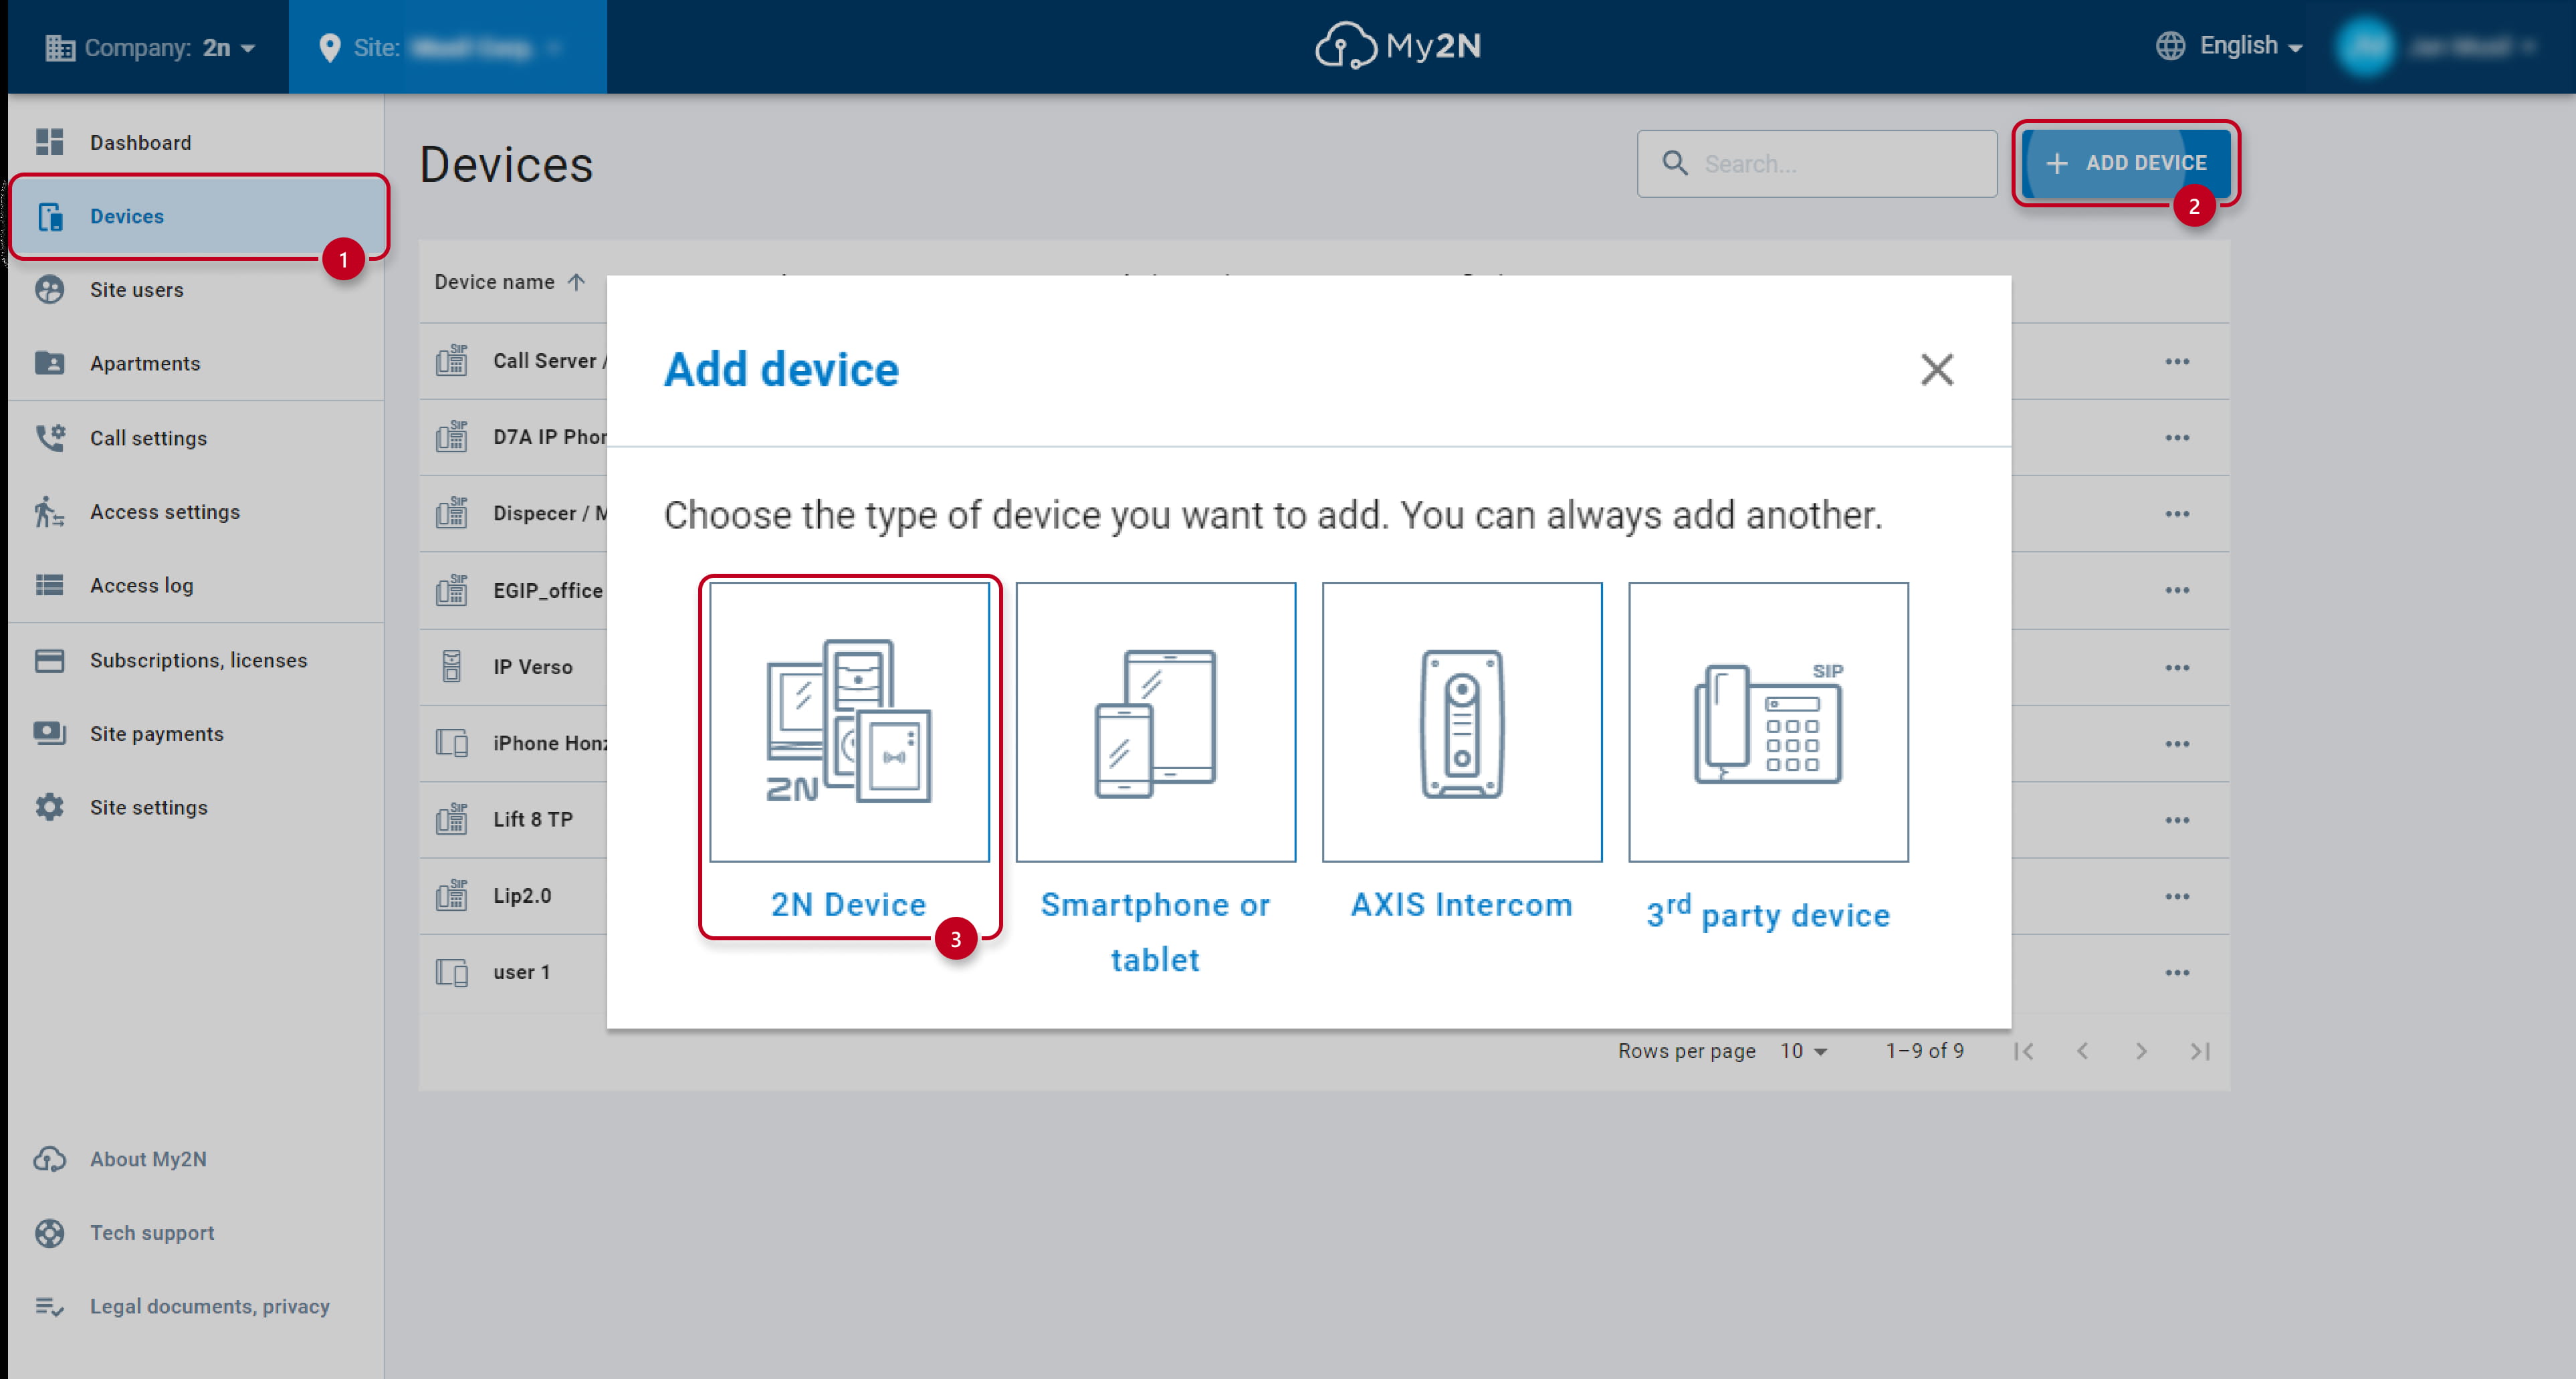
You can add the 2N IP intercom by clicking on the Devices button and then the ADD DEVICE button.
-
Select 2N Device.
-
In a new opened window, please fill in details about your 2N IP intercom.
-
Fill in the intercom's name (defined by your requirements in order to easily identify this device).
-
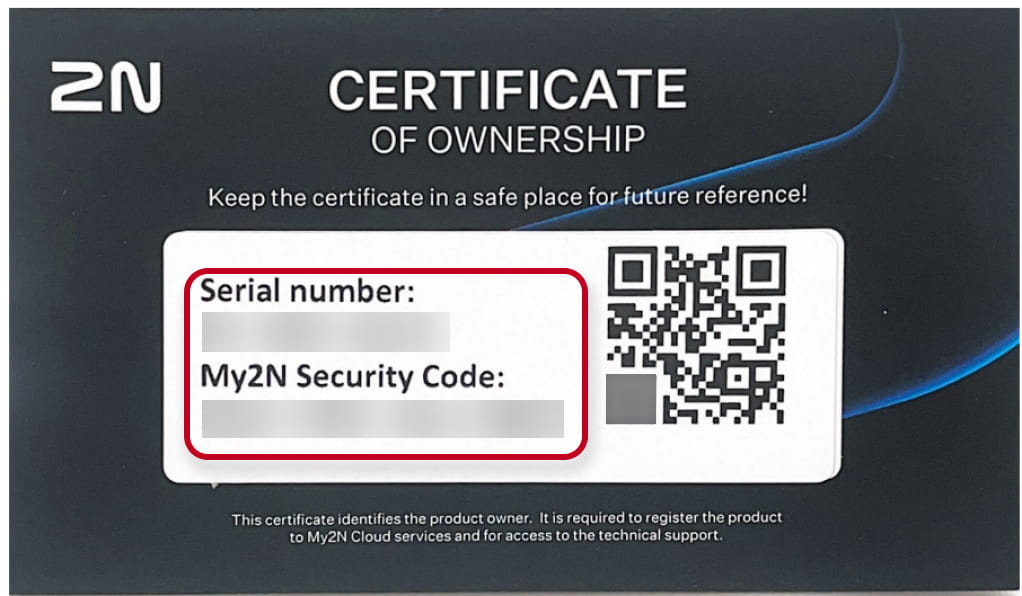
Fill in this device's serial number from the paper card that belongs to the device.
-
Fill in the security code from the same paper card.

-
-
You can find the Serial Number and My2N Security Code enclosed it the package.
-
The intercom will be seen as registered with missing call settings in a couple of minutes.

-
Meanwhile you can go ahead and add a device (or several) to be called when the button is pressed. Just click on the LTE Verso, device detail will open and then click on Call settings.

Now, you can make a call towards the device by pressing the button. With this, you have finished the basic set up.
Entering the 2N LTE Verso's 2N Remote Configuration service
2N’s free Remote Configuration enables you to fully configure 2N IP and LTE intercoms and Access Units using the My2N portal.
Accessing the intercom’s configuration interface only requires an Internet connection.
-
To enter the Remote configuration of your LTE Verso, go to the device detail and then click 2N Remote Configuration Services:
 Then click Open Configuration:
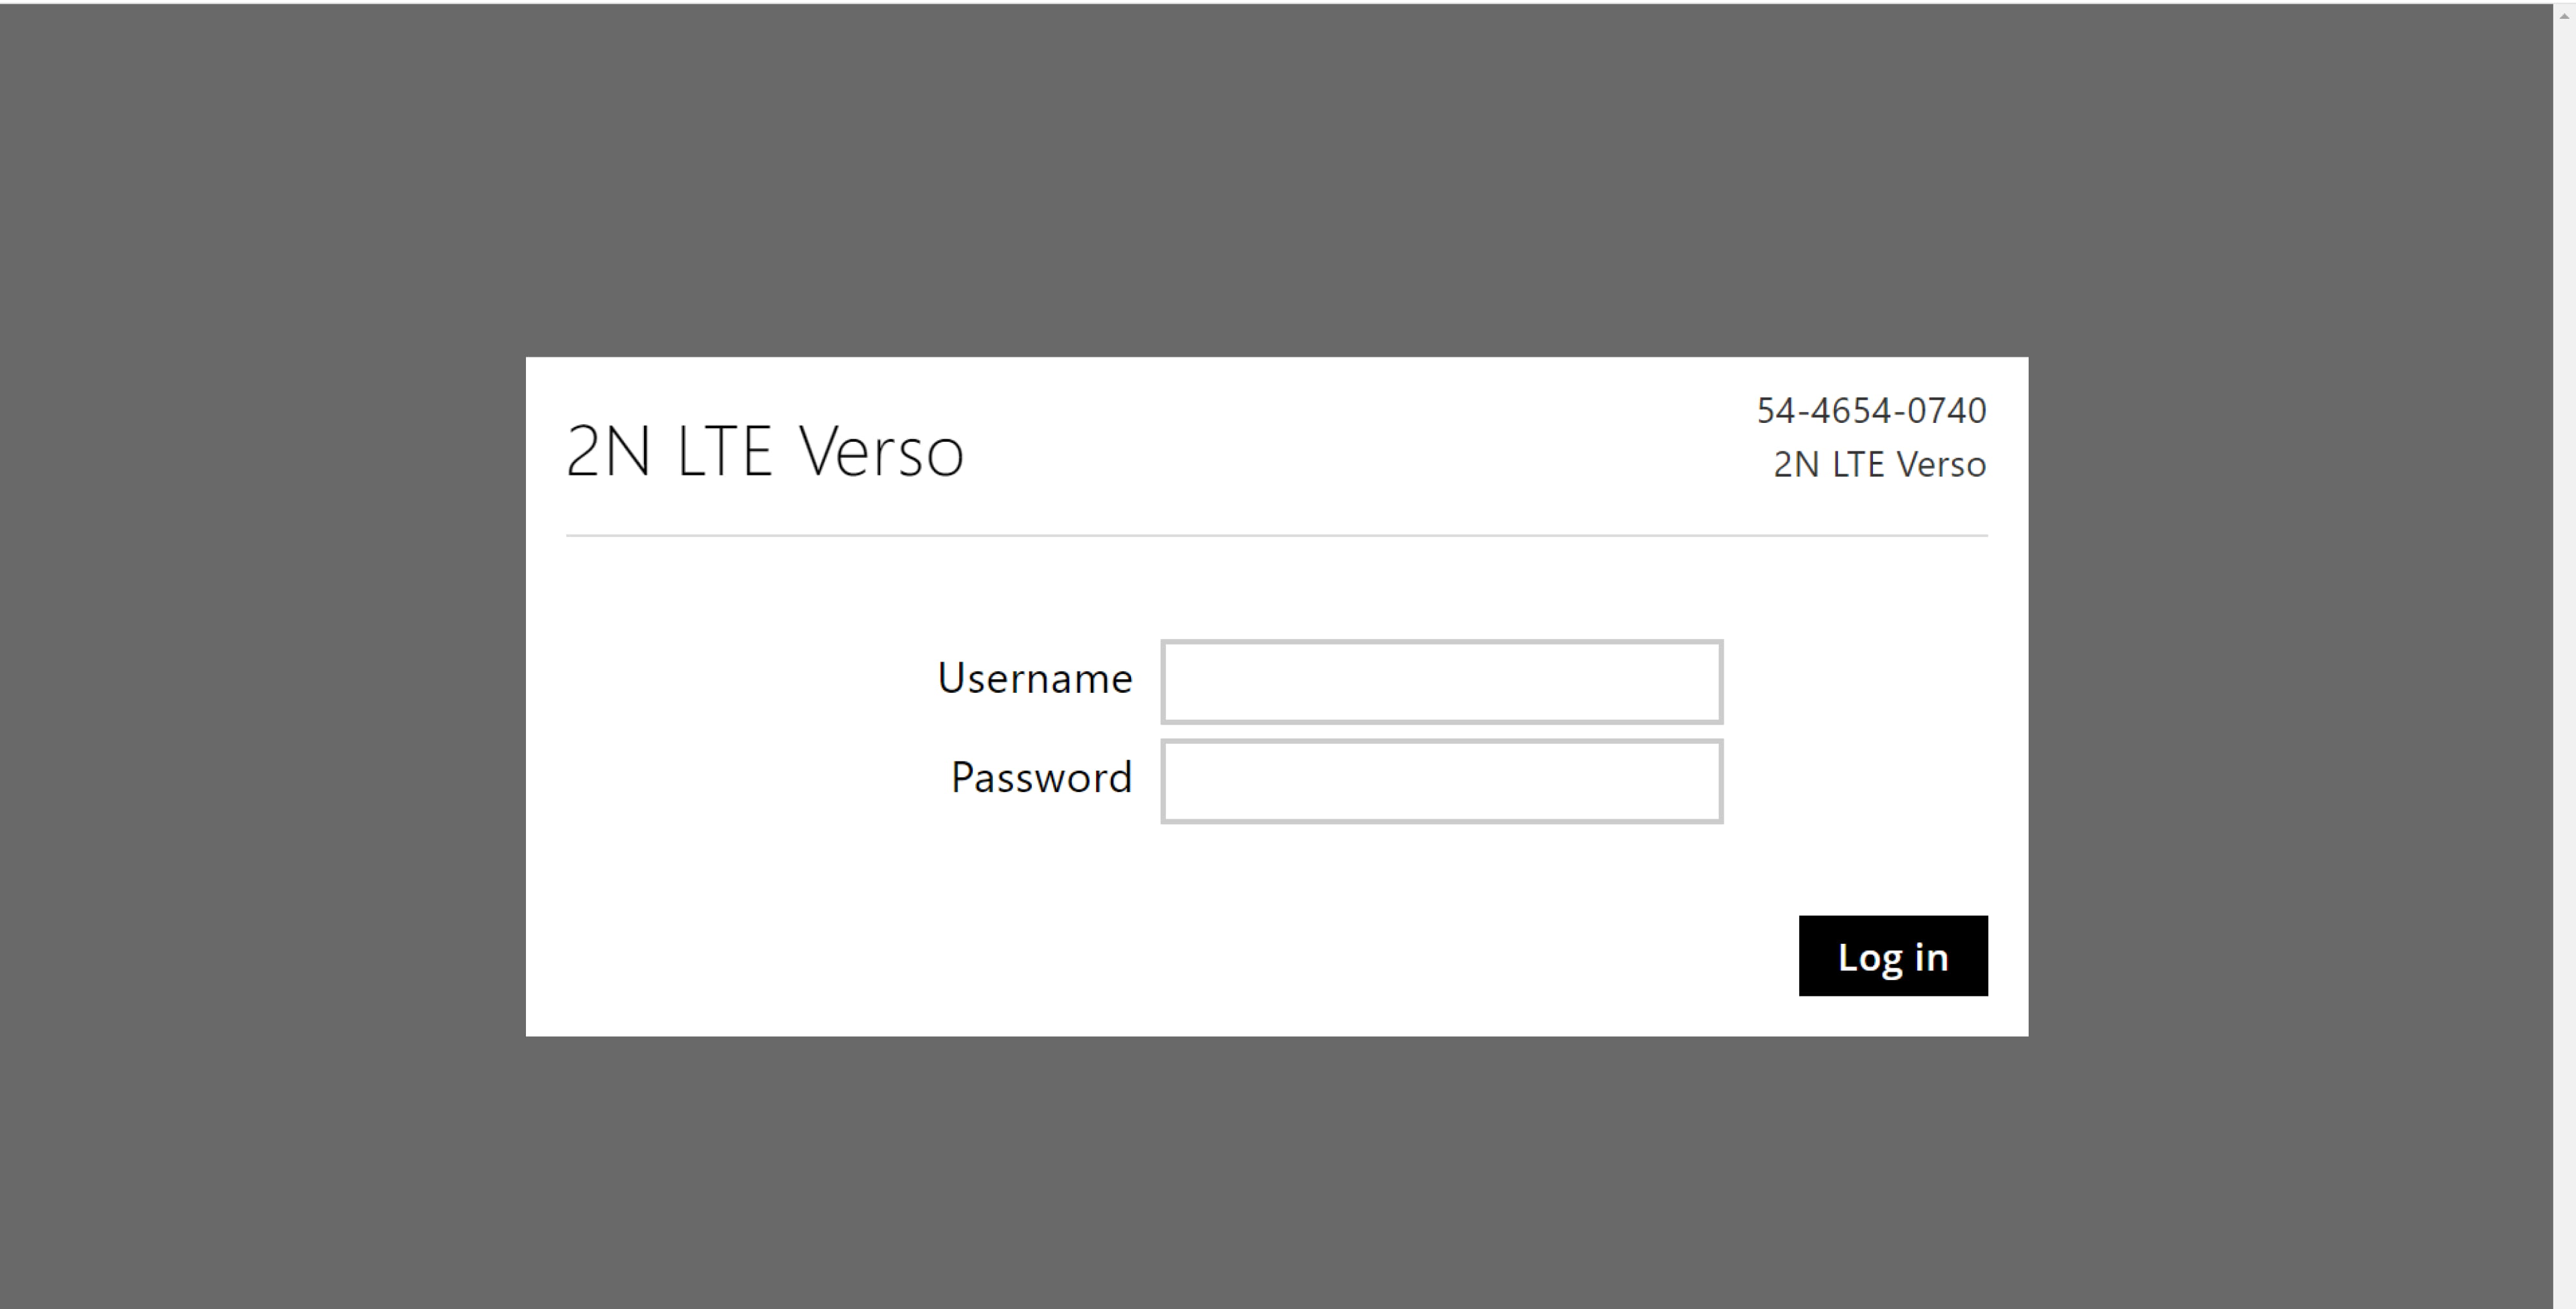
Now your browser opens a new tab with LTE Verso's web interface. You can now log in and fully configure your intercom.
Keep in mind that users created in My2N and Button settings are synchronized with the My2N cloud and changes of these has to be made inside of the My2N account.