Step by step guide
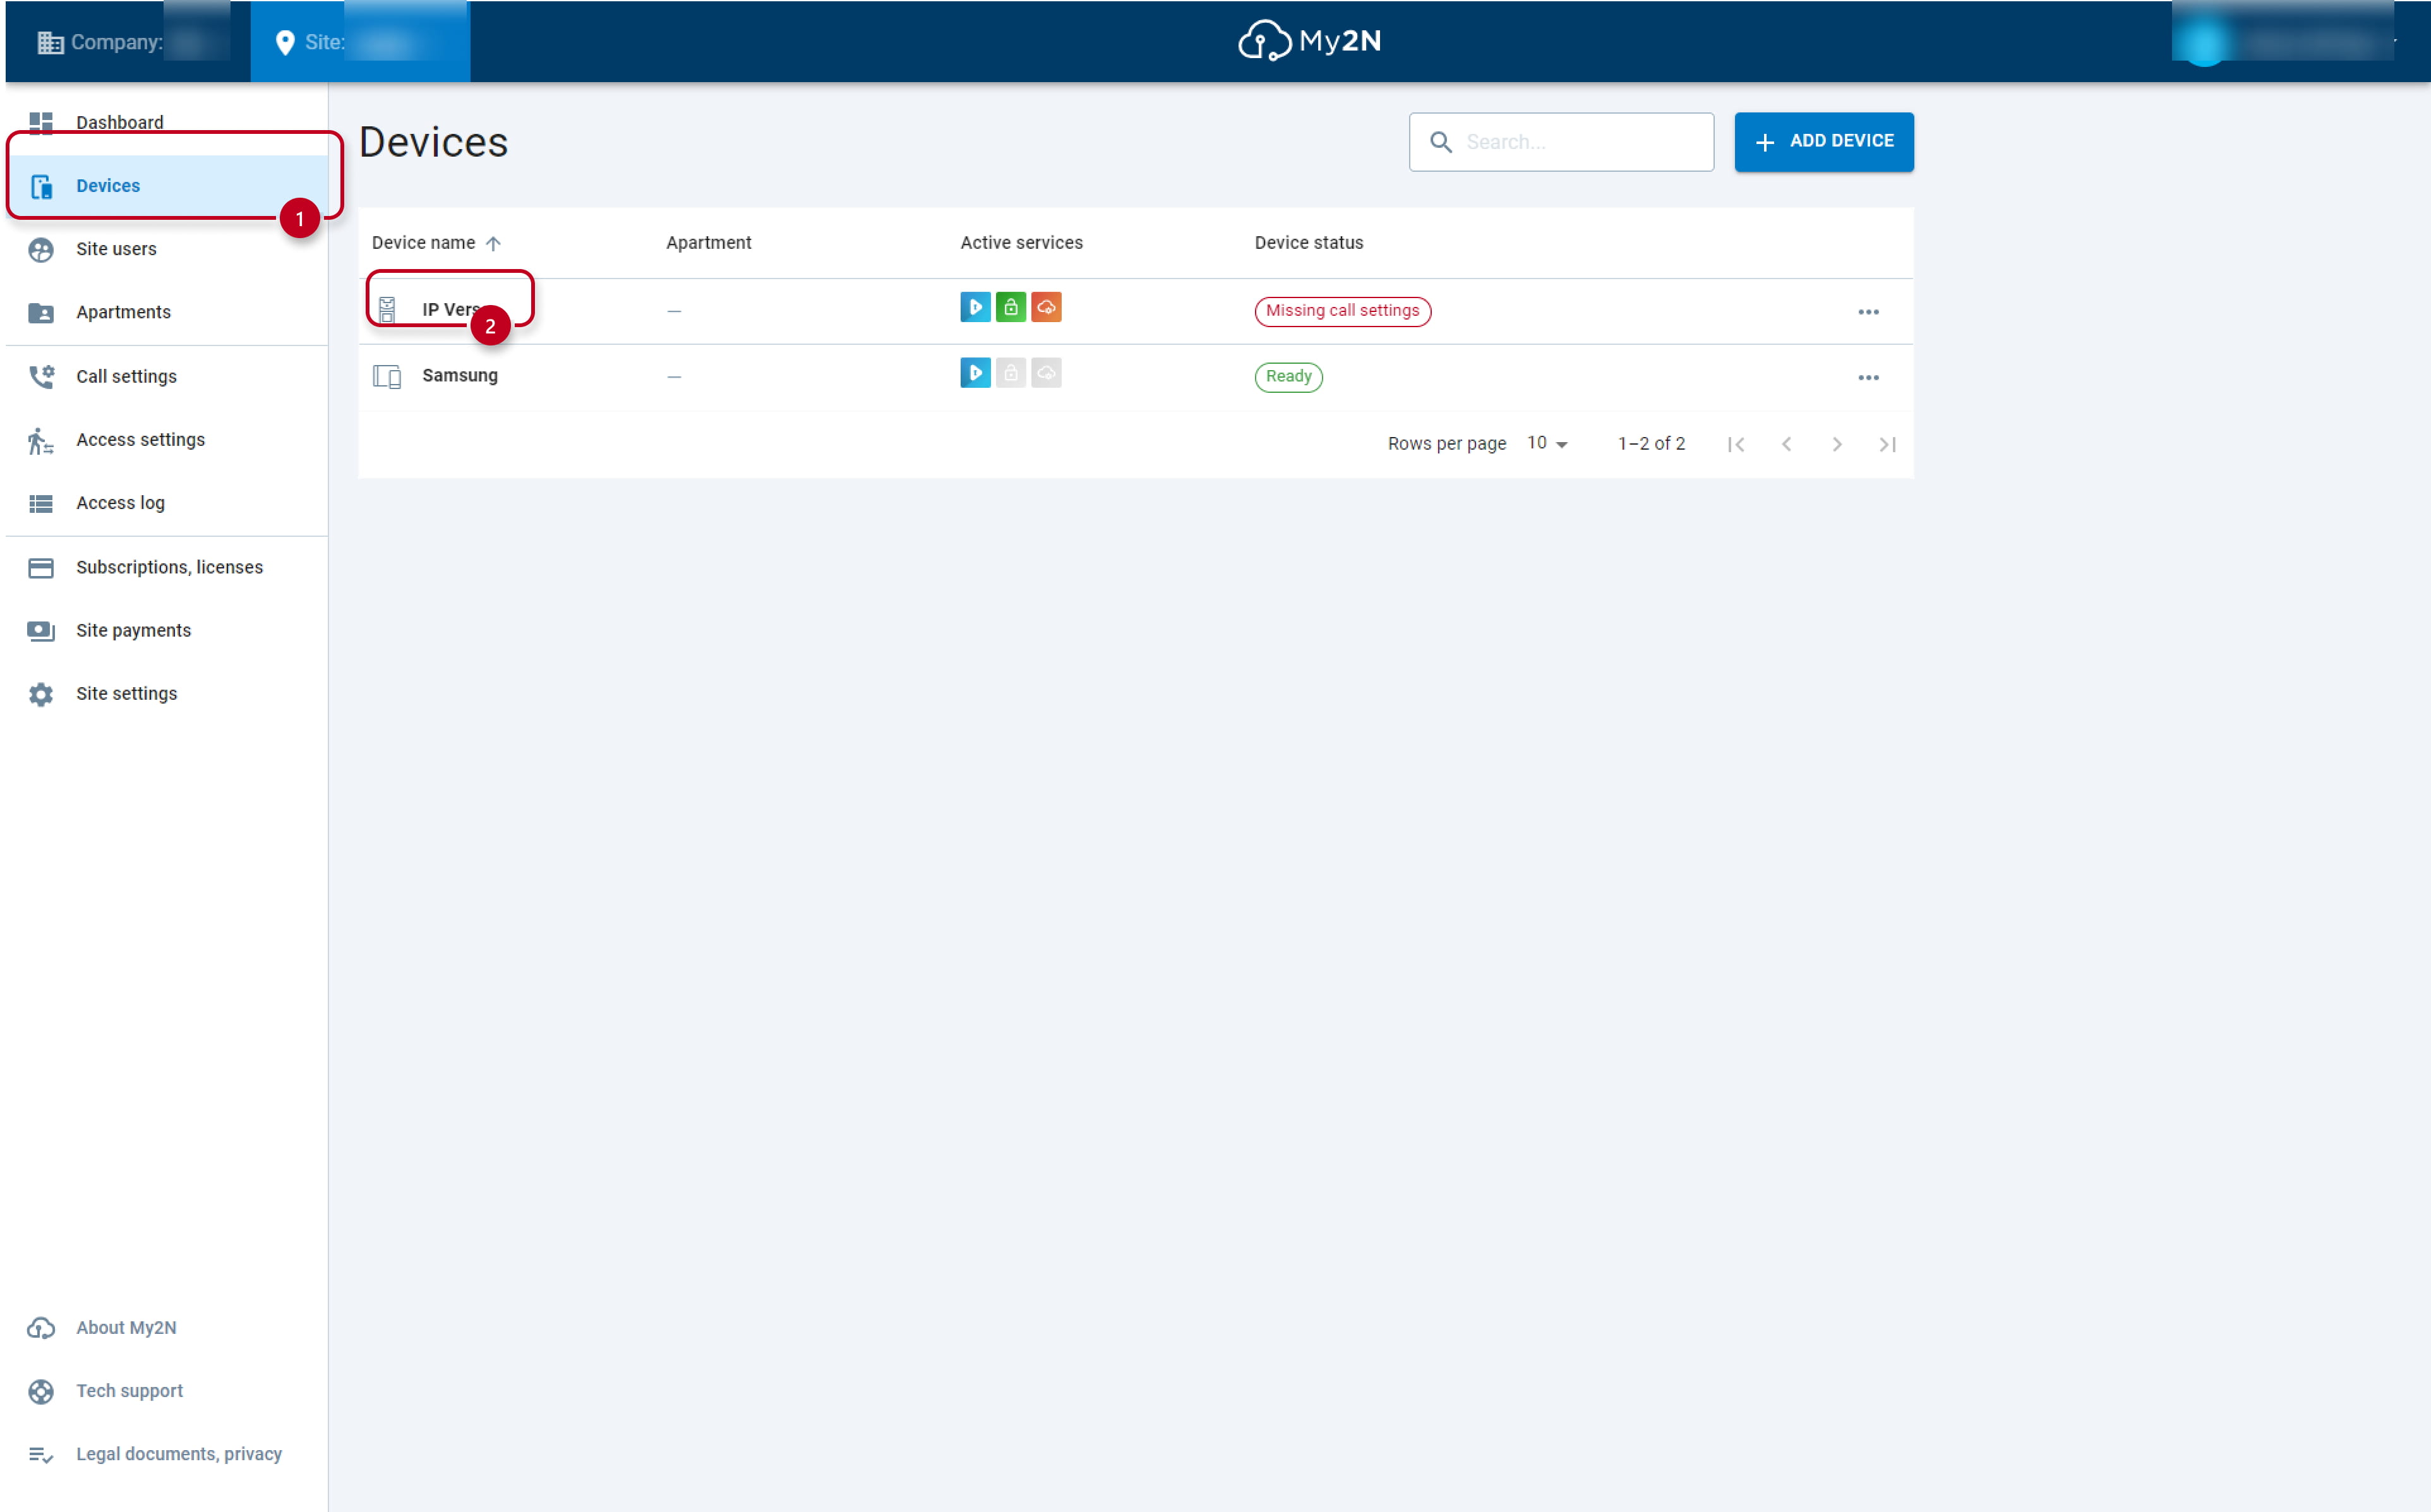
In My2N press button Devices and then click on the intercom device to access the configuration of the 2N IP intercom.
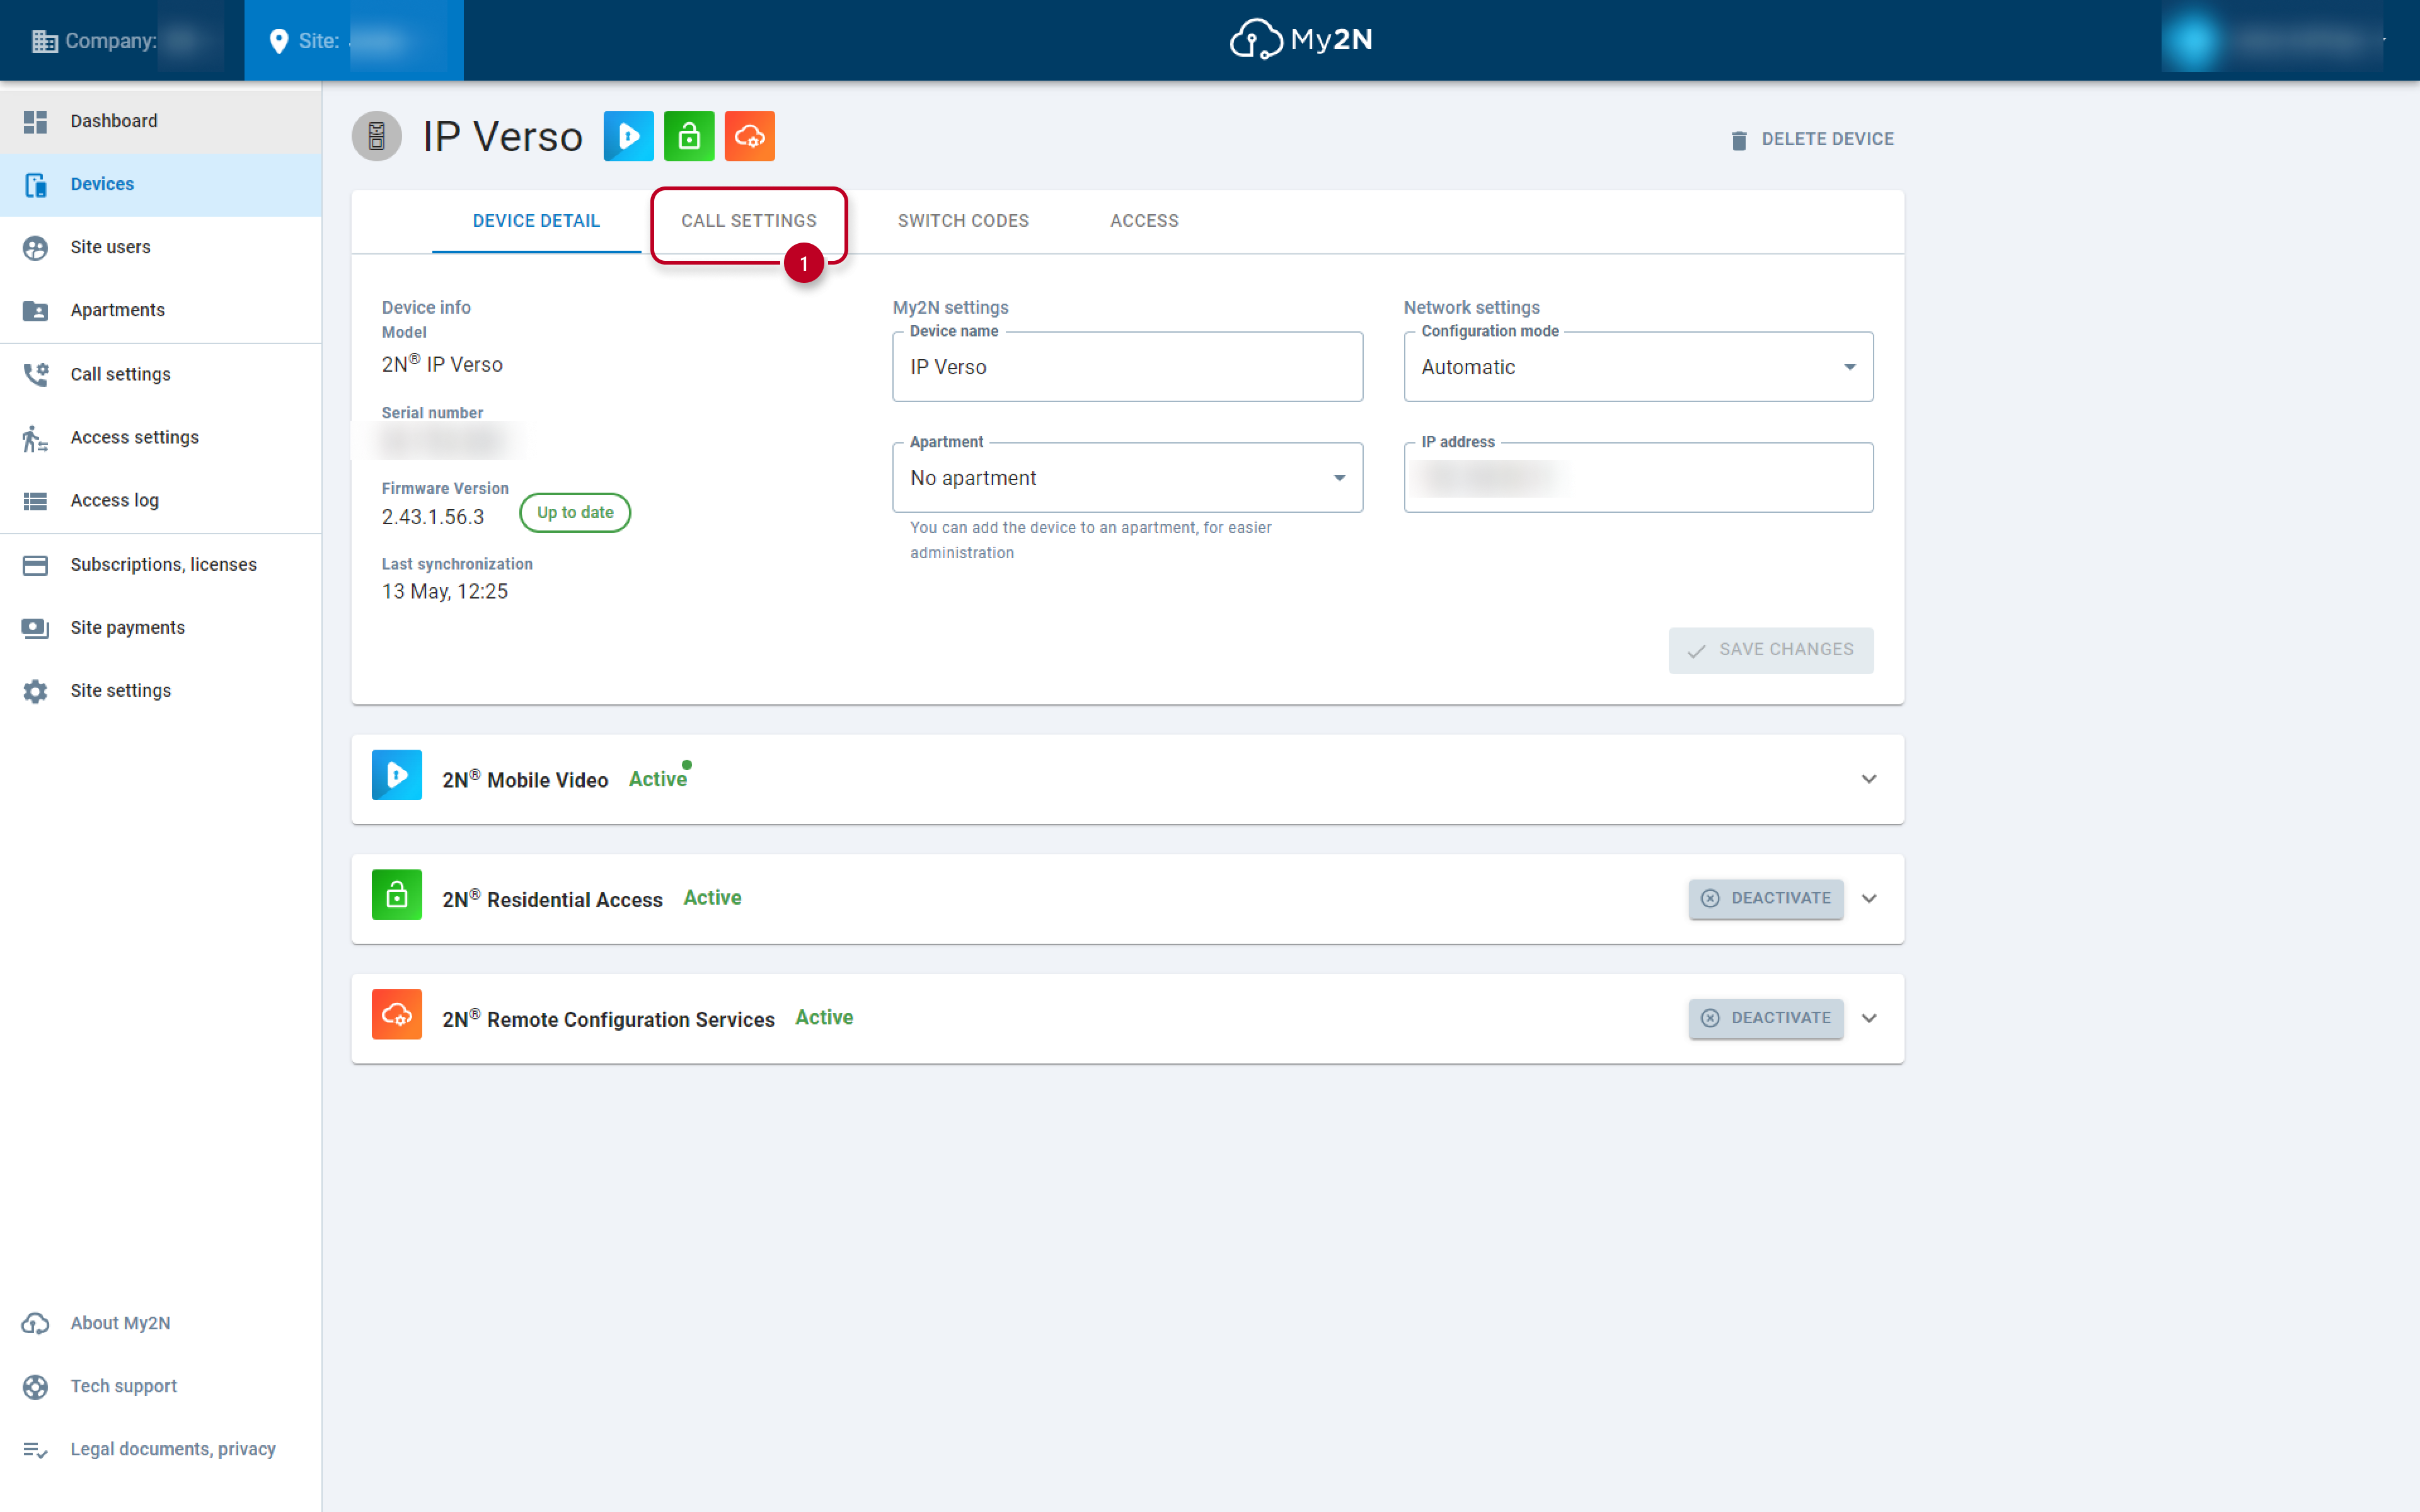
Then click on Call Settings.
A new window will appear. You will need to give a name to the label (1), this name will be visible in the device's directory. Then, you need to choose which device (smartphone, tablet or answering unit) you wish to call, when someone presses a dedicated button(2) of the 2N IP intercom. You can choose up to 10 destinations for each button (but only one apartment at the same time). Don't forget to save (3).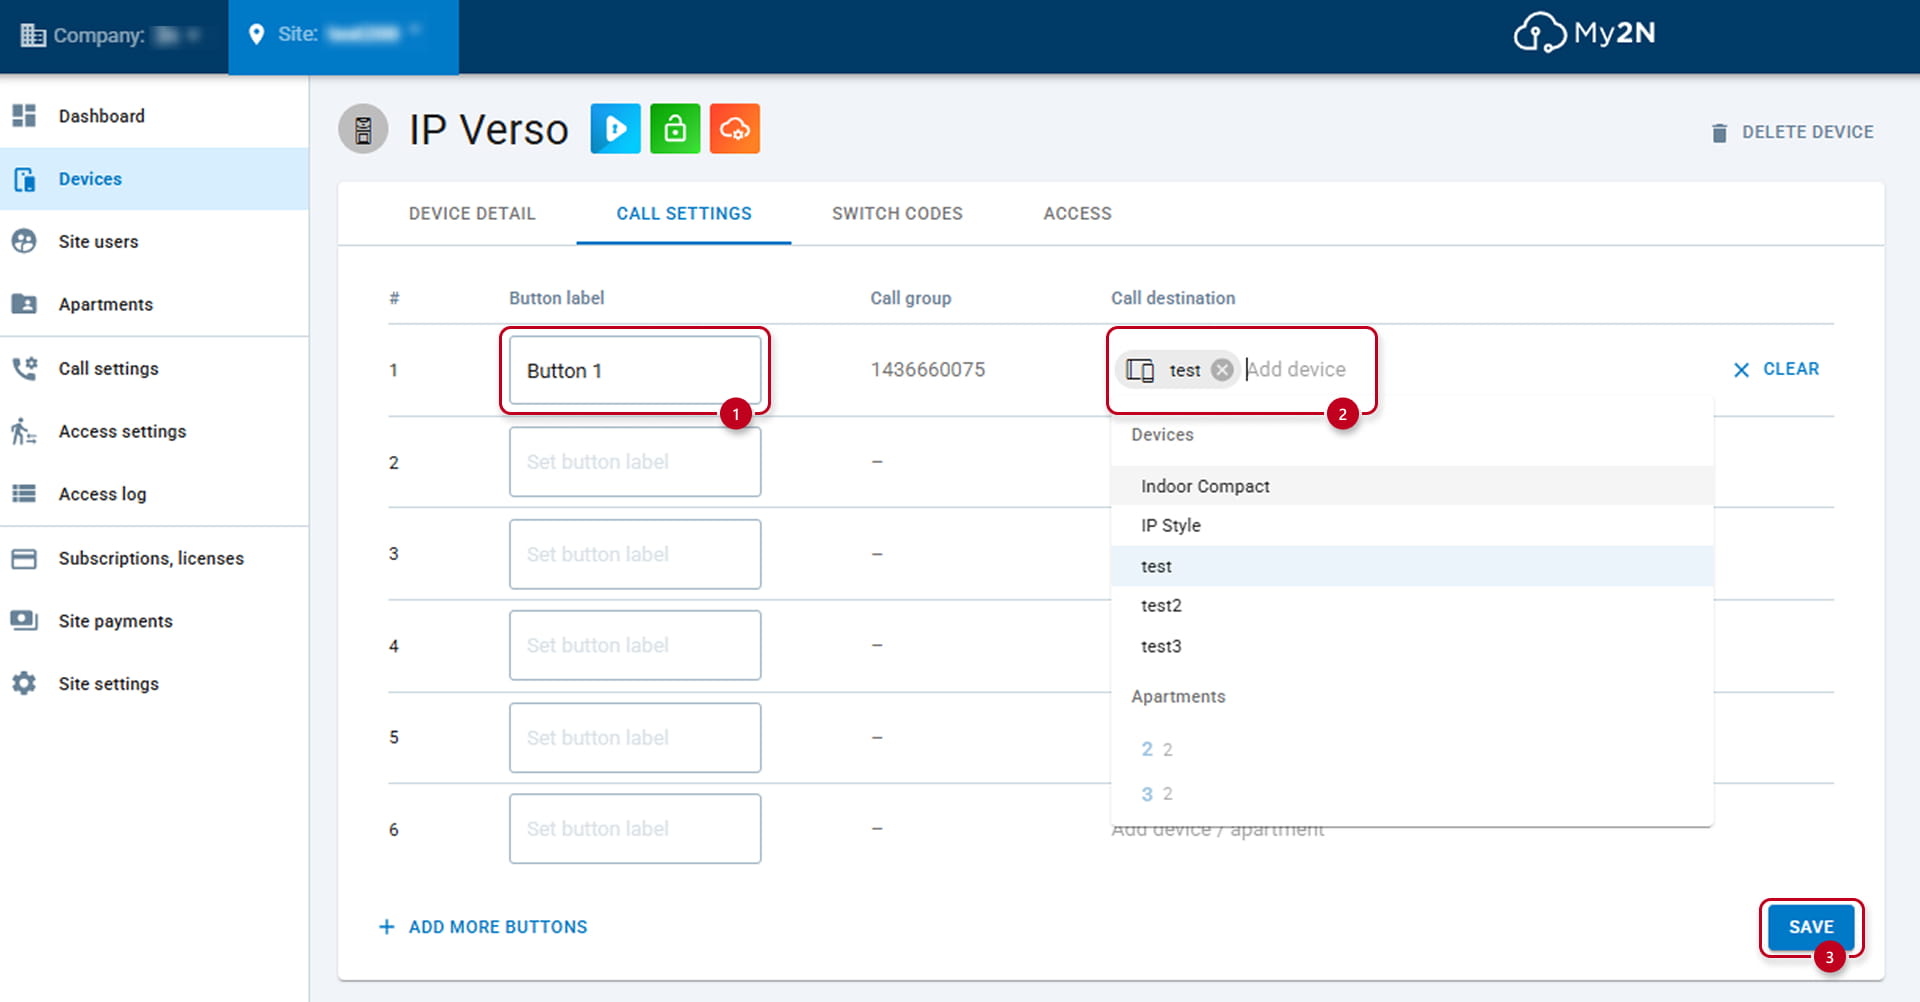
After you save your settings, the 2N IP intercom is configured by My2N immediately. Now you have successfully configured call settings for the 2N IP intercom. You can configure another one by repeating previous steps and choosing different intercom added in your My2N account.
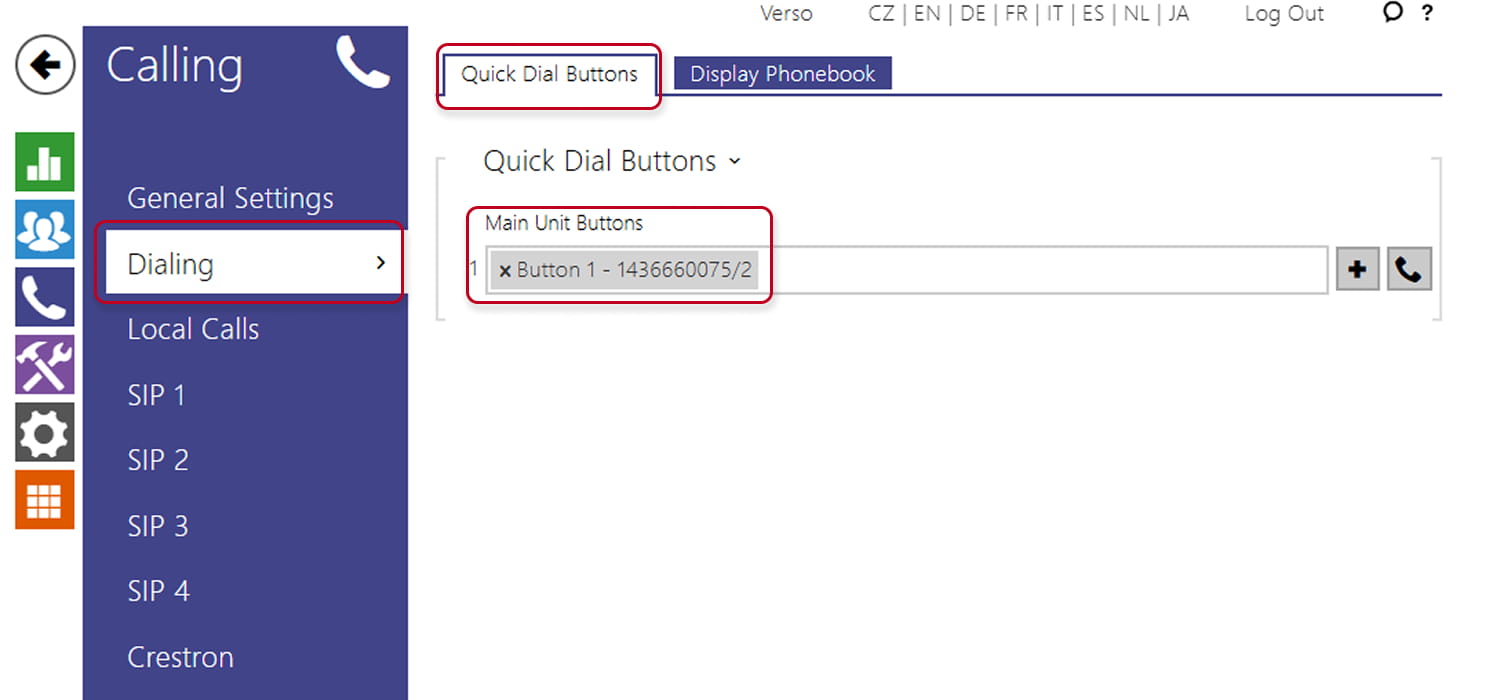
All the buttons if they point to at least one destination will automatically pushed in the device's directory. They won't in case it is existing but not pointing to any destination.
Moreover, in automatic mode, the button number one will be automatically pushed to the main button of the intercom.
In the Old Web Interface:
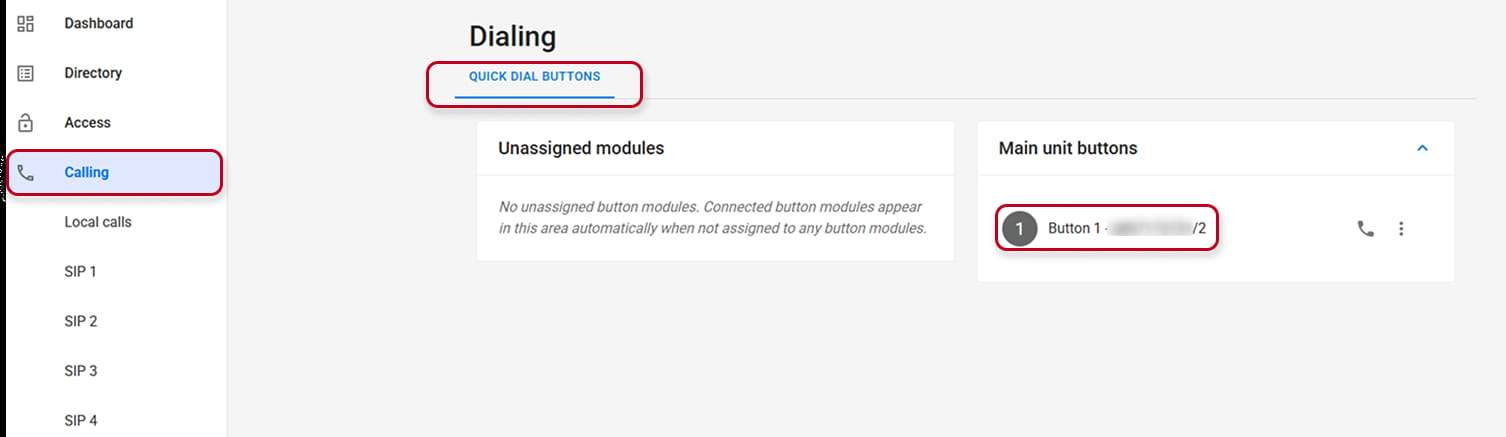
In the New Web Interface: